Clone Tool and Fixing Images in Photoshop
Introduction
Now that you’ve had a taste of some of the tools and worked with color a little. It’s time to switch gears and learn how incredibly useful Photoshop is when it comes to image editing and fixing photographs. This tutorial will introduce you to the Clone Tool and the Spot Healing Brush. These tools are used to fix damaged areas as well as copy specific areas in an image. These tools will be discussed in later tutorials in more detail, for now this lesson will allow you to get some good hands-on knowledge. A video is at the bottom of this page to show you the tools in action.
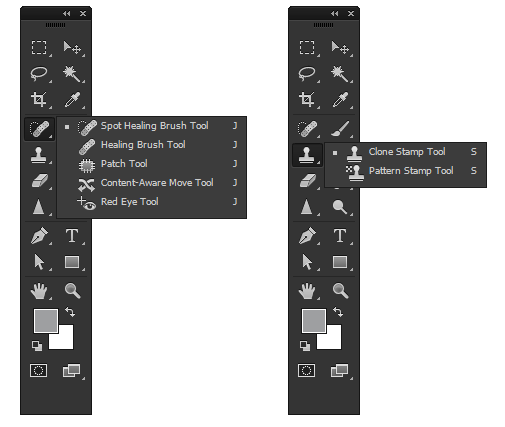
Spot Healing Brush for image editing in Photoshop
The healing brush works by looking at the pixels next to the area of concern and then repairs the image by sampling and blending it all together. It’s a quick way to fix pen marks, tears or other blemishes in an image. I also use it as a quick fix for dust marks from my sensor that show up on photos. You can use it ofr unwanted branches and endless other things you just don’t want in your photo.
Below is an image of a salt lake in the Mojave Desert. It’s a nice scene, but someone added a red line across the image and saved it. There’s also a couple of people that distract from the scene. To correct the red line, we’ll use the healing brush.
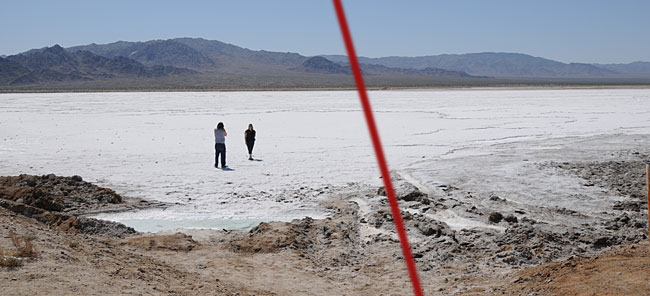
Right-click on the image above and select Copy Image. In Photoshop start a new drawing and then paste (CTRL + V) the image into it. To fix the red line, you’ll need to activate the Spot Healing Brush (J). Now that it’s active you’ll see a set of options available on the option bar. Once again, you should notice some familiar ones. Make the brush size just a bit larger than the red line or copy the settings you see below.
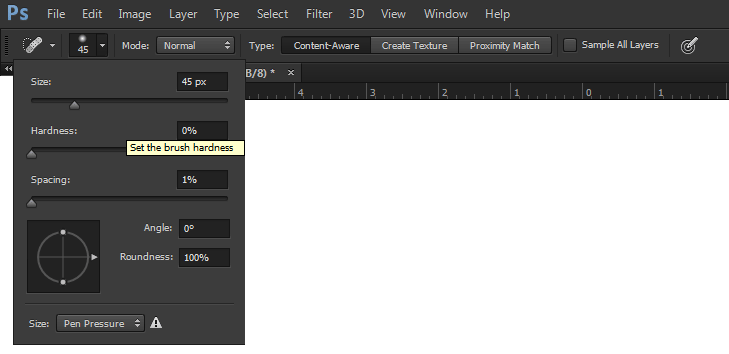
You might remember that you can hold the shift key to draw a straight line. What you want to do is pick on a spot just above the red line, hold the shift key, and pick again just below the bottom of the line. You’ll see a black line appear, then the healing will begin. You can also use your mouse to draw over the area you want to fix.
You should see that the red line is gone and the image should much better, it’s like magic! It might not be perfect, but it’s a lot better. This is a very quick and easy way to fix parts of an image. Try some different settings, and see if you can improve on your first attempt. I find that the tool does a good job, but not always a great job. It can be handy to get the job started with the Healing Brush, then clean it up with the Clone Stamp.
See if you can use this tool to remove the two people from the image. Then undo this so you can use them in the next section.
Clone Tool for Image Editing in Photoshop
Now we’ll use a different tool to remove the people in the photo. This will work a little differently, but is still an easy tool to use. You will also notice similar options on the toolbar.
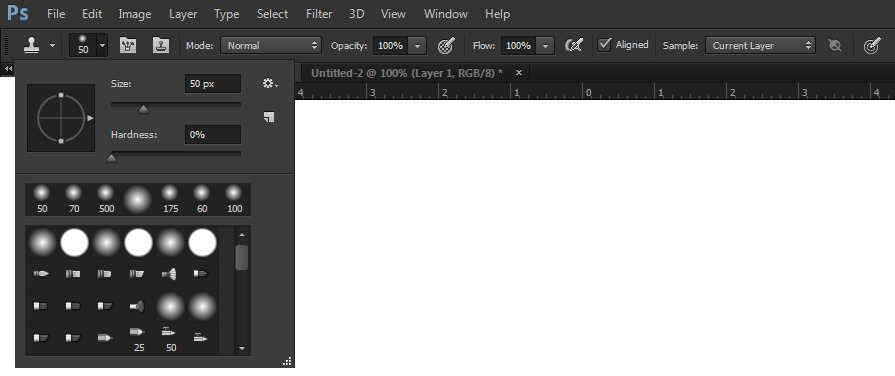 Activate the Clone Stamp Tool (“S”) and make it just a bit wider than the person on the left. Put the tool over the person while holding the Alt key, this will change the cursor to a bulls eye. Left-click samples/copies the area you are using as the original. Now move the tool over to an area that is mostly white salt. Left-click and hold while dragging the mouse. You should see a clone of the person appear. You can clone as many as you like.
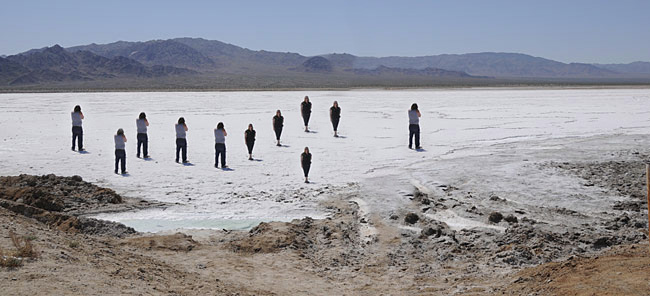
Just as you have cloned the people, you can remove them. Sample part of the white salt area, and then copy over the people.
Bonus Practice – See if you can fix this image using the Clone tool. It will give you good practice at changing your tools size and figuring out how to select the best sample area.
Tip – be careful not to create a repetitive pattern when cloning. When you select the sample area, it helps to make your target area parallel to the sample area.
Conclusion
The clone tool is used a lot in touching up photos. It can be used to remove dust spots, telephone poles, and just about anything that you want out of the image. I’ll usually use this over the healing brush as it gives me more control, but the healing brush can be quick. Most images need some kind of fix up, so practice with this tool as you’ll be using it.
Reference
Read about genetic Cloning
Reference
To read a little more about color, visit this page
