Introduction:
What is “Light Painting“? In very simple terms it a photographic lighting technique in which you light your subject with a smaller, or focused light source and ‘paint’ your subject with light. The next question is usually, “Why?”. You will find that light painting gives you a lot of control over how your subject is lit. If you are shooting something small, or possibly complex, you can get very specific about where you add light and shadows compared to using a flash or softbox. Another advantage is that you will be forced to concentrate on specific areas of your subject. This leads to greater insight to your subject matter.
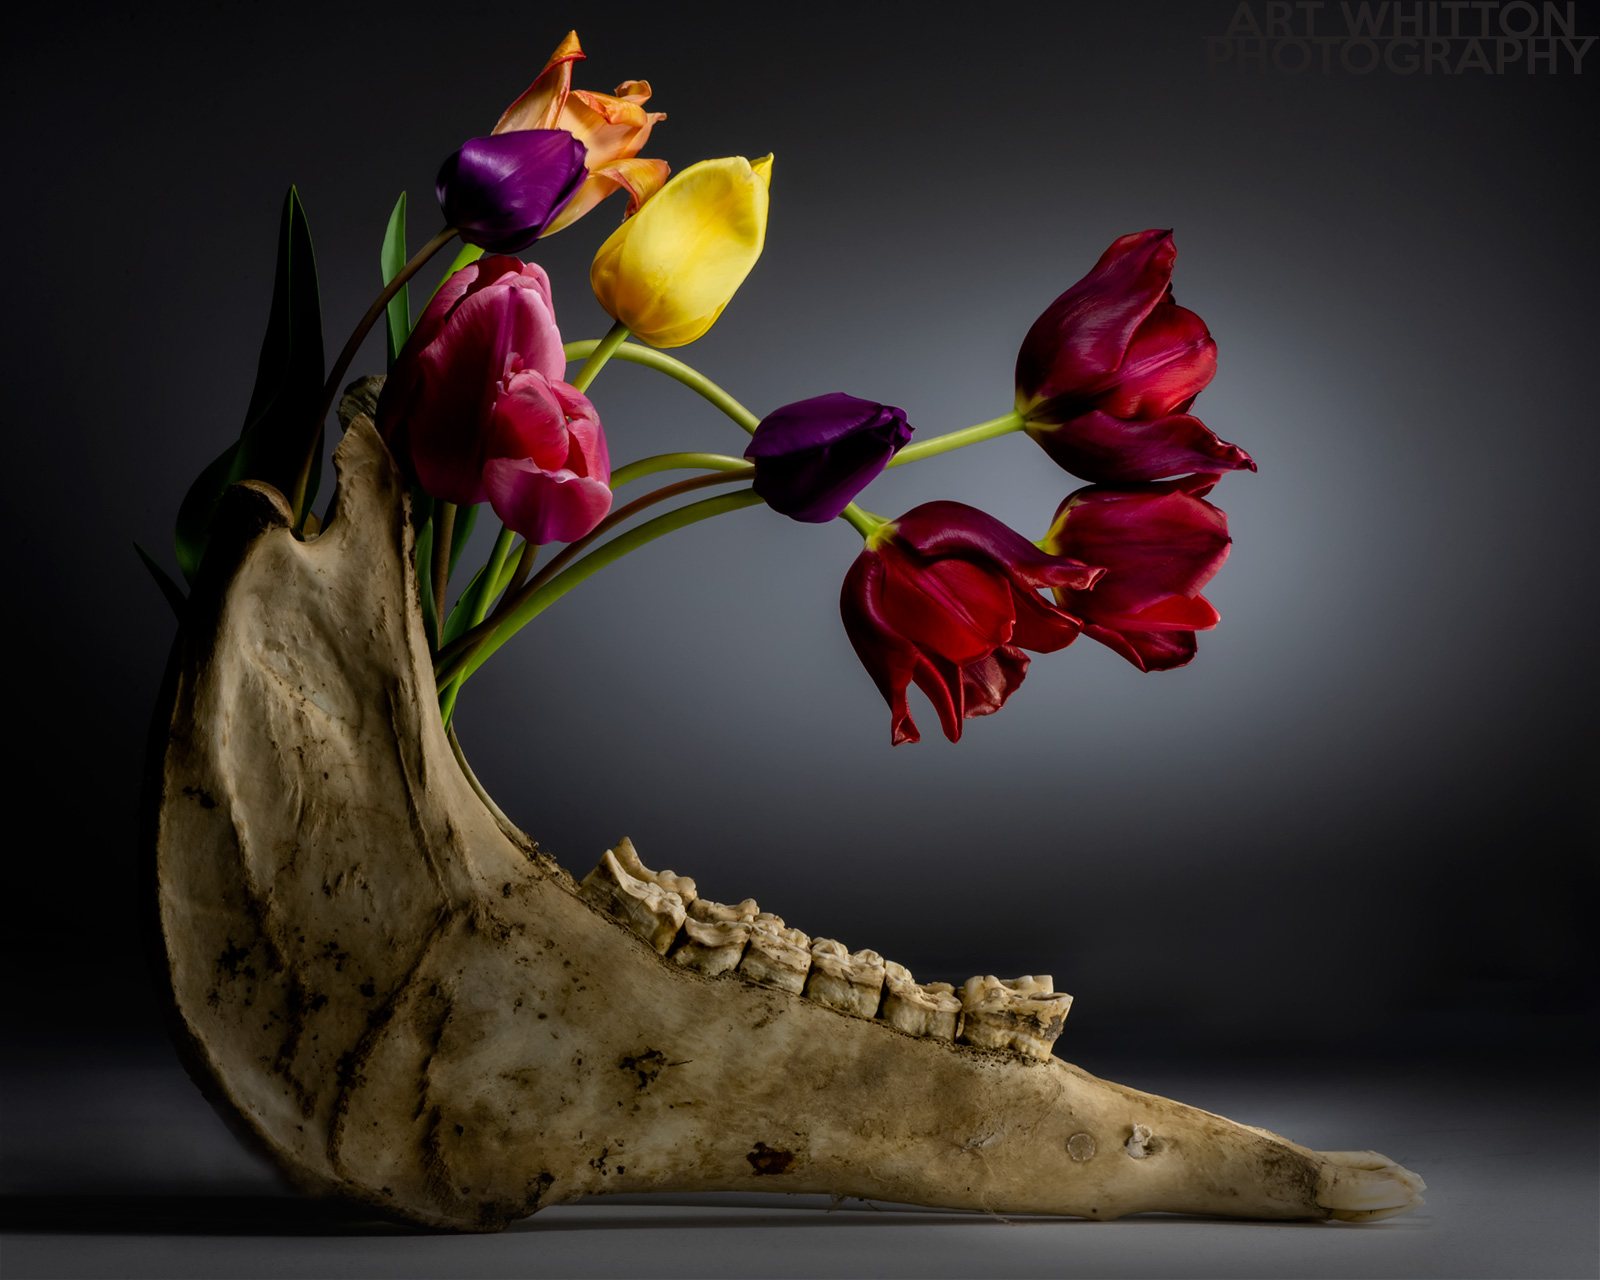
This tutorial will show how to use light painting for smaller still life subjects. In one example I will show you this technique as I shoot some flowers in the studio. Starting with a dark room and a cheap flashlight, I can create an endless variety of lighting options.
I will go through the equipment you need, what camera settings to use, how to set up your shot and then review some basic techniques for light painting. I also have a couple of videos at the end.
What you need for Light Painting
The great thing about light painting is that you can do this on a shoestring budget. Here’s a list of the bare minimum equipment to get started:
- Camera with a Bulb setting (or 30 to 60 second shutter speed)
- Tripod (the sturdier the better)
- Flashlight (one with a narrow beam)
- Diffuser for flashlight (optional, suggest paper towel)
- Subject (anything you want to shoot)
- Cable Release (optional, but very handy)
If you’re reading this, you likely already have a camera and tripod. Learn how to set your camera to a manual setting if you don’t already. Check to see if your camera has a ‘Bulb’ setting. If not, that’s ok, you can just use the longest shutter speed you can set manually. Your tripod should be sturdy enough to keep the camera steady for the long exposures you’ll be using. It helps to be careful when moving around the tripod and not to make heavy steps.
The flashlight you choose should ideally be the ‘pen style’; one you can easily move around and point at a specific area of your subject. These usually have LED bulbs, which work great for this technique.
Depending upon your subject and the brightness of your flashlight, you might want to add a diffuser. I use a piece of paper towel. I chose this because it’s white, translucent and I can fold it over once or twice if needed. It’s also the cheapest photo accessory I’ve every used!
The last things you need are your subject and a sturdy place to put it. For your subject, think of anything you might want to shoot as a ‘still life’. This could be flowers, a bowl of fruit, some vintage items – the list is endless. One thing to remember is that light (in weight) subjects like flowers or paper can be moved by hand motions when you are waving your flashlight around. Consider a solid subject for your first attempts. A solid, sturdy surface is needed as you don’t want your subject shaking during the long exposure. A final thought about selecting your subject: the more complex your subject(s), the more complex your lighting will be.
Oh! one more thing you’ll need: A dark room. I have a windowless room I can use but it’s fairly small. If I want more space, I just wait until the sun has set and then I have many more options. Your room doesn’t have to pitch black, but the less ambient light you have, the more control you will have.
Setting up the Shot
Now you have everything collected, you have camera on the tripod, your subject is set up and your raring to go! With the lights still on, compose and focus your shot as if you were going to shoot in regular lighting. After focusing, turn of your auto focus. Look for the usual distracting elements in your composition. Will your background be black or part of the scene? Take some extra time to rearrange your items to get just the look you’re going for. You’ll likely be shooting it for a while as your try different lighting options, so make it look good!
Make sure your camera is secure on the tripod and the tripod has solid footing. Remember you’ll be working in the dark. Allow some space around the tripod and the staging area, so you don’t trip over anything.
Camera Settings for Light Painting
Just like every other photo you’ve taken, the exposure is based on the balance of ISO, aperture and shutter speed. The big variance in light painting is the amount of light that is hitting your subject. Prepare for some trial and error. It will take some patience to get your shots looking like ‘the vision’.
I like to use a slow shutter speed so that I have more time to control the light. My camera allows a manual shutter speed of 30 seconds, which can be long enough – but, I like to use the Bulb setting so that I am not limited on time. If you’re not sure what you want to use, try starting with 30s and get used to how much light you can paint in that time. It may be enough, or you might want to start using longer exposure times.
For aperture, the same thoughts about control apply here as well. If you use a small aperture like f/22 or smaller, you’ll be letting less light hit the sensor and give yourself more time to work the light. You might also be working quite close to your subject, so the smaller apertures will give you more depth of field. In the examples I’ve shown here, I was using a 100mm macro lens about 2 feet (.6m) away so I chose to set my lens at f/32 or higher.
Shoot in RAW to get the most out your image. You may find you need to boost the shadows or lighten the whole image. RAW will give you more latitude to work with than JPG. (Read more about that here).
When it comes to setting your ISO, try the lowest setting. This will give you the best image results and give you the maximum working time to paint. When I was shooting the tulips, I started at ISO 64, but found that my images were just a little too dark, and I didn’t want to expose much more than 2 minutes. I ended up at ISO 200, so I could still get a nice sharp image, and exposures were in the 60-100 second range.
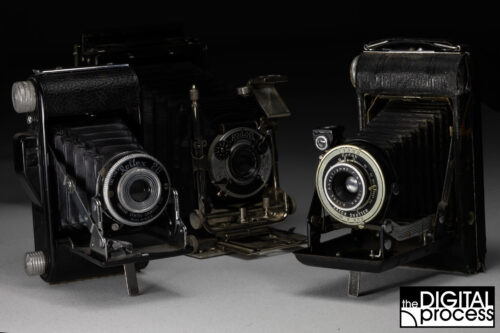
One thing you might find tricky is setting your white balance. If you’re comfortable setting a pre-set WB, you can do that with your flashlight and a white card. I got lazy and just set mine to Auto, and although it did a great job on the flowers, I had to adjust the settings in Photoshop for the old cameras.
Review your settings and if you’re still not sure, try starting with this: 30s | f/32 | ISO 100 | WB: Auto | RAW
Tips for Light Painting
Now you’re ready to begin. You have your subject set, it’s on a sturdy surface and your camera is all set and secure on your tripod. You’ve composed the scene just the way you want it and you’re ready to paint! Turn your flashlight on and turn off the room lights.
While light painting, you need to be careful not to get too close and bump your subject or move it with the ‘wind’ of your hand movements. Before pressing the shutter release, make sure your flashlight is not lighting the subject or pointing at the camera.
Ok go! Press the shutter release and start by illuminating the main focus of your composition. Slowly rotate your flashlight and keep it moving. If you leave it in one place too long, you will get more defined shadows (which is ok). Try various movements like moving your hand in small circles, moving the light closer and further from the subject, lighting from the side and moving the light up and down like an elevator.
Think about what the light will look like in the final image. What will look good when lit from the front? Will backlighting help illuminate translucent sections? How will lighting from the side look? Will that give you edge lighting? There are infinite ways to create a mood using light painting, so try different approaches and check the results after each image is taken. You can also count the seconds spent on each area to get a rough idea of how much light you’re adding.
What to look for?
I recommend that when you start, check each image ‘in camera’ after each shot so you can better remember what you did to get that lighting. When you review your first few shots, there’s a few things to look for. First, make sure your subject is not moving. When I first shot the flowers, there was enough motion to make the images unusable. Zoom in to see if you’re moving your subject. Look for highlights that are too bright and distracting. Look a the really dark areas and make sure something important to your scene is not hidden. Try to compare the areas you lit to the motions and time spent lighting them.
After reviewing an image, try something a little different. Once you’ve done several shots, you’ll start getting a better feel for what works and what doesn’t. Relax, have patience and enjoy the process. You’re the one in control now and you’re creating an image from scratch! Be proud!
Light Painting Example Videos
Here’s a video I shot while lighting painting some tulips. I’ll review some of what you’ve just read and show my methods.
Here’s a second video with a different subject which shows a similar light painting technique with four different results.
Summary
Light painting is a great way to work out new ideas with still life. You can also expand this to larger subjects outdoors for endless variety. The biggest takeaway from this tutorial is that you are not limited to daylight hours, the sun or your flash unit to light a scene. Experimentation in photography can lead to great images and a lot of fun. Grab a couple of your photographer friends and plan a night out to light paint sometime.
The more I work with light painting, the more I use the lesson of “where should the light go” in my other photography. The more you shoot in a variety of techniques, the bigger your photo toolkit will become. Can you do a portrait with light painting? How about painting your car at night? Try drawing at night or in a dark room – a great activity for kids or with your friends around a campfire.
Like any new technique or process, it takes a little practice, but the rewards are worth it. Have fun!


