A beginner’s guide to shooting High School Sports
Introduction

In years gone by, I had shot some high school sports for friends whose kid was participating in a couple of sports, and it was easy to focus on the single athlete. Last year, I was asked by a parent to shoot some sports for a local school with the goal of having images for any of the parents who might want them. It was a steep learning curve, and this lesson will show what I learned in those months.
With any kind of photography, you need to have a solid understanding of the basics, which is what I preach in this website. This lesson will assume that you are familiar with the concepts of shutter speed, aperture and ISO. I used my experience to make sure I could get some good shots, as I worked for improvement each time out.
This post will talk about the fun of shooting HS Sports, what equipment you might need and the settings you should consider starting with. Finally, I’ll give some general tips, then some pointers on specific sports.
Getting Started in High School Sport Photography
Shooting High School sports has some advantages. I live in rural Nebraska, so everything is quite informal. It might be different in your area, but I found that I was welcomed by the school and the parents to bring my camera and get shots. In fact, I was invited to shoot as their regular photographer had moved out of town.
This brings up the first advantage of shooting school sports – Access! In many cases, if you are cleared by the school, you’ll have full access to shoot from just about anywhere that is safe and not distracting. For basketball, I shot from all four corners of the court and up in the bleachers and from the stage. I was always looking for the best angle, as well as trying to cover different sides of the court to get better angles for all the players.

With that said, if you have not been invited, it would be a good idea to introduce yourself and let the school know why you are there. Maybe you’re shooting just for your child, a friend or just to practice your skills. Also, many schools will have their student athletes sign photo waivers at the beginning of the year, it’s worth checking on this if you plan to publish your shots somewhere (like social media).
Using access to your advantage is huge! If you compare this to pro sports where you will see the photographers more stationary or huddled together, you’ll find that moving around and seeing new angles will make your shots better.
Another bonus to shooting high school sports is that you are doing a great community service. The parents LOVE to see photos of their kids in action – and might otherwise settle for phone pics from the stands. The local newspaper might want images as well. But the main goal is to capture the young athletes enjoying what they do, and capturing memories for them and their parents.
So far, so good. But I also have to mention a couple of downsides. The first is lighting. When I think of shooting high school sports, I think of low light. This can be low light in the gym or out on the football field for “Friday Night Lights”. Most of the locations in my area are lit ‘decently’, but as a photographer, there’s never enough light to satisfy!
Although lighting is the main downside, I found that local high school sports are quite unpredictable! By this I mean that plays do not always end up where you expect them to go. Volleyball for example, is quite random and for me is one of the hardest sports to shoot.
In the end, the positives outweigh the negatives, and you’ll be happy to shoot when you can.
What you need for High School Sports Photography
Thankfully, you don’t need too much gear to shoot sports. I use a DSLR and one or two telephoto lenses. My go to kit is my trusty Nikon D850 with a Nikkor 70-200 f/2.8 lens. I’ll also use my D810 and Nikkor 200-500. The main thing to consider is having the fastest telephoto lens you can afford.
I don’t use a flash, as I don’t want to be a distraction. I will sometimes bring one in my bag “just in case”. I’ve been to some games that turned out to be “parents’ night” or some other event, and then I’ll shoot those photos as well, and usually need a flash. If I’m not traveling light, I’ll bring a wide angle zoom for those events as well.
For lower light football fields, I’ll bring a monopod for my 200-500, but usually when it gets too dark, I switch to the 70-200 f/2.8 and hand hold it.
Gear Needed: DSLR + Telephoto Lens (optional monopod)
Camera Settings for High School Sports Photography
This will vary from location to location, so I can’t give you hard firm numbers to set – BUT – I can give you some good guidelines.
If I’m shooting in a gym, I know the lighting will not change. There may be some shadows and brighter areas, but overall, the lighting is the same overhead light from one end of the court to the other (some corners may be a little darker). For indoor shoots like this, I go fully manual.
I try to get to the event a little early so that I can set my gear up, scout locations and be prepared by game time. My preference for shooting sports is to have as little depth of field as possible to keep the background out of focus. So my first setting to open my lens up to its widest. Next I’ll decide what shutter speed I’ll need to freeze the action, this is usually about 1/000s or maybe 1/800s. With these two important settings made, I then have to find the best ISO work with these. In most cases, I have to settle for about ISO2000. This is pushing the edge of what I want to use to keep photos clean and noise-free, but I am limited by lighting.
If you are shooting outside you’ll need to adjust your ISO as the day goes on. For a football game I might start at ISO 400 and end up at 10000. You can also consider using AutoISO.
So now you have your shutter speed, aperture and ISO set. The last thing you want to set is your White Balance (WB). If I’m shooting sports, I want to make sure that the white uniforms are white, and the skin tones are accurate. If you rely on auto WB, you’ll get inconsistent results. Your choice is to either find a good setting in your camera, like a Fluorescent WB, or better yet – go with a custom WB when indoors. I highly recommend that you take the time to learn about Custom White Balance if you’re not already familiar with it. Bring a white card, or find a true white wall in the gym to work from. It will save you a lot of time in editing if your shots all look the same. Outdoors can be trickier. You might start out on a nice sunny day using Daylight WB, then slowly change over to field lighting. Always be aware of your changing light conditions. You can adjust from daylight to custom or if you’re not comfortable with those settings, try an Auto WB.
The other settings you need to look at are focus and frames per second. I always use continuous focus, and mostly use a center area for my focus spots. This allows me to stay with the action and hopefully achieve sharp focus on a majority of shots. If your camera has ‘face-detection’, turn it on, as that will help with your fast moving subjects.
I’ll also shoot at the highest frame rate as well. On my D850, that’s 7fps, which is enough for me to get a short series of images from a shot. This also means that I have a LOT of images to look through when I get home. It’s not usual for me to spend more time sorting and editing than shooting a game.
Basic Camera Settings:
- Exposure mode: Manual
- Shutter Speed: 1/800s or faster
- Aperture: usually wide open
- ISO: manual – based on Shutter and Aperture settings
- Focus: Continuous, Center Area (with Face Detection if available)
- Drive: Continuous shooting at highest frame rate.
Picking your locations
Where you shoot from will dictate the type of photos you’ll get. This will change for each sport and venue, but if you shoot often enough you will find your favourite locations.
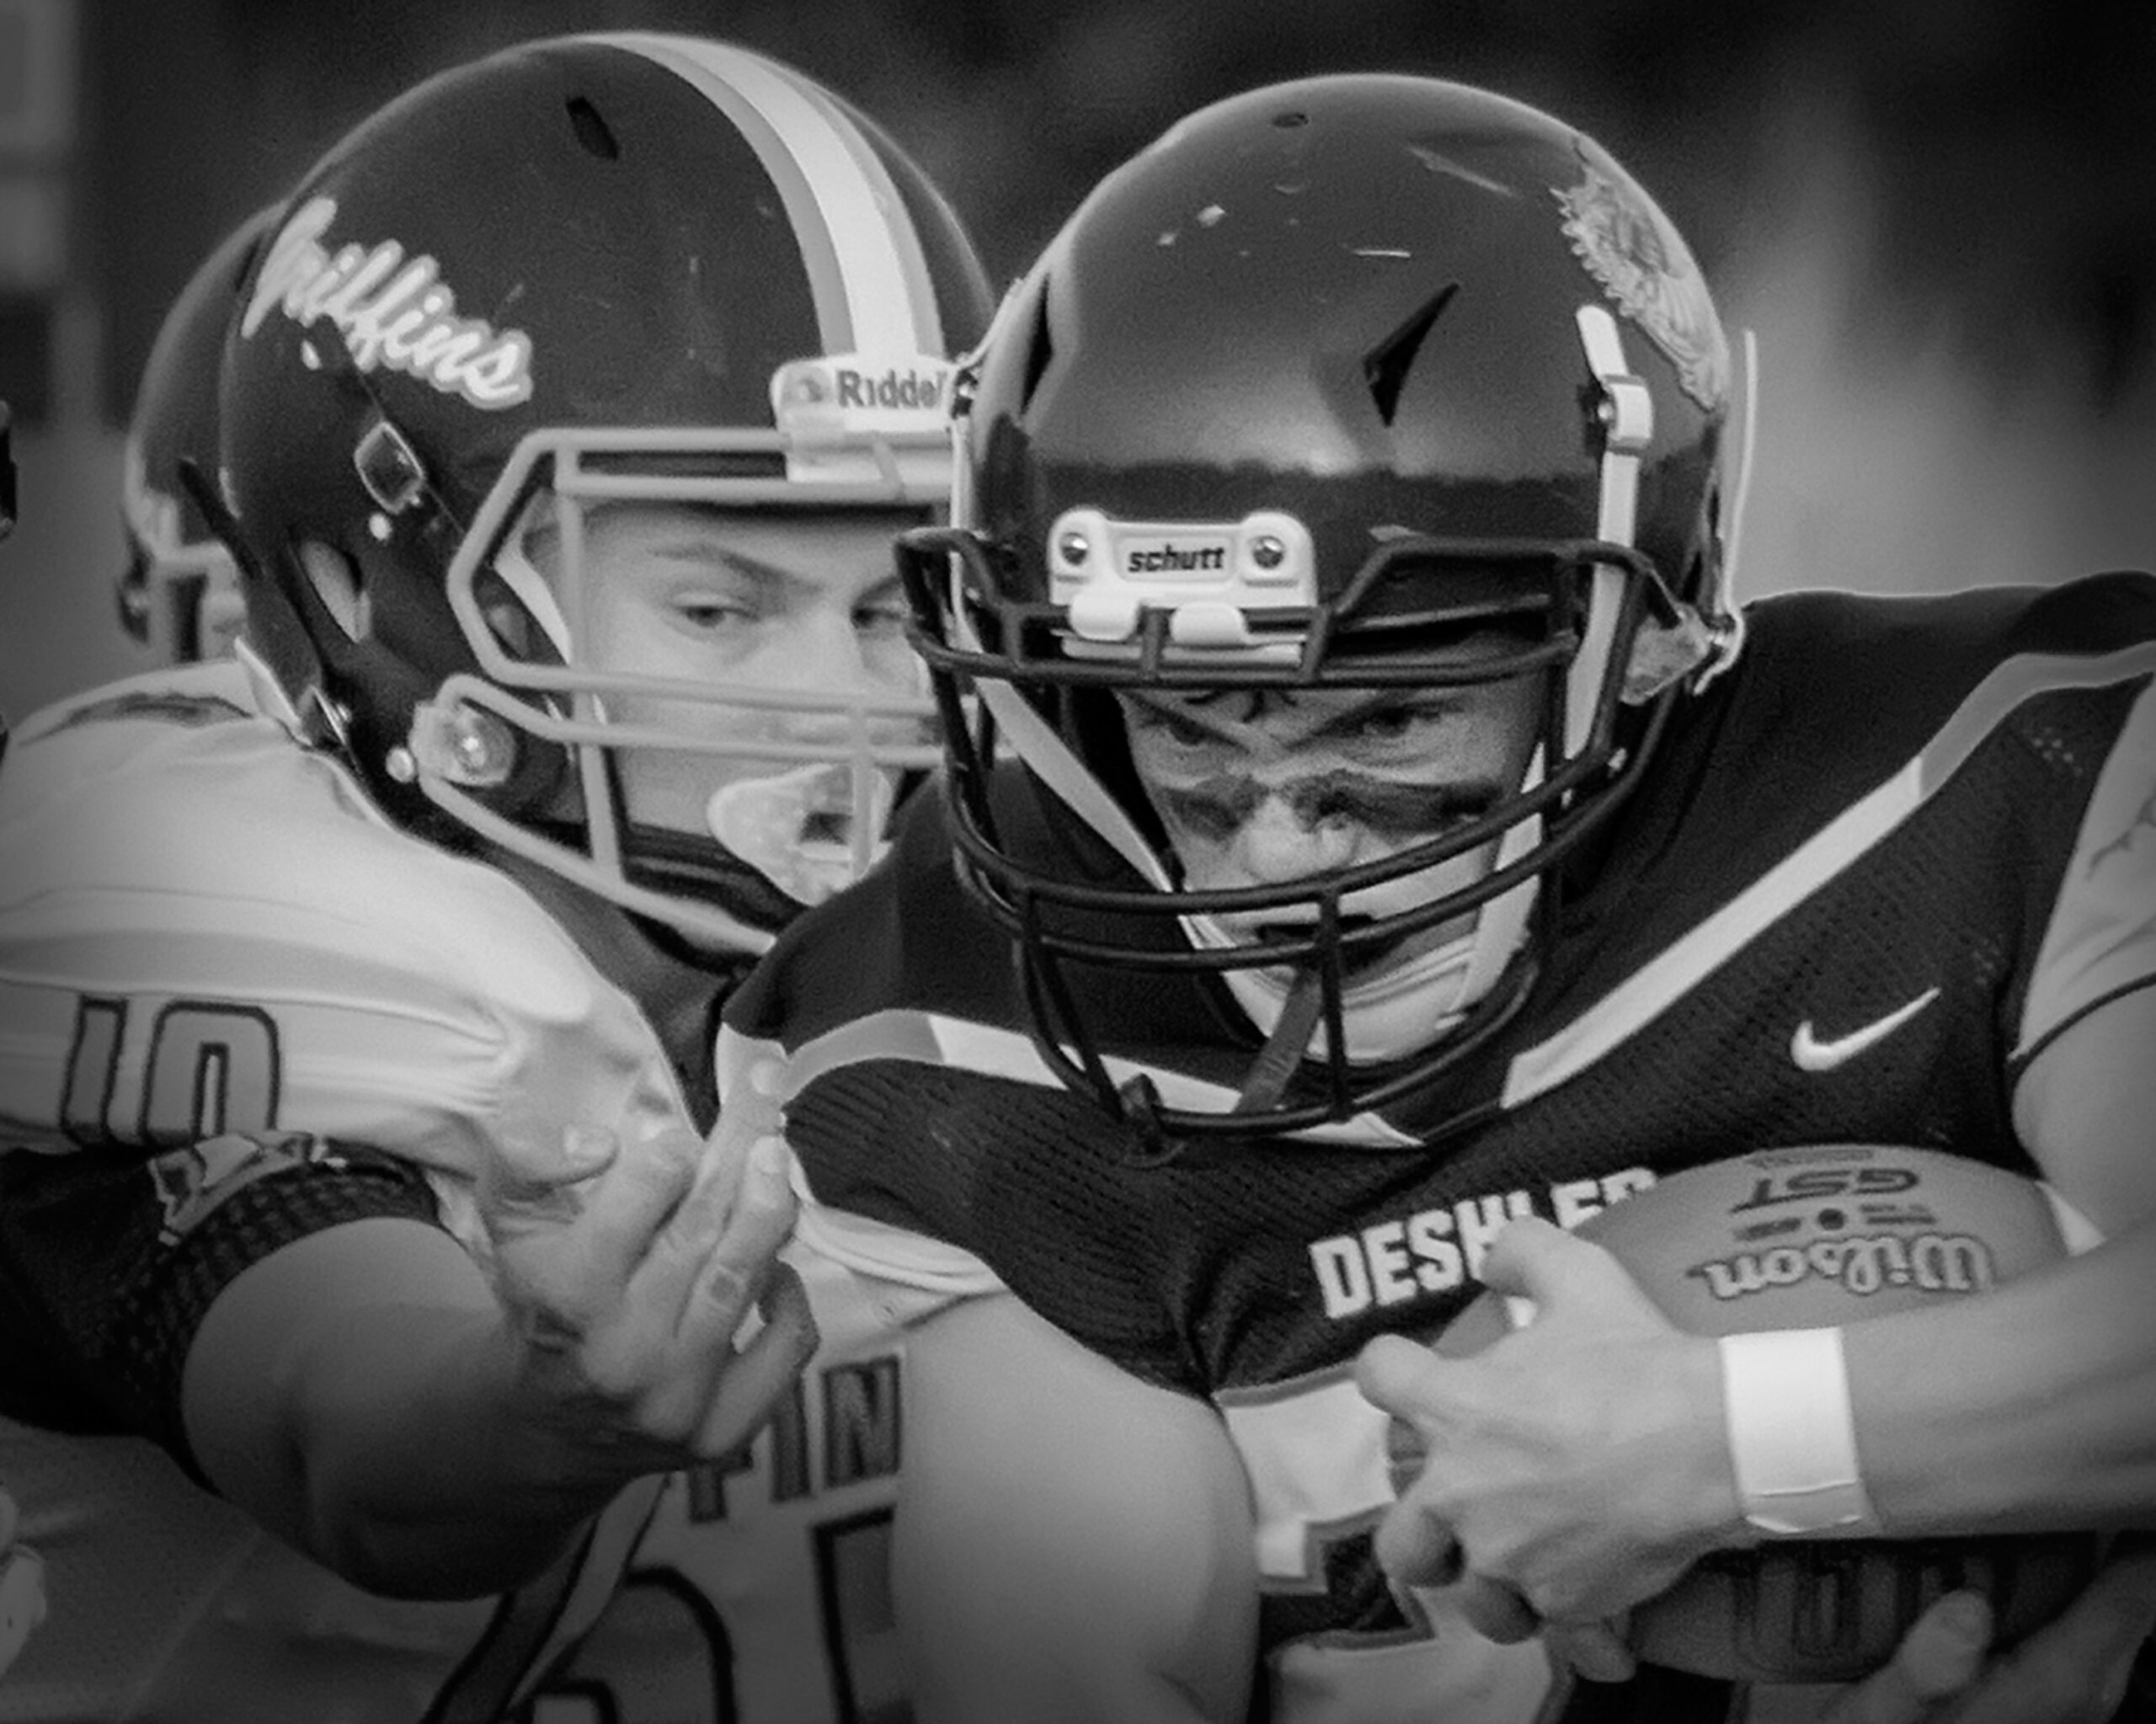
When I’m shooting football I like to follow the line of scrimmage up and down the field. This allows me to get the linemen battling it out, as well as the pass rush. I’ll stay at least 10 feet away from the sidelines, and do my best to stay out of the way. If the play goes down field, I will have the option to move closer to the field to get a better angle, but I never step into the field.
If the play gets close to the goal line, say about 10-15 yards out, I’ll park myself at the goal line to get the dramatic touchdown shot. But otherwise I’m following the ball.
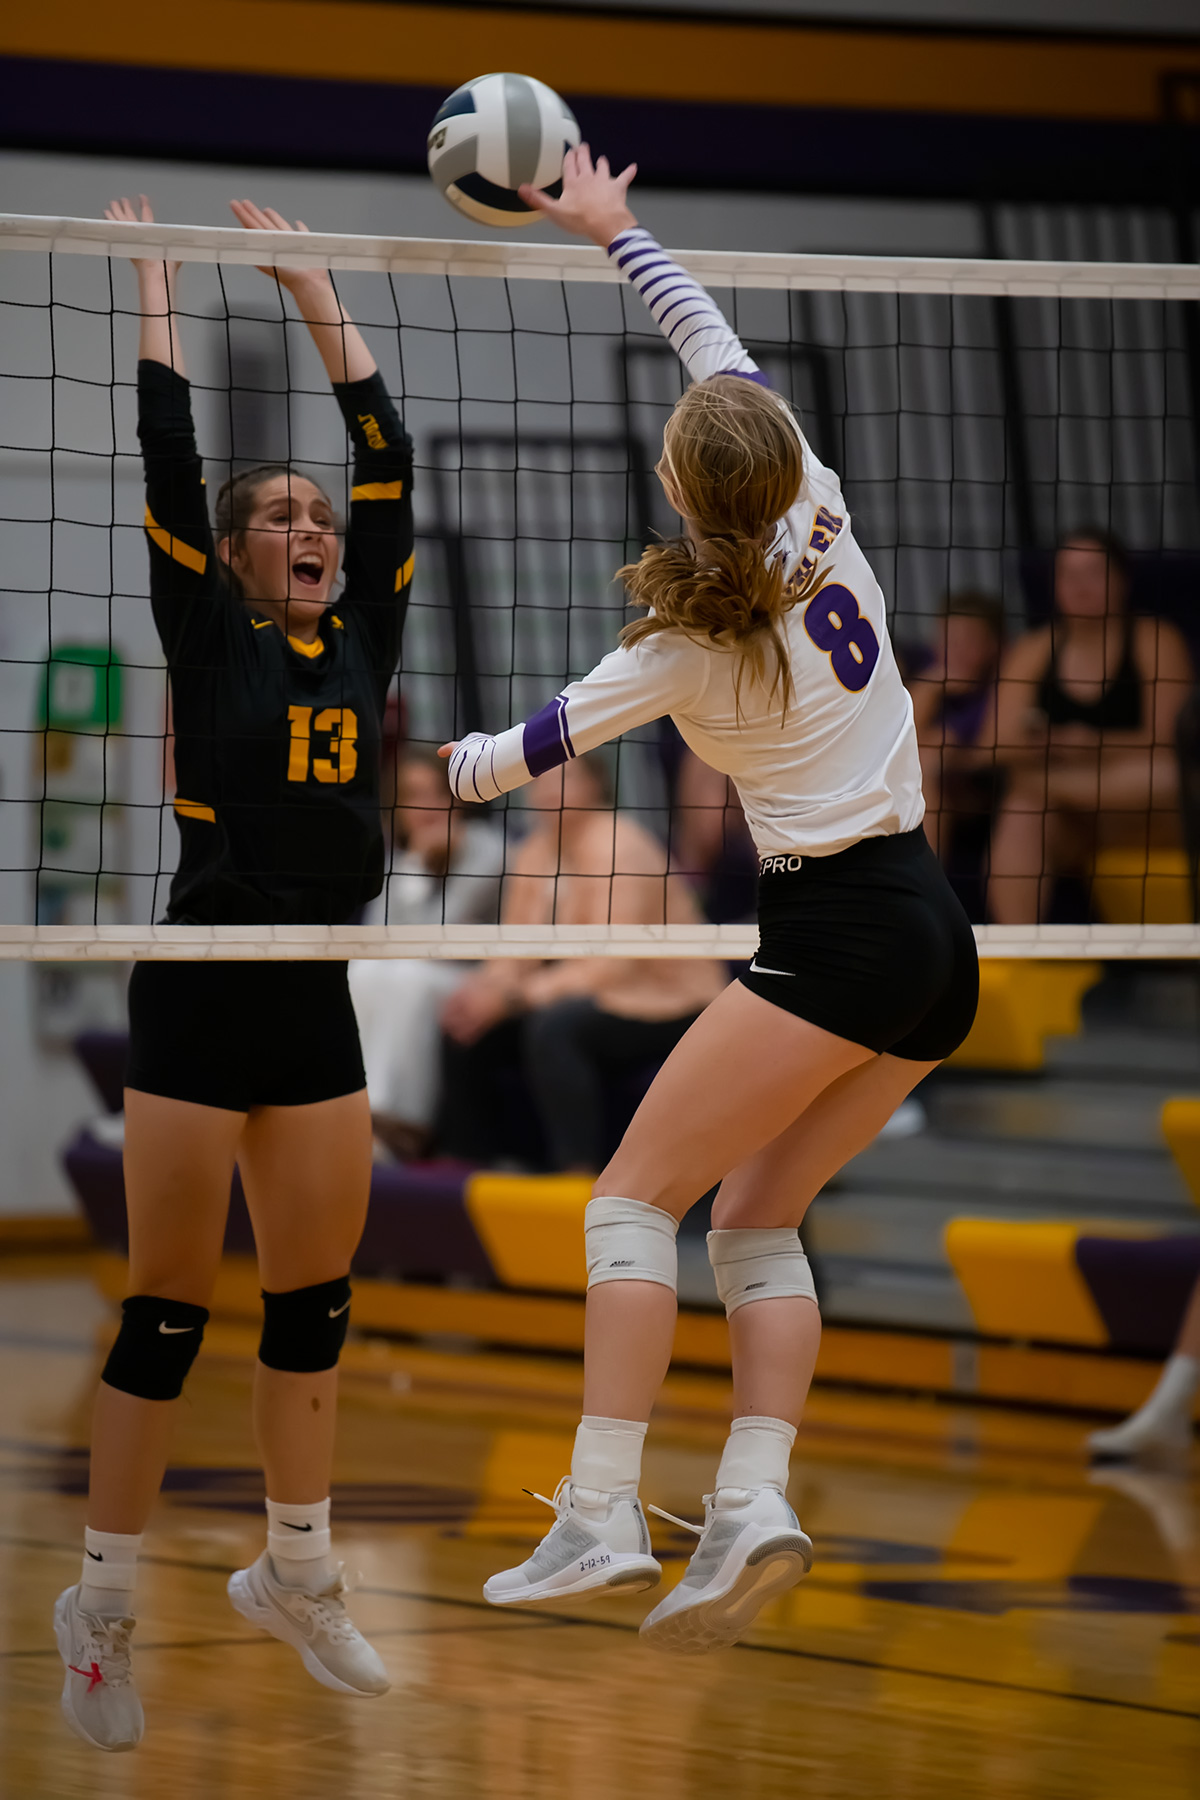
Volleyball is a tough sport to shoot. I find that the play (especially at high school level) is quite random. But still there are a few set plays like the serve and some plays at the net. I’ll move around a lot and try to get as many angles as I can. I’ll shoot from the end of the net in the stands, and various heights to get different angles on the players. I’ll shoot from the corners and through the net to get the faces of the blockers or spikers. Move around and find a place you’re comfortable getting the shots you’re after.
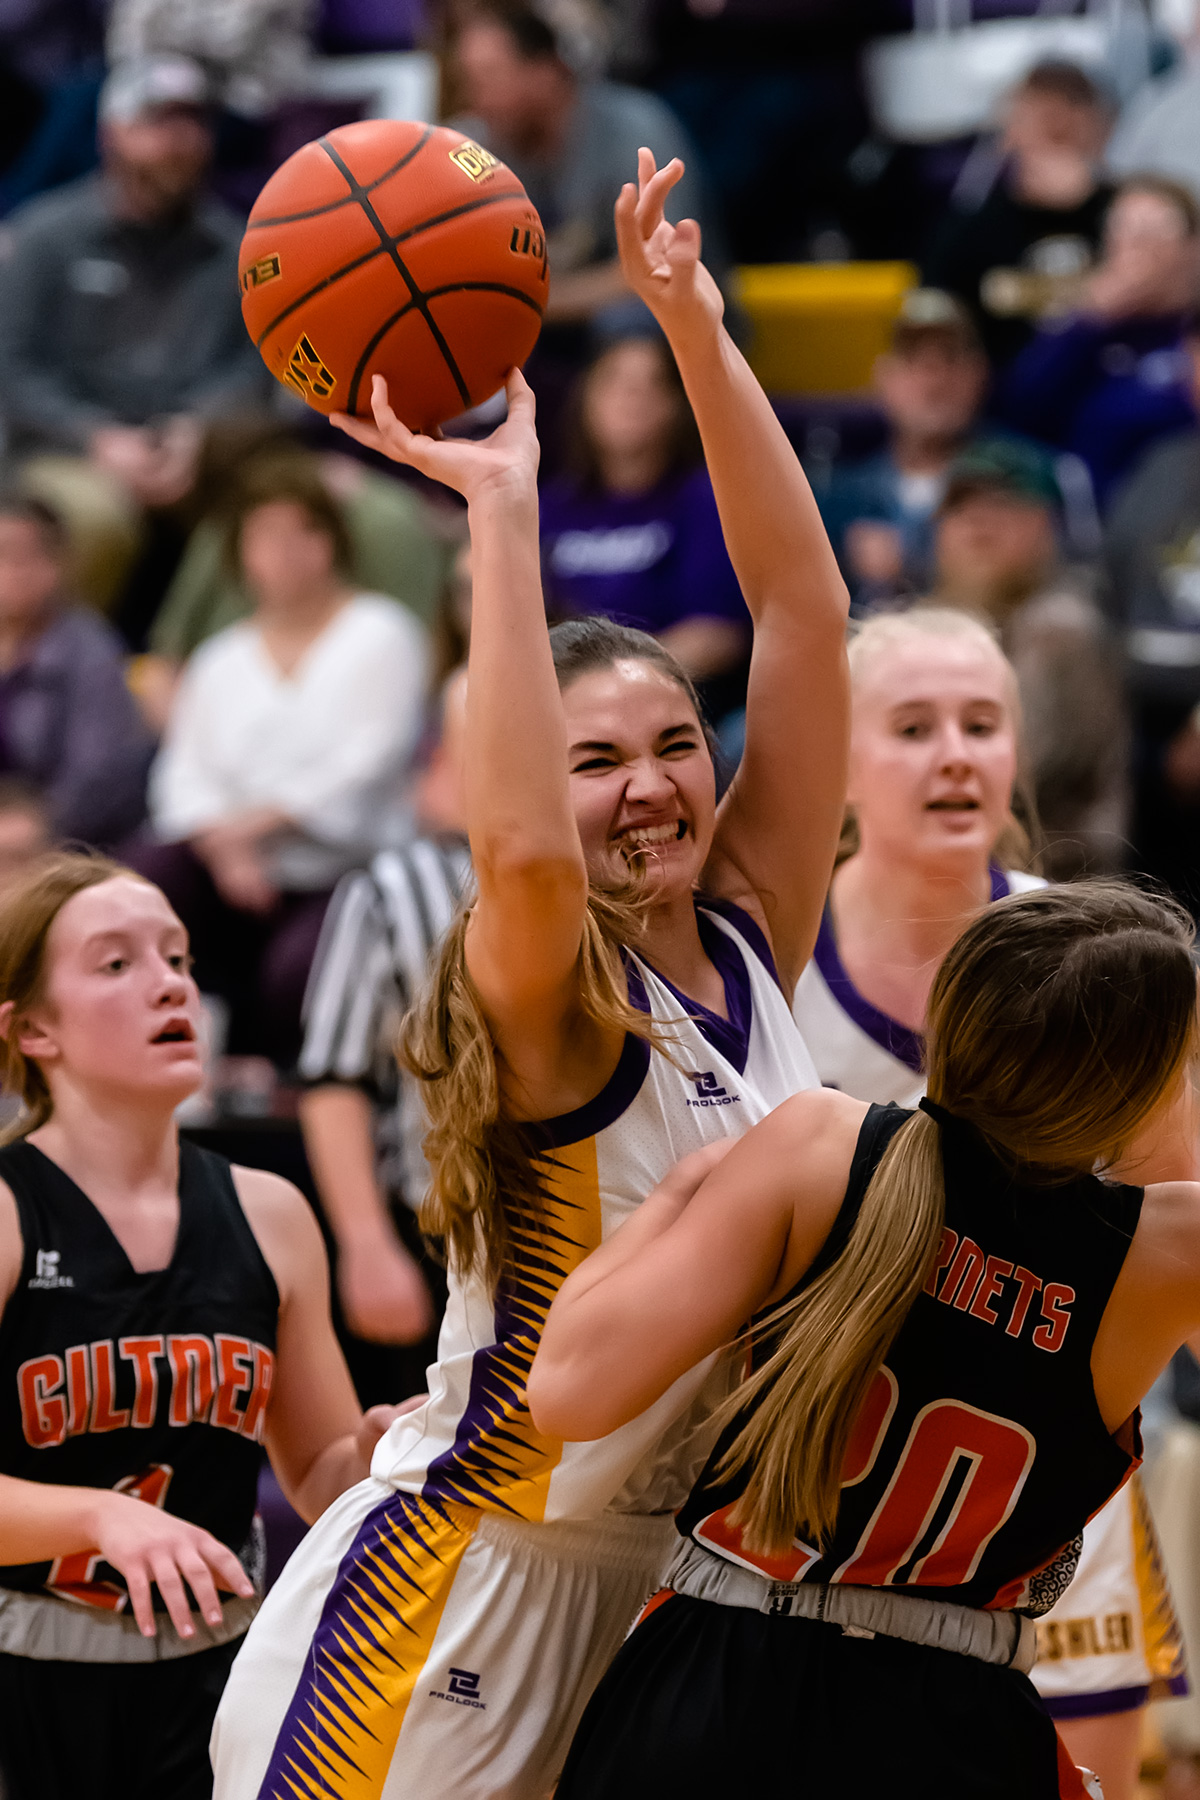
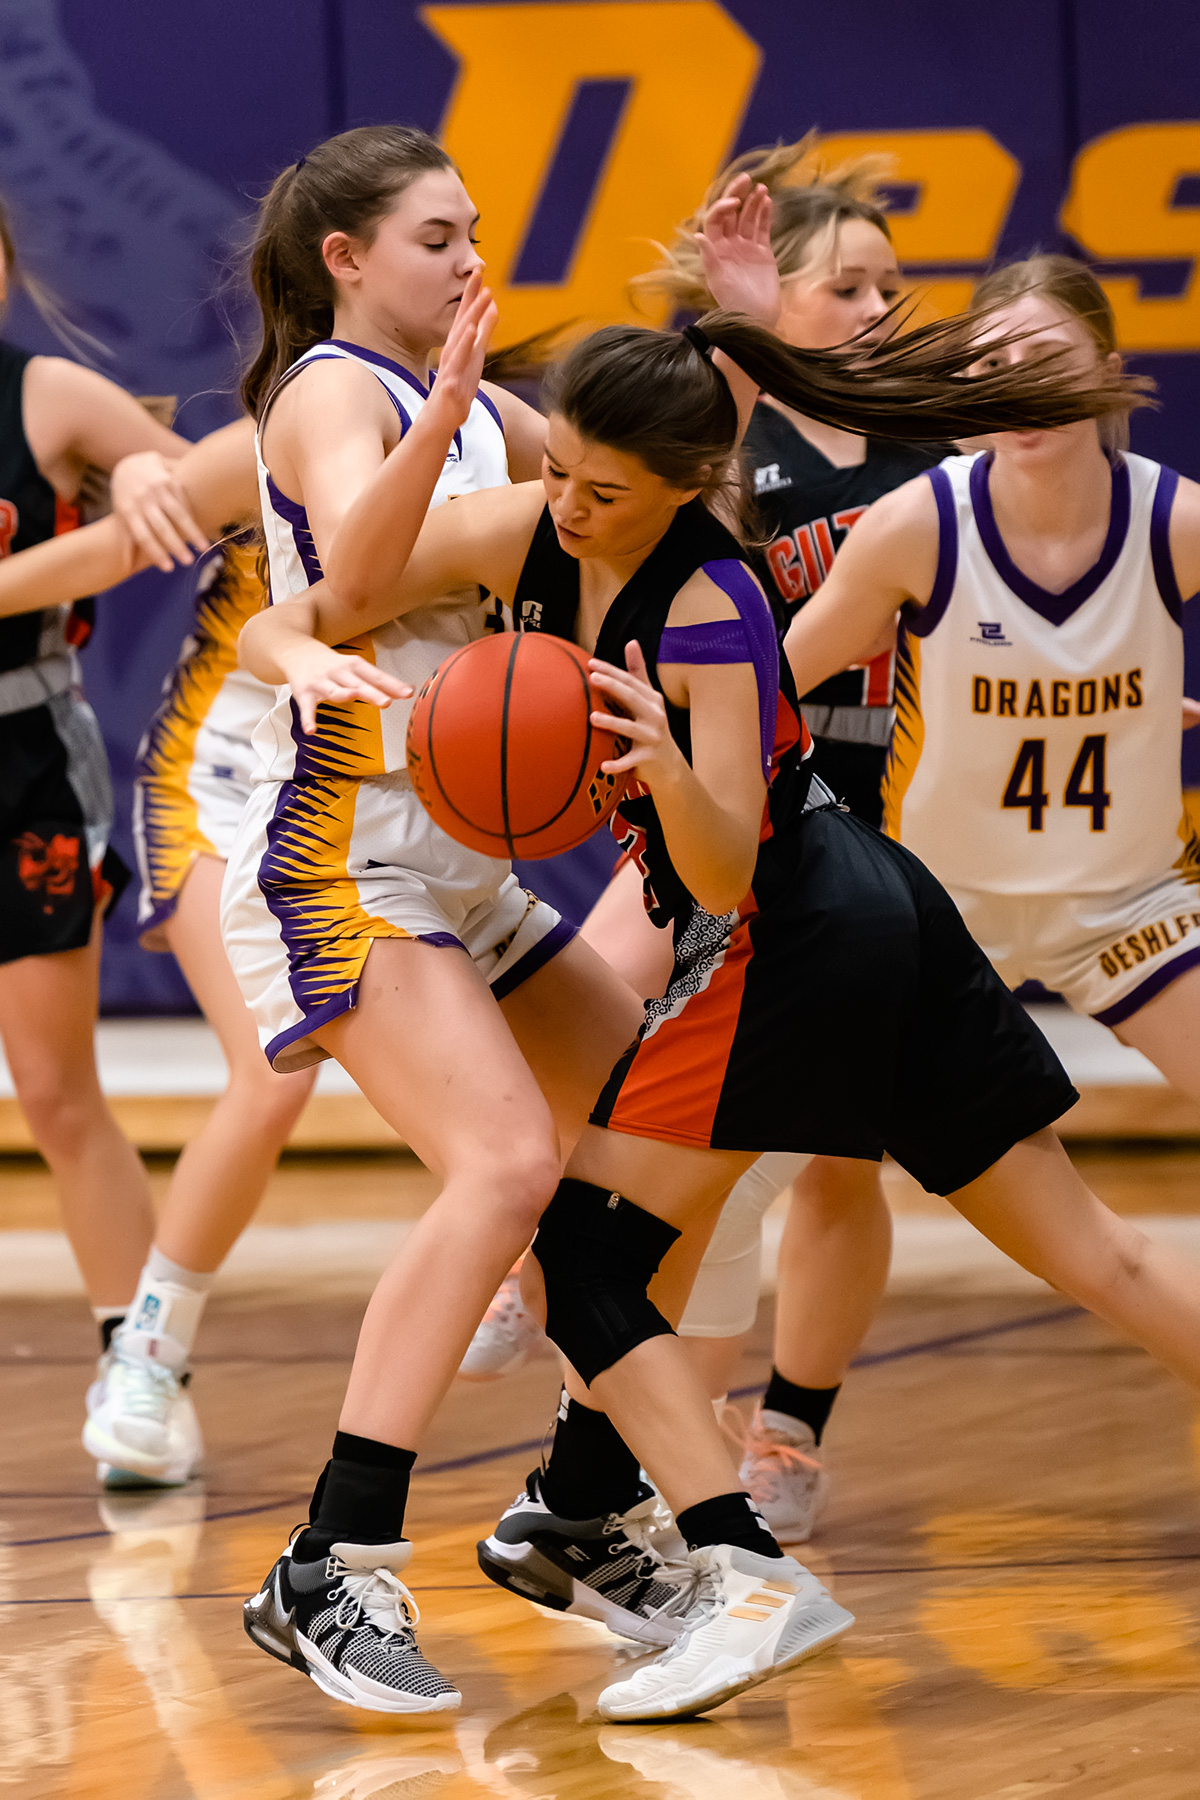
Basketball is a little easier to shoot than volleyball as players go to set spots on the court and you can generally see where the play is going. What I’ve done recently is shot each quarter of the game from a different corner. This allows me to see players who mostly stick to one side of the court for at least a quarter. Since I’m shooting one team in particular, changing locations like this lets me shoot where they are on the offense, but I can still look back and get some defensive plays as well.
As a general rule, I like to stay on the same level as the players. I feel this gives a more intimate look into the game. I’ll shoot some from a higher angle just for a different look, but most of my favourite shots will be at eye level.
Tips for Specific Sports
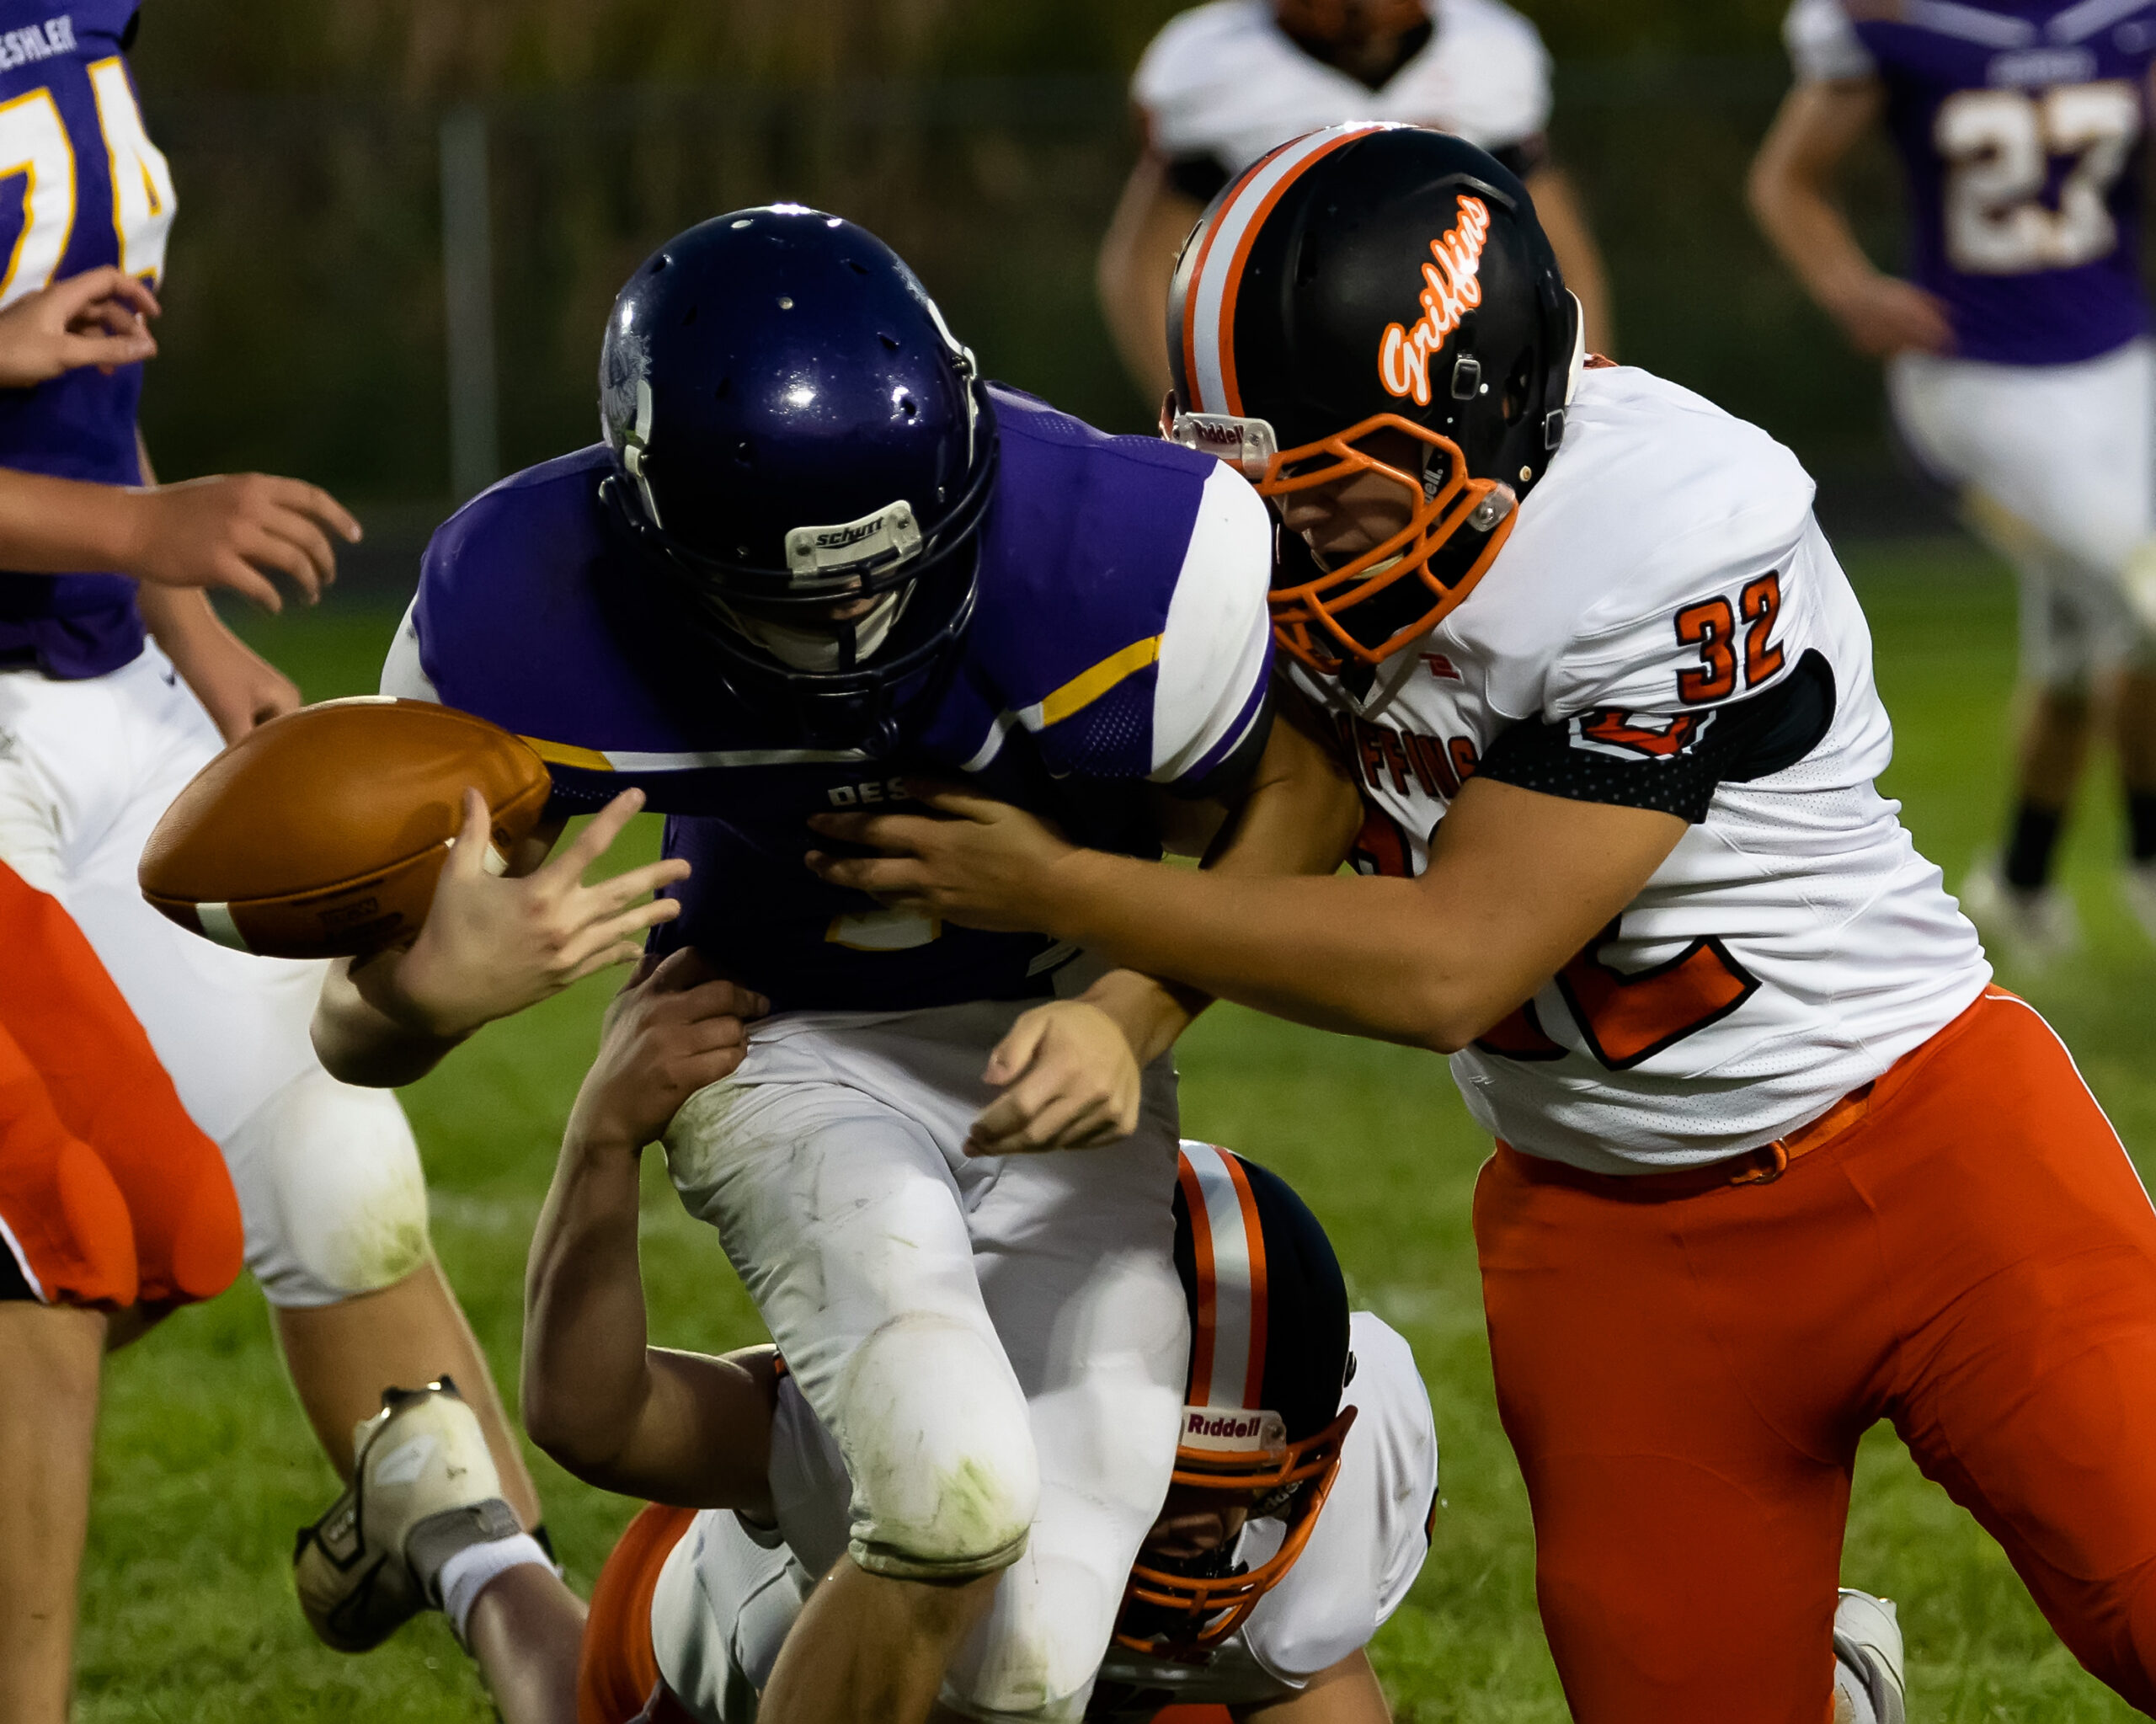
FOOTBALL:
If you follow the play up and down the field, your are closer to the action and ready for most big plays. It’s impossible to predict when a play might end up down the field with a long pass or run, so if you stick to line of scrimmage, you’re in a good spot. This allows you to get a lot of shots of the quarterback, running backs and the linemen. Depending on your lens, you still might be able to follow the play if it goes down field.
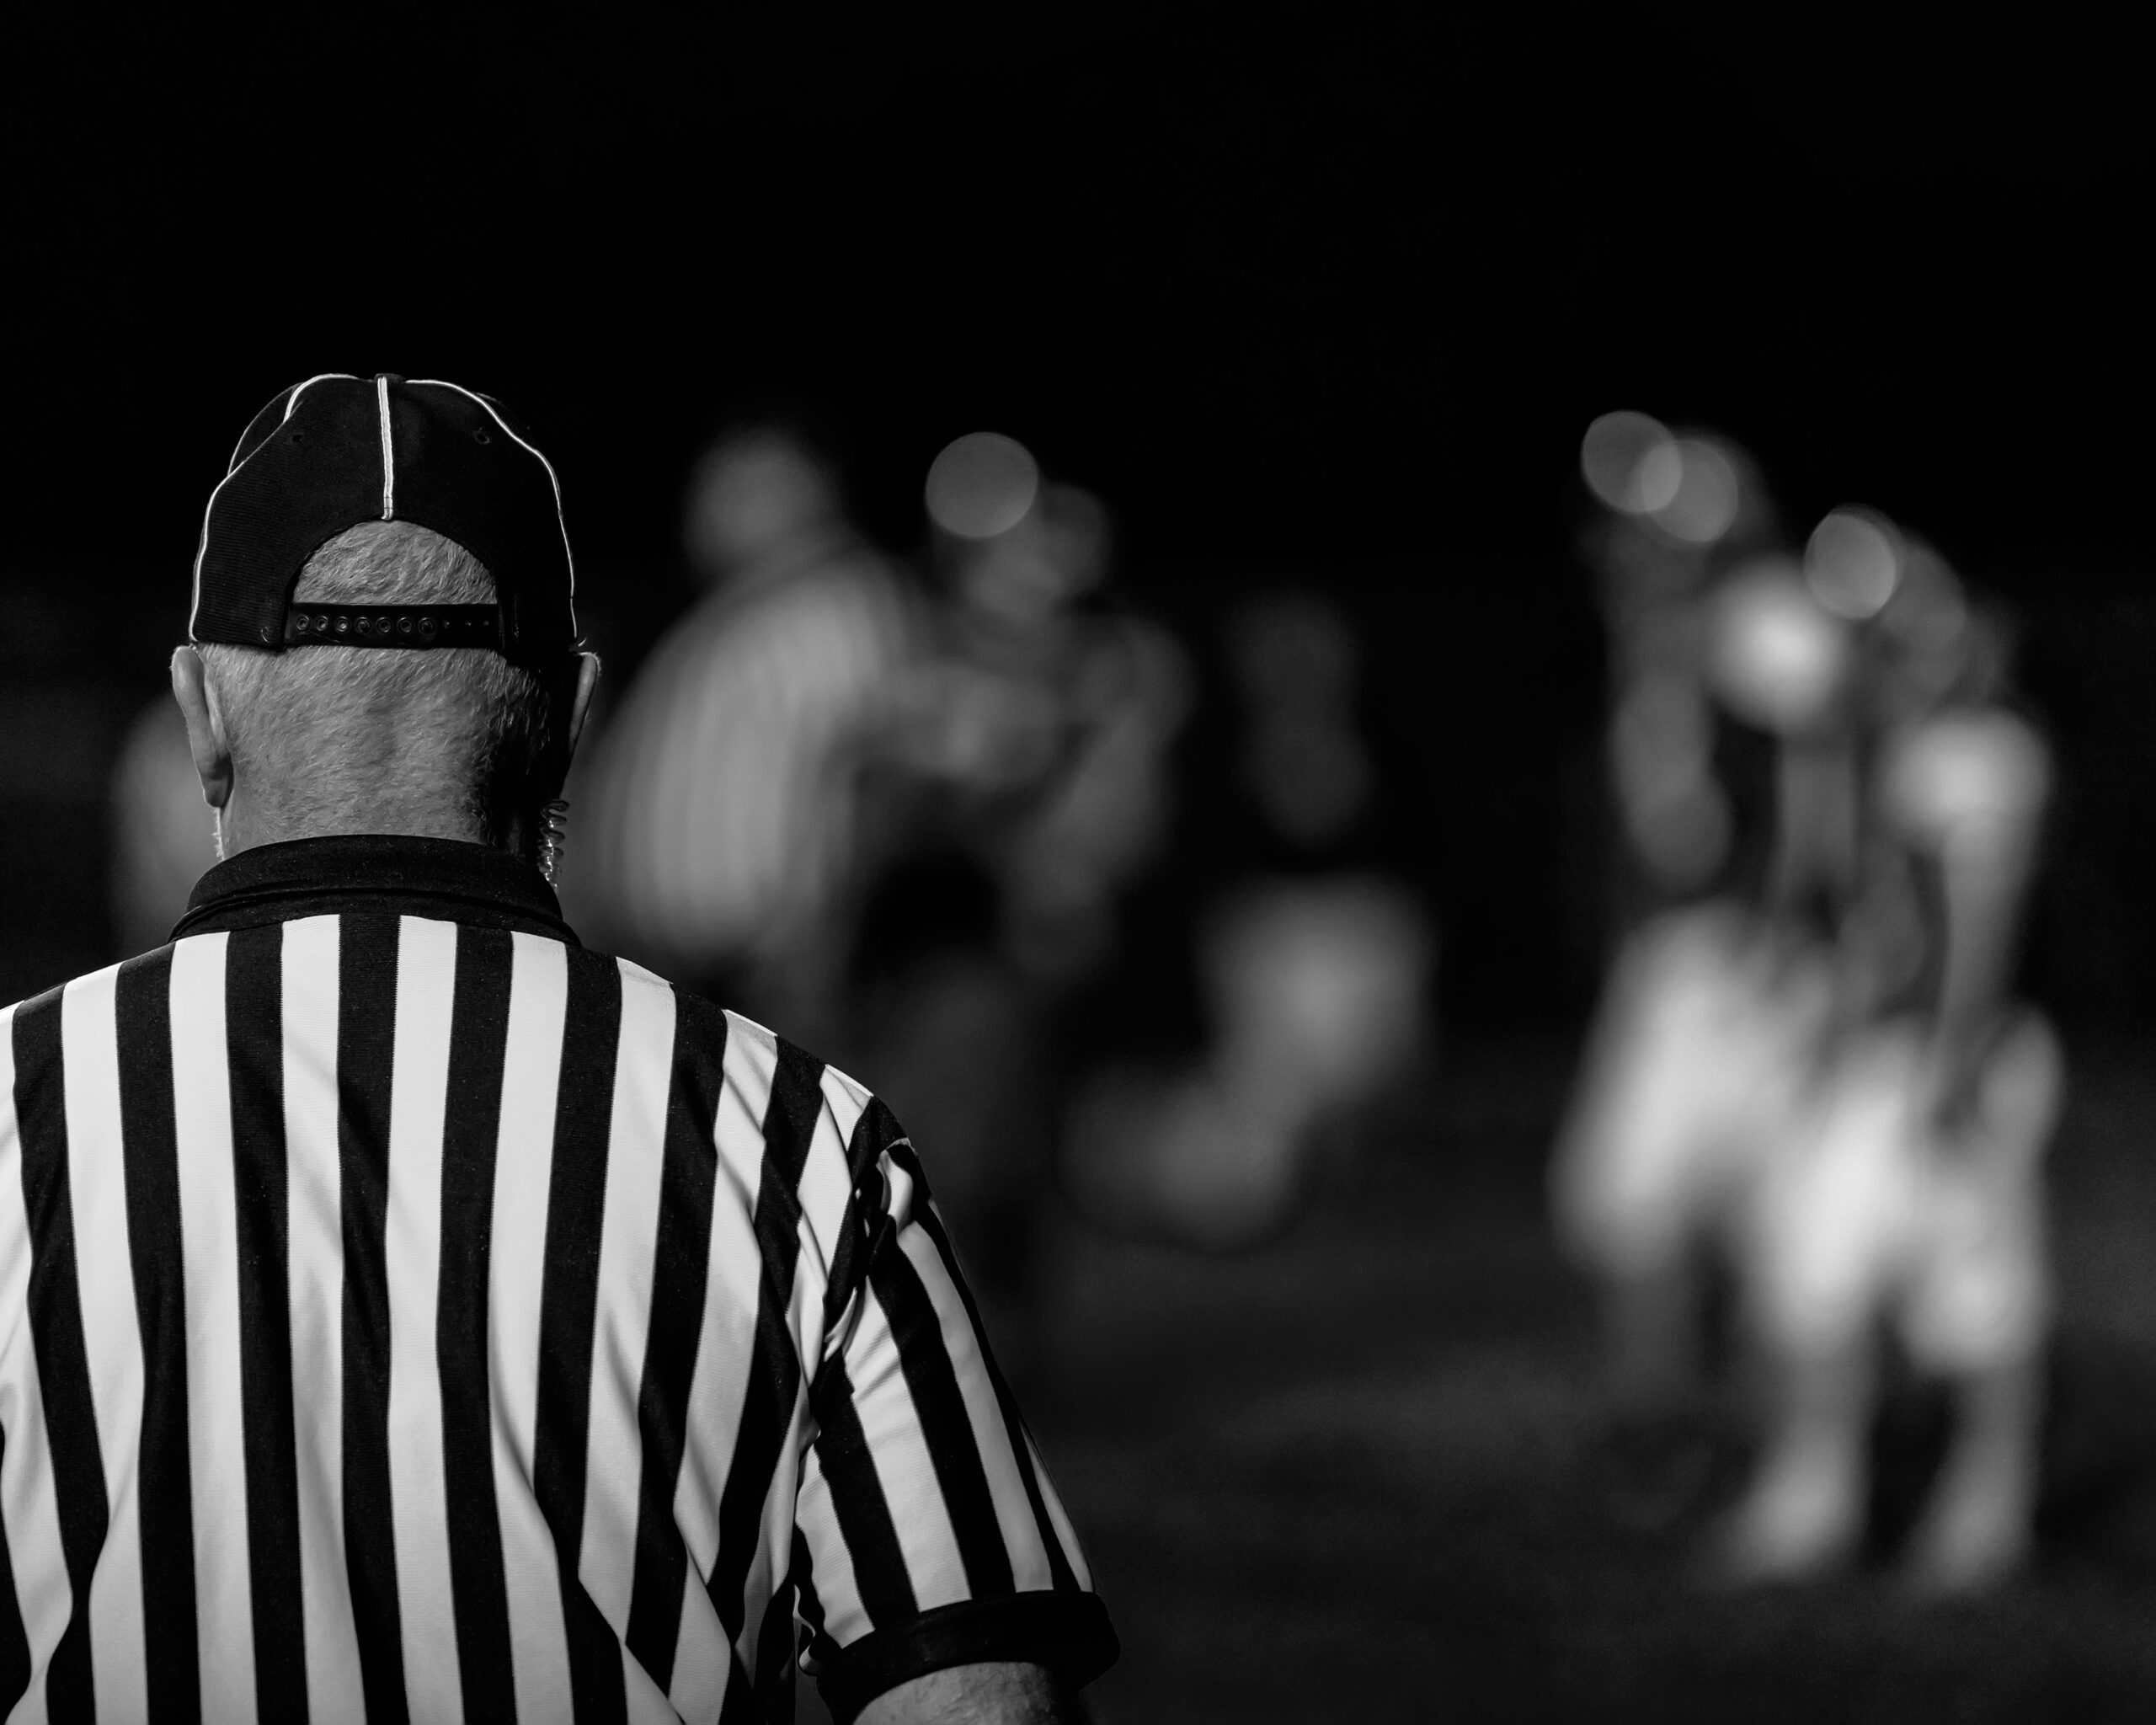
Line up at the goal line. A lot of times, you might want to move away from the line of scrimmage to stand at the goal line. This allows you to get the player crossing, some celebrations, and maybe the ref signalling the touchdown. You’ll have more options here, when there’s a chance for a touchdown, and you can always follow the play again later.
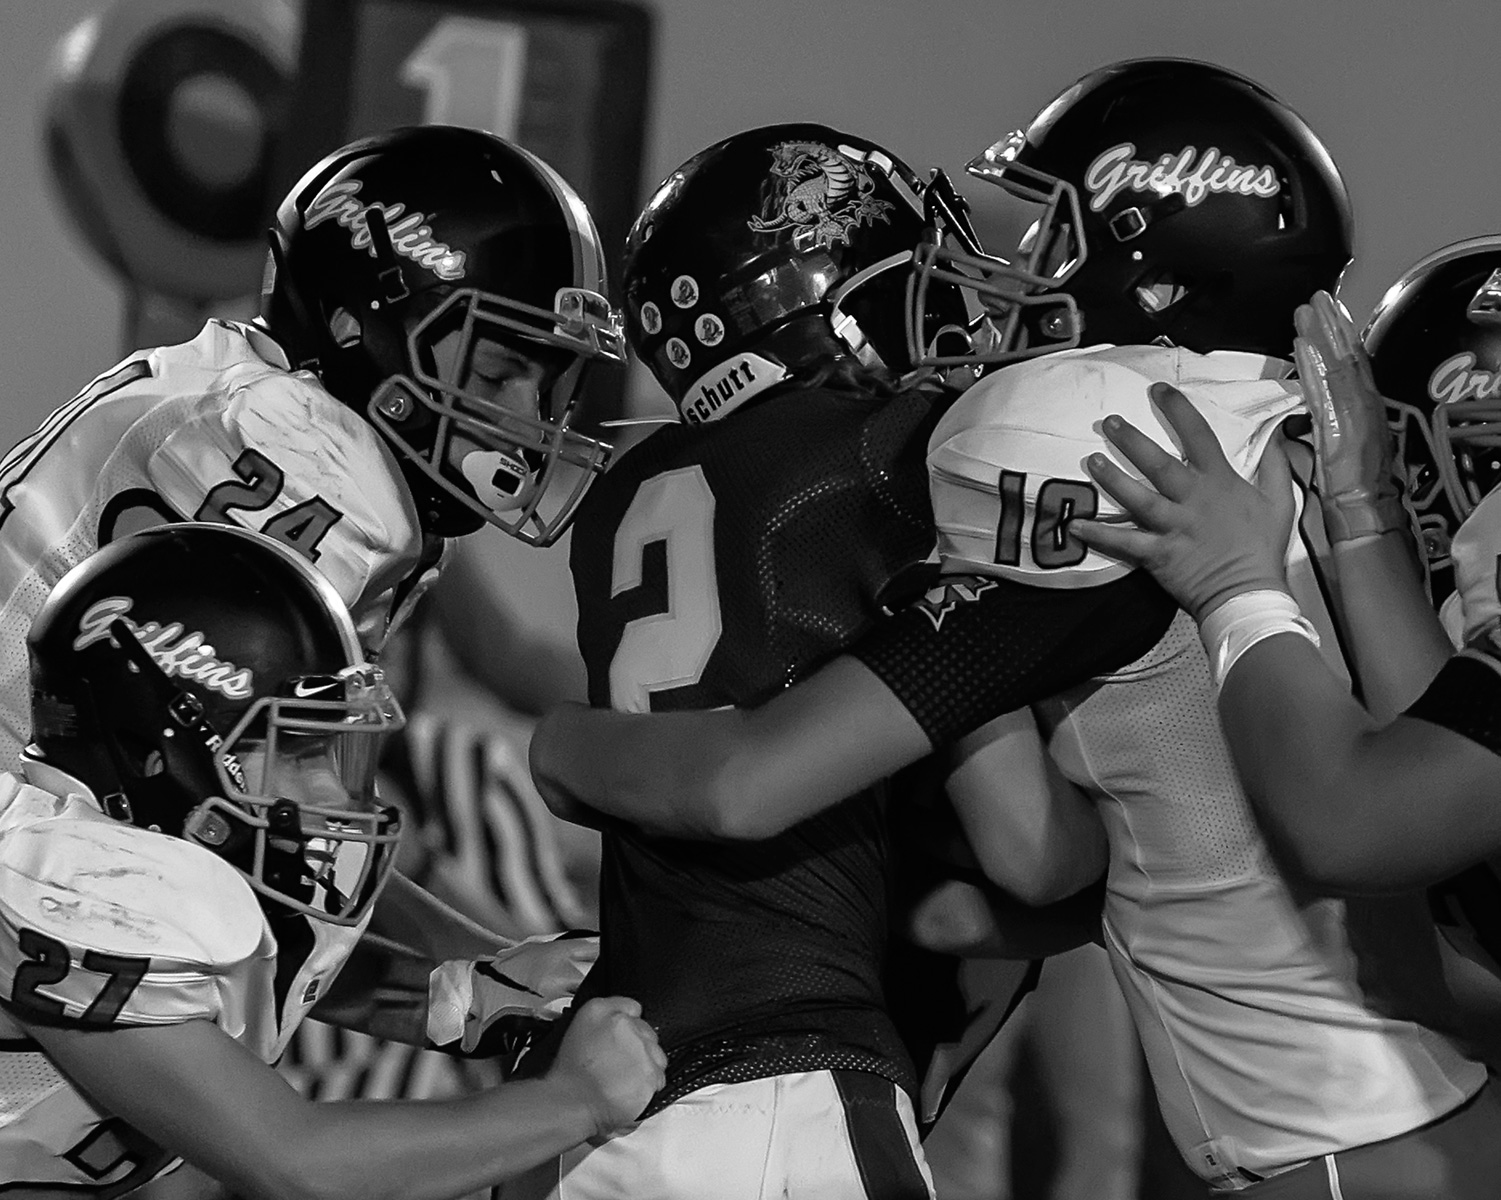
Get in close and try to catch the effort and emotions of the players. Once you have a shot that is in focus, nicely composed and looking good, you’ll want to see if it conveys the emotion of the sport. Don’t be afraid to zoom in. A football game allows for a lot or repetition, so make sure you try for a range of shots within the standard plays.
Get low by crouching or lying down. Shooting up towards the players can give you some great new perspectives. Shooting up at any subject gives it importance. For football, I am usually near the sidelines, so I crouch rather that lay down. This gives me a faster start to move out of the way. With creaky knees, I need all the time I can get!
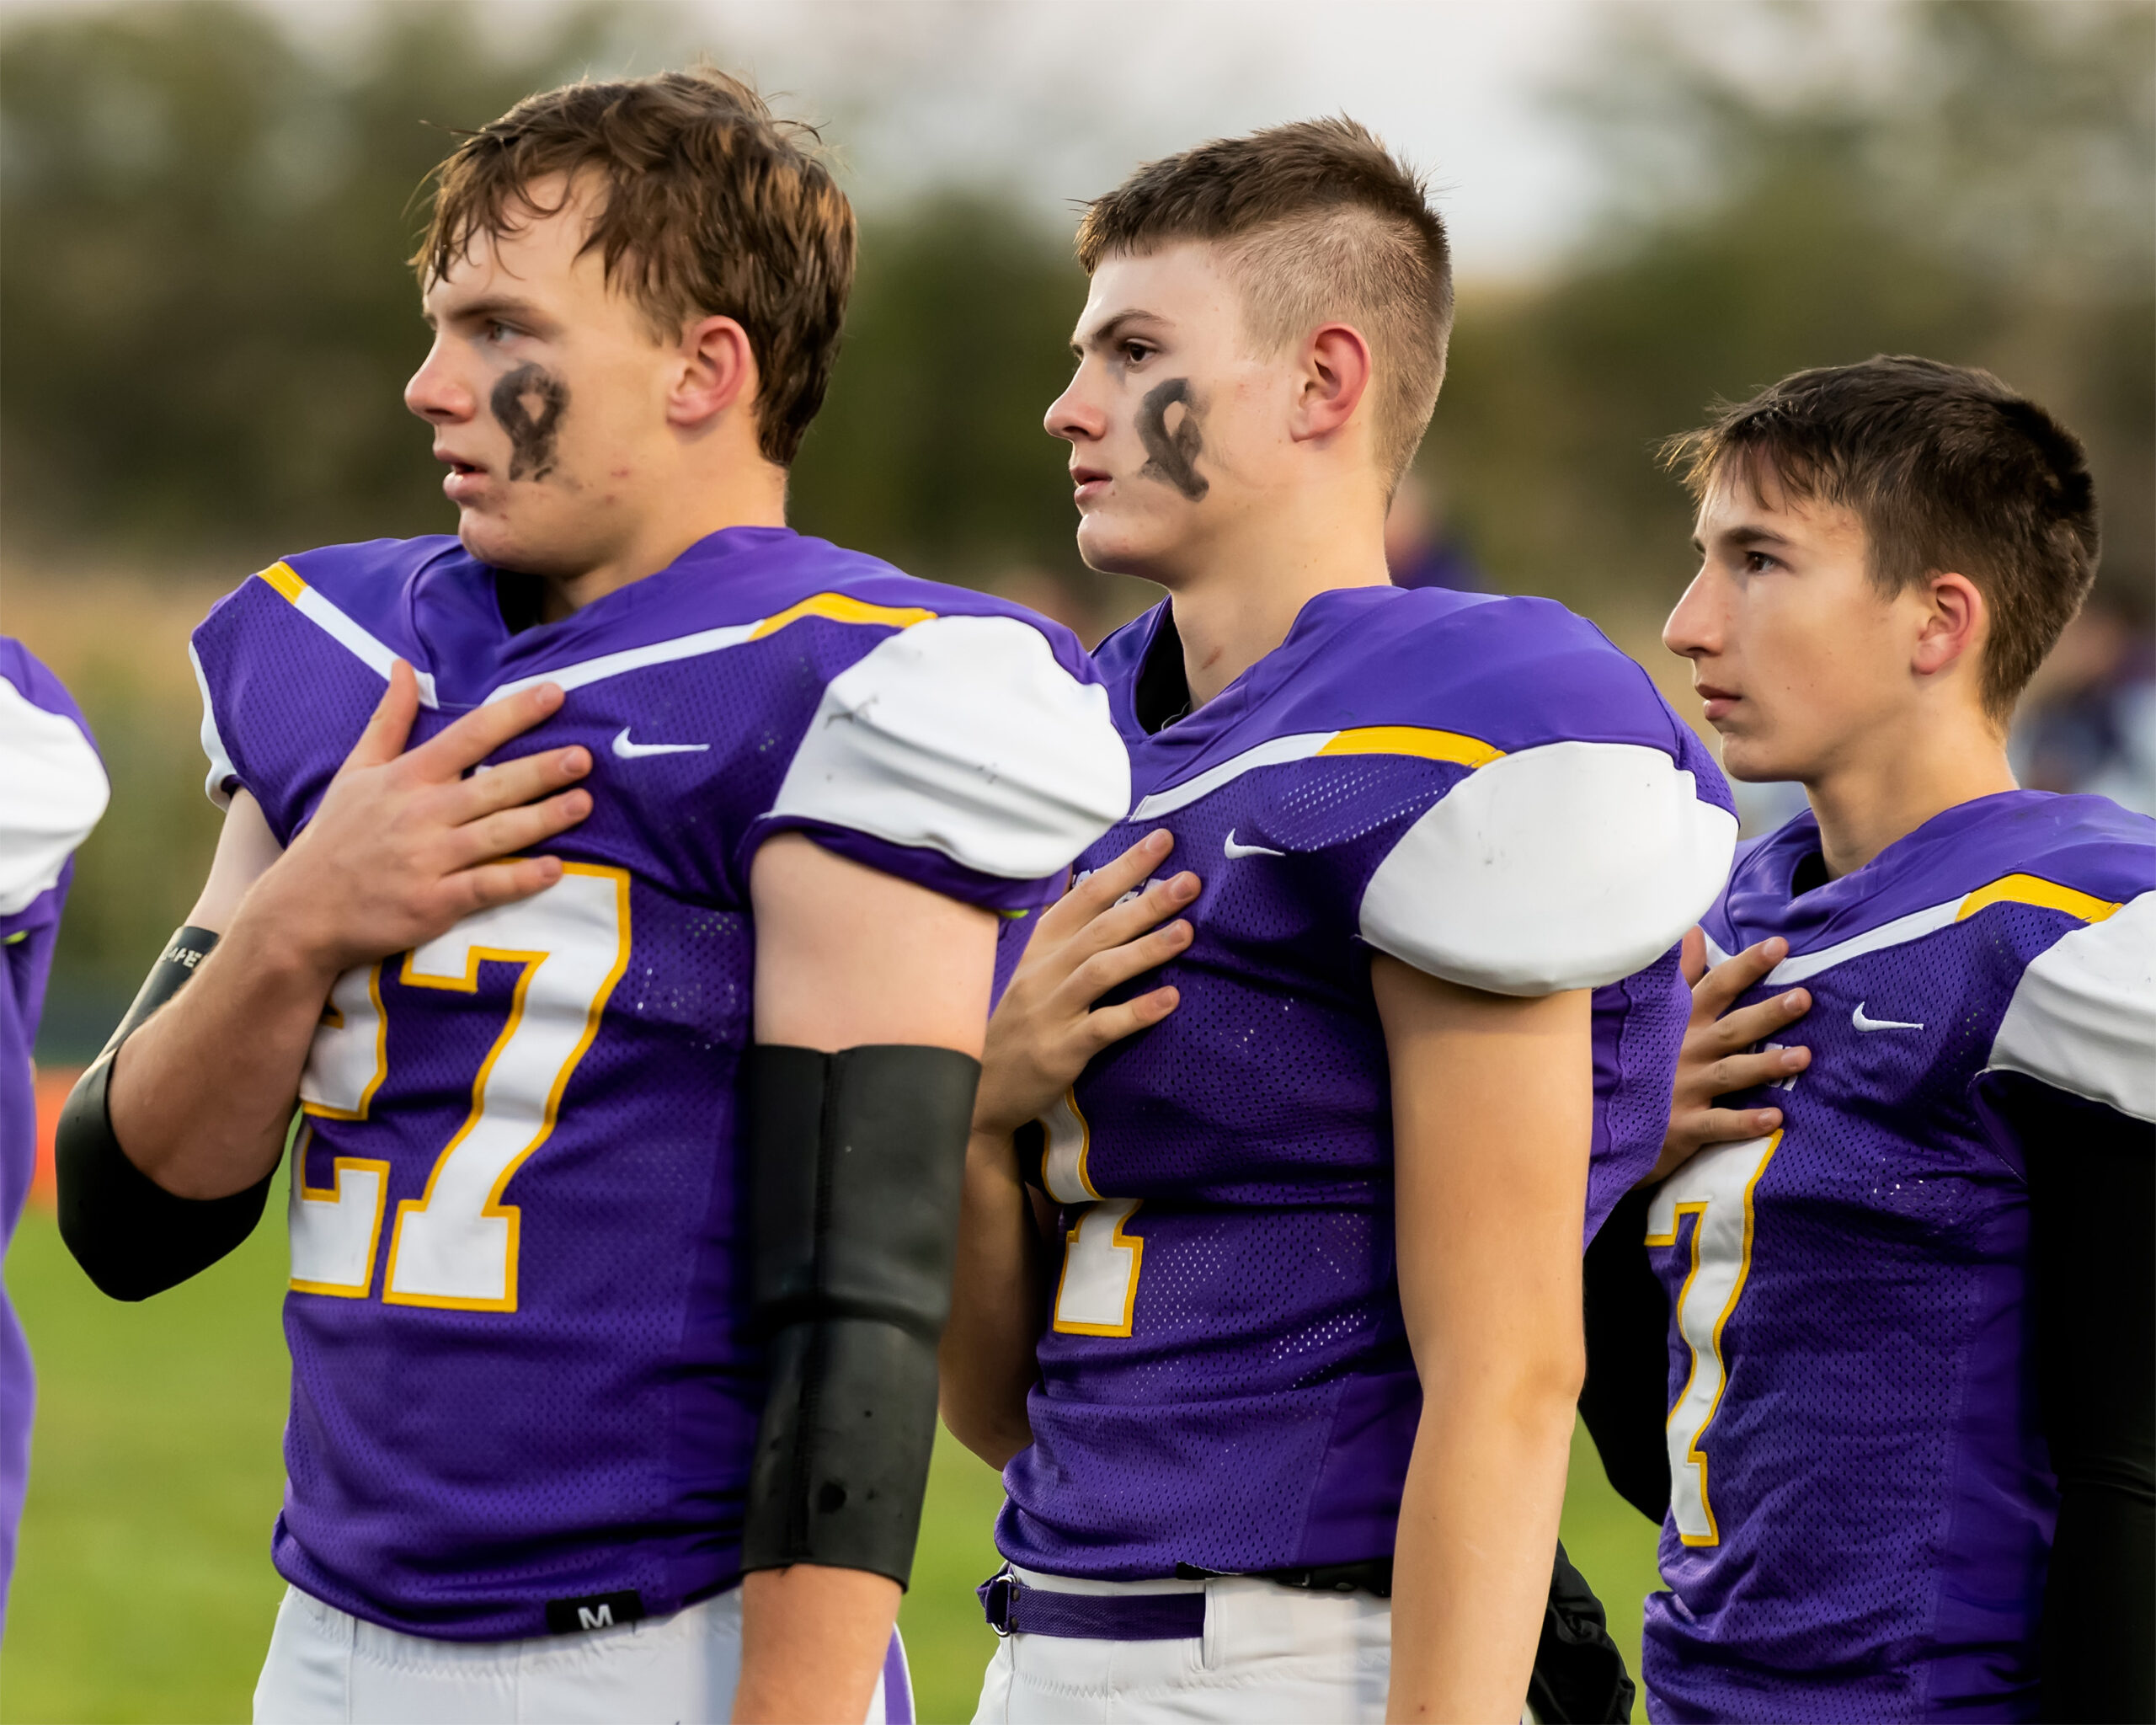
Keep track of your white balance. Many games will start in the early evening and you may get some wonderful golden hour lighting, but sooner than you want, the lights will come on, and the sky will get dark. If you started in daylight WB, you will want to change it once the lights take over.
BASKETBALL

Move around and try a lot of angles. Unless the stands are filled, you should have some variety to pick from for your locations. Pay attention to the background. Maybe the wall at the back has the school logo on it. Maybe the parents are gathered in one area. The background might be out of focus, but it is still part of your image.
Follow the play. Basketball is a fast sport and you need to be ready for anything. A ball between players for a loose ball can make for some compelling shots. The quick pass that leads to big play down court.
Keep an eye for new players. There can be quite a few substitutions throughout a game, and some players only get in for a few minutes. If you notice a new face, be sure to get some shots in case they don’t get back in.
Switch sides so you can get players on each side of the court. I like to shoot from a different corner of the court for each quarter. I’m usually shooting for one team, so that gives two sides each time they are in the offensive zone. When you move, remember to check your background.
Volleyball
Don’t be afraid to shoot through the net to catch player’s faces who are blocking or spiking from the far side. Most Autofocus systems will work fine.
Watch the play and see if you can see where the serves are ‘usually’ going. This way you can plan your shot a little and get the player returning the serve.
Time your shots for the serve. If you’re shooting the server, try to time your shot to include their jump while the ball is still in frame. If you’re shooting 5 to 10 frames a second, it is possible to miss. Watch them serve and try your best.
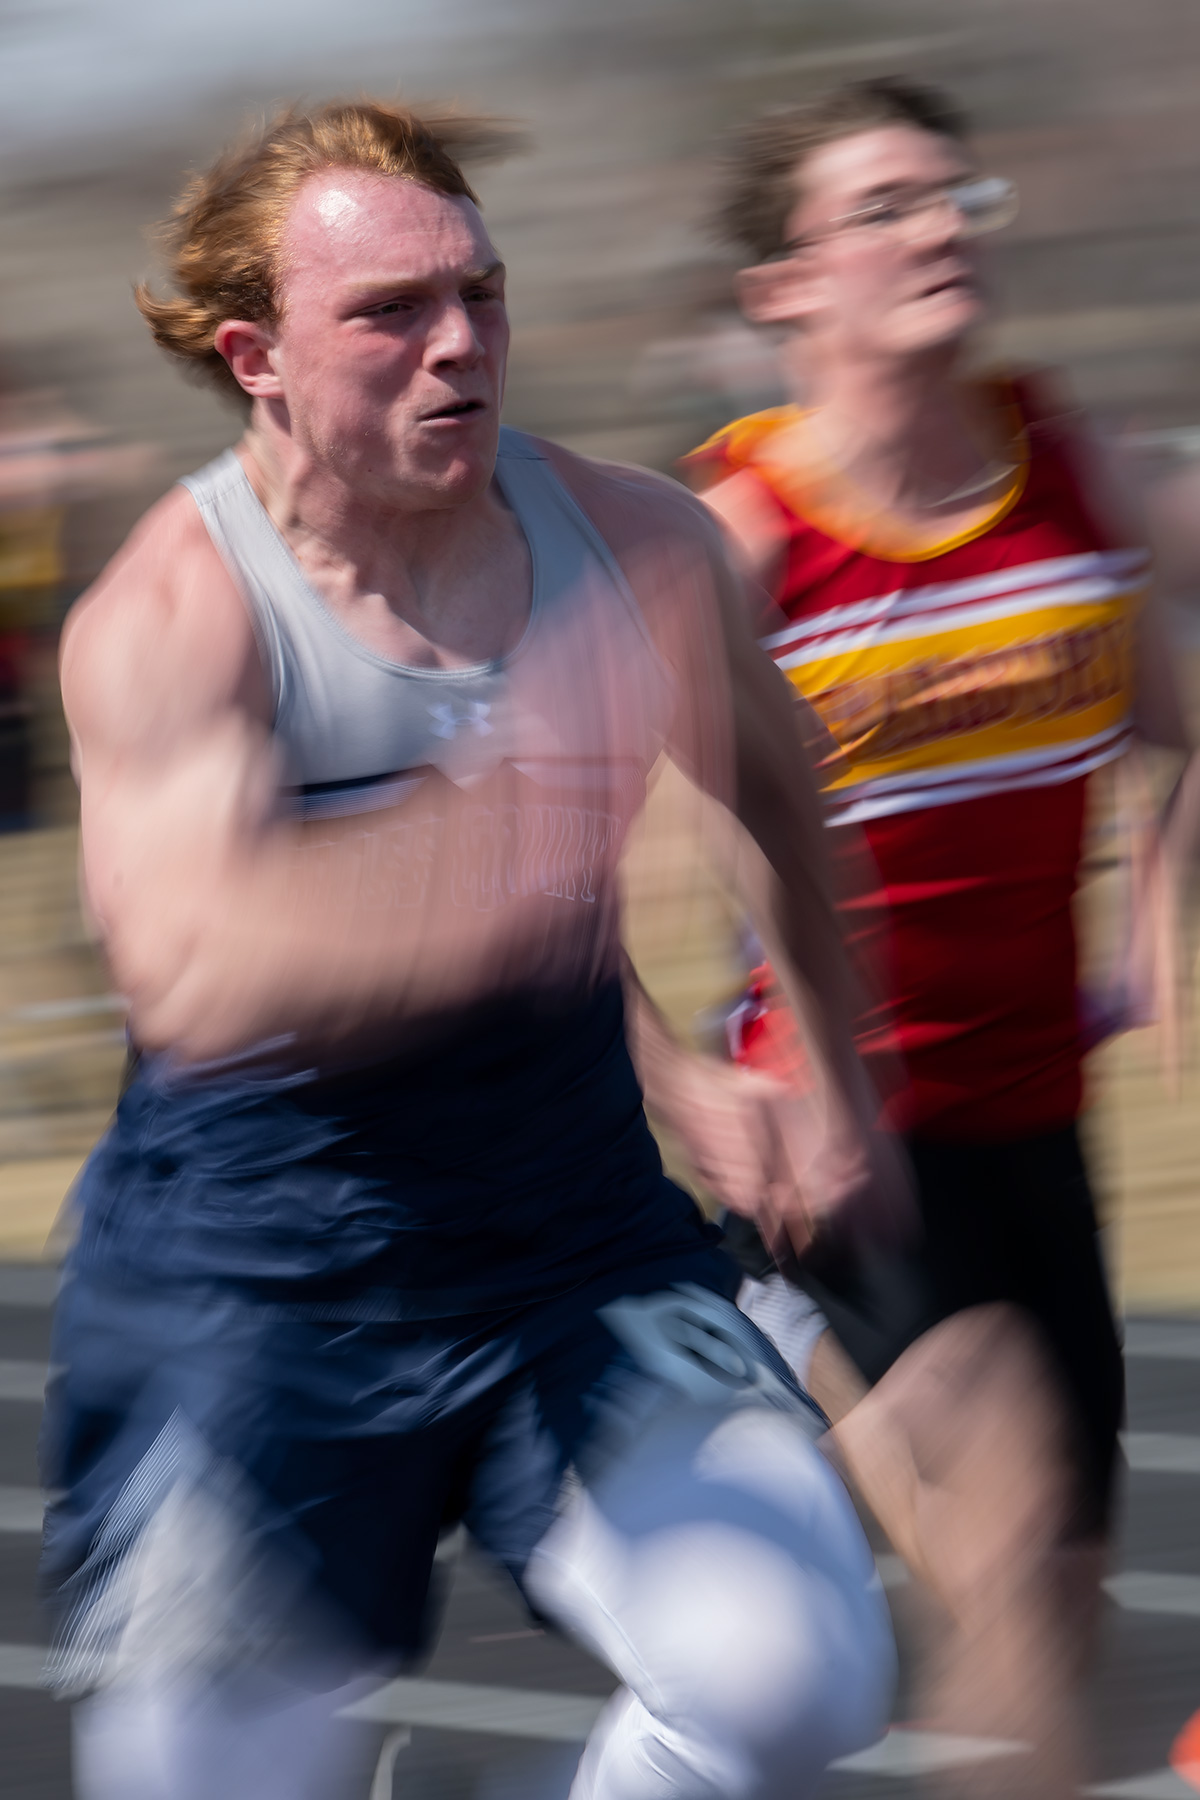
Track and Field
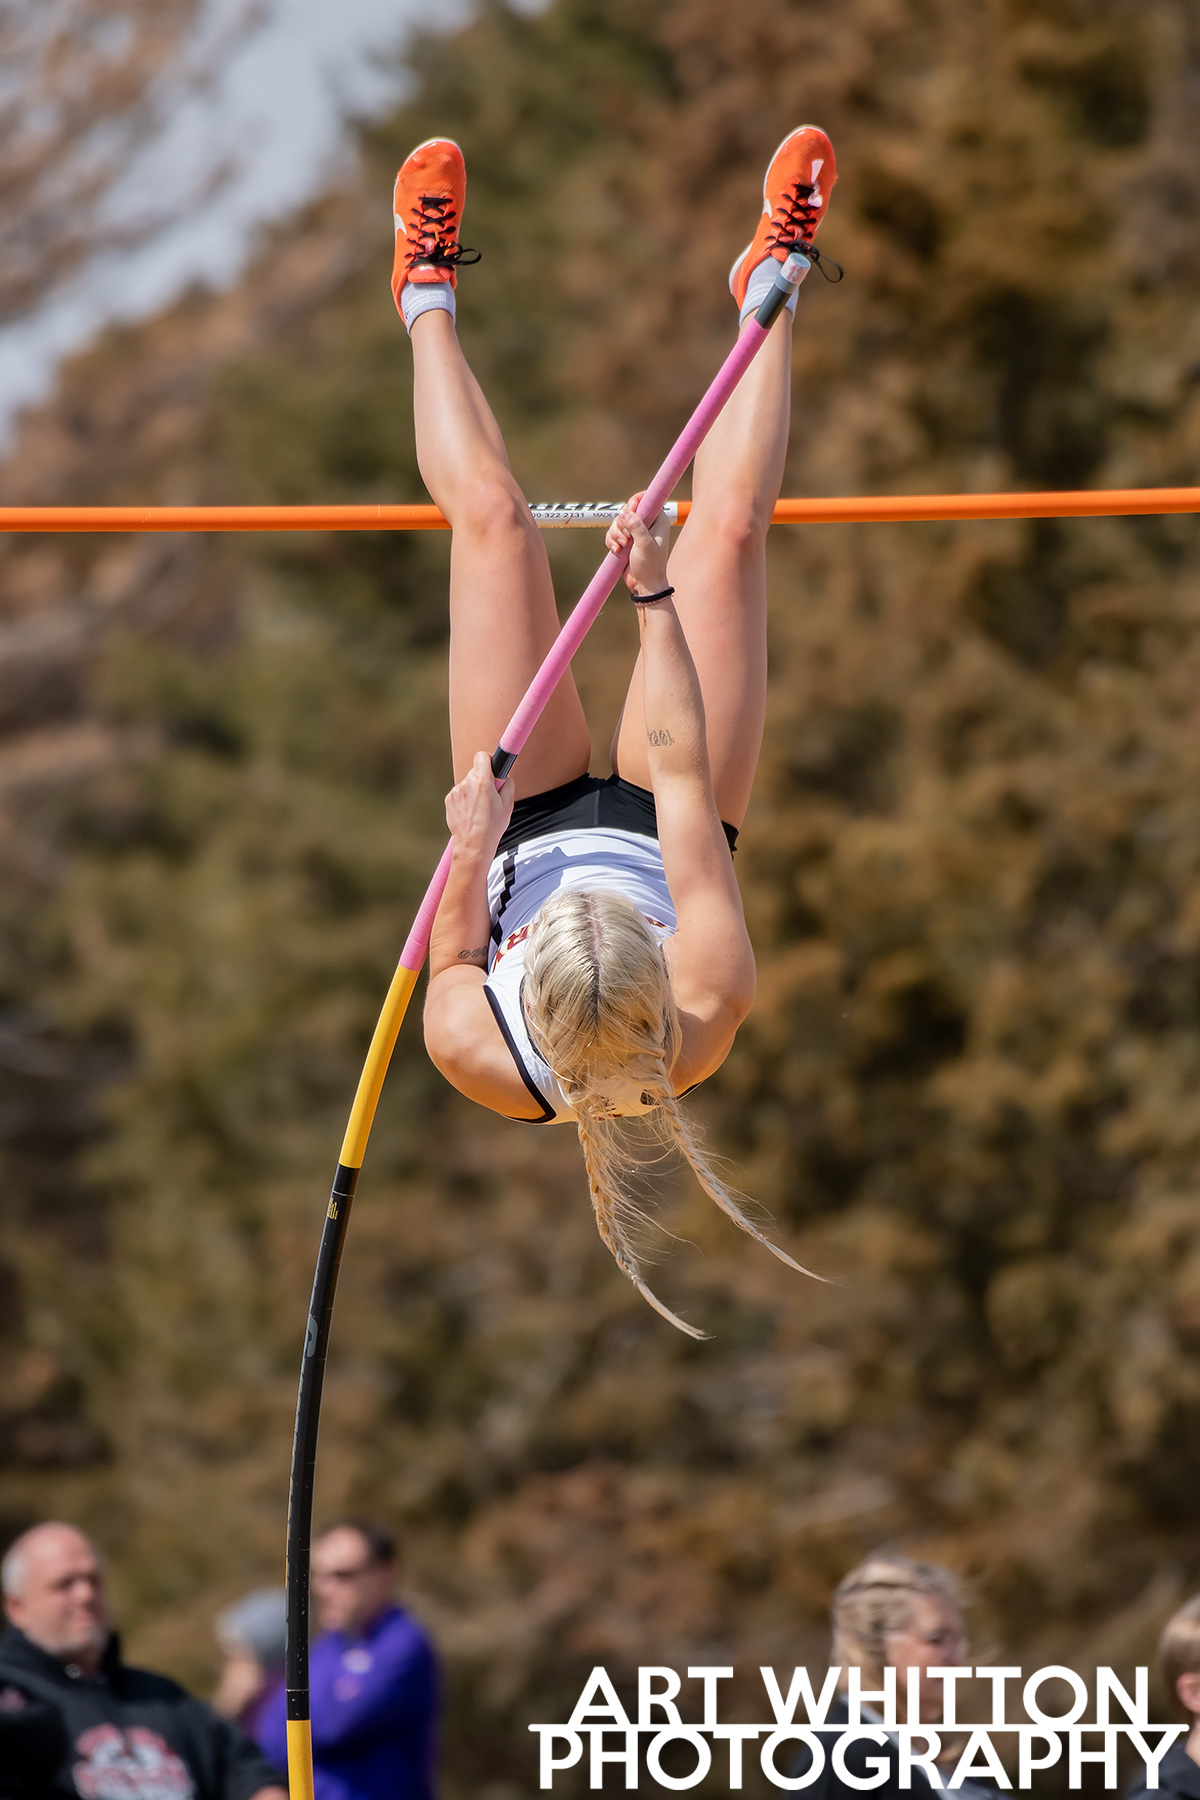
I could write a whole new post just for Track and Field, but the key things is to watch your shutter speed. Depending upon your distance from the athlete, you may need to boost it. Thankfully most track meets are during the day.
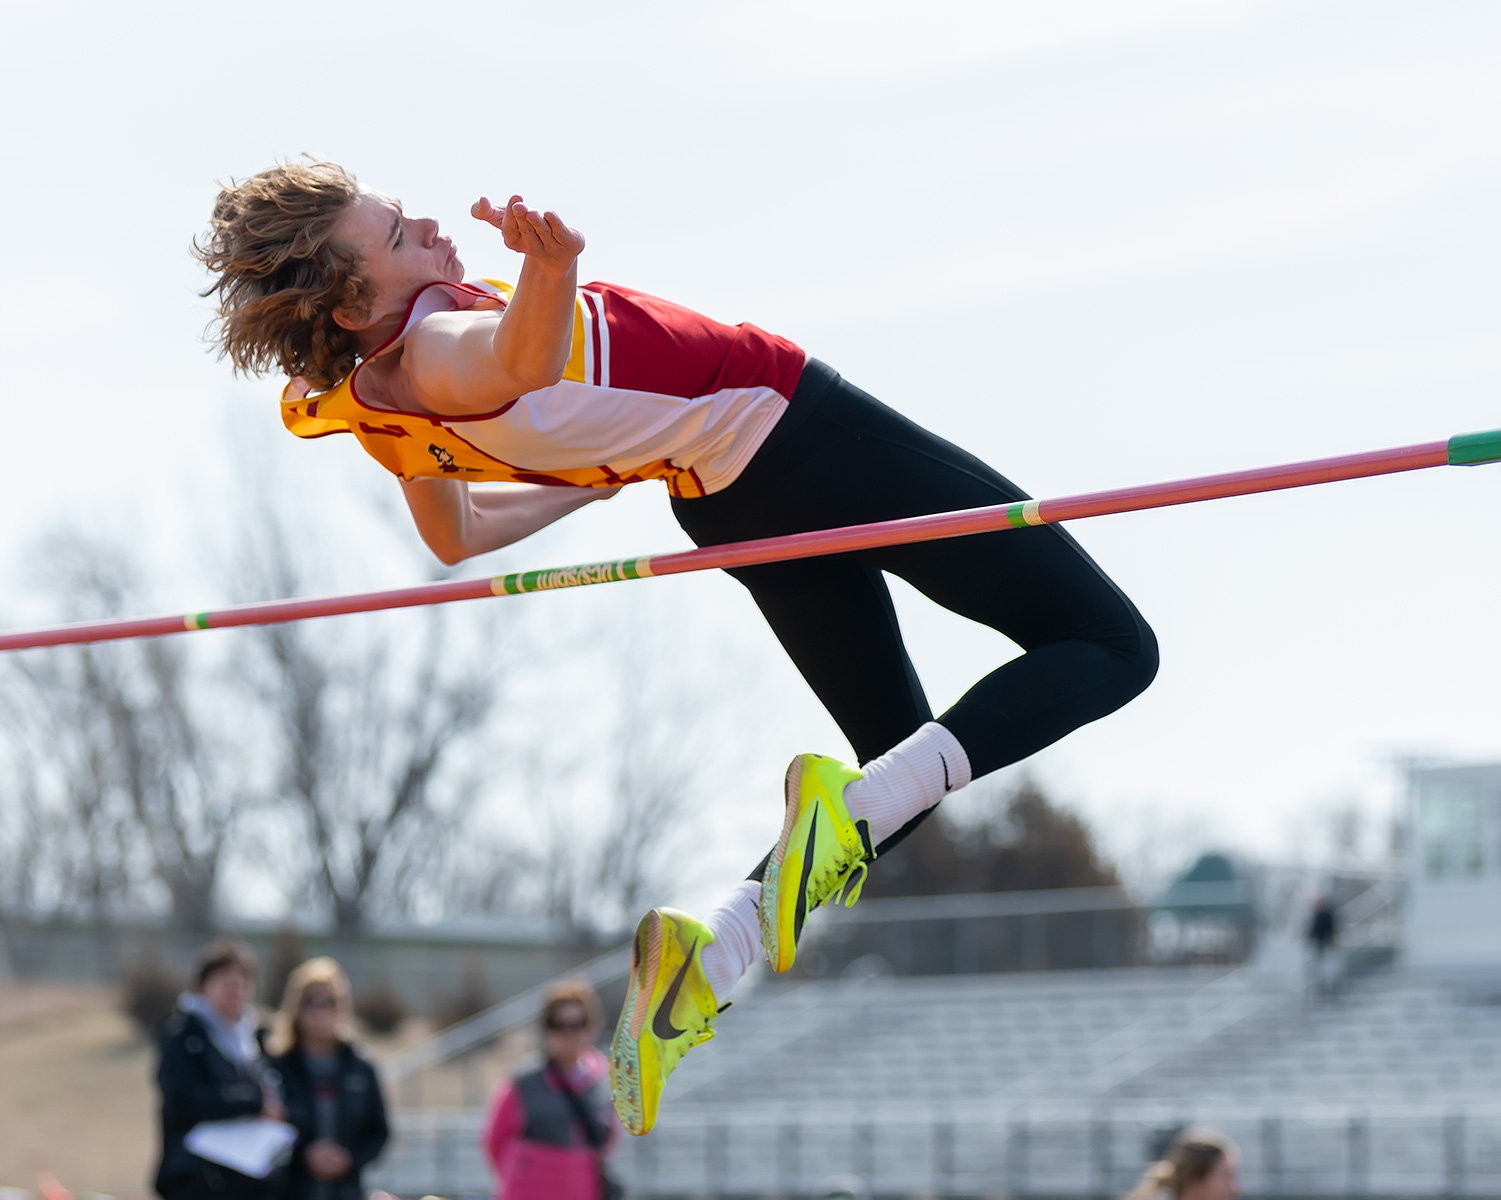
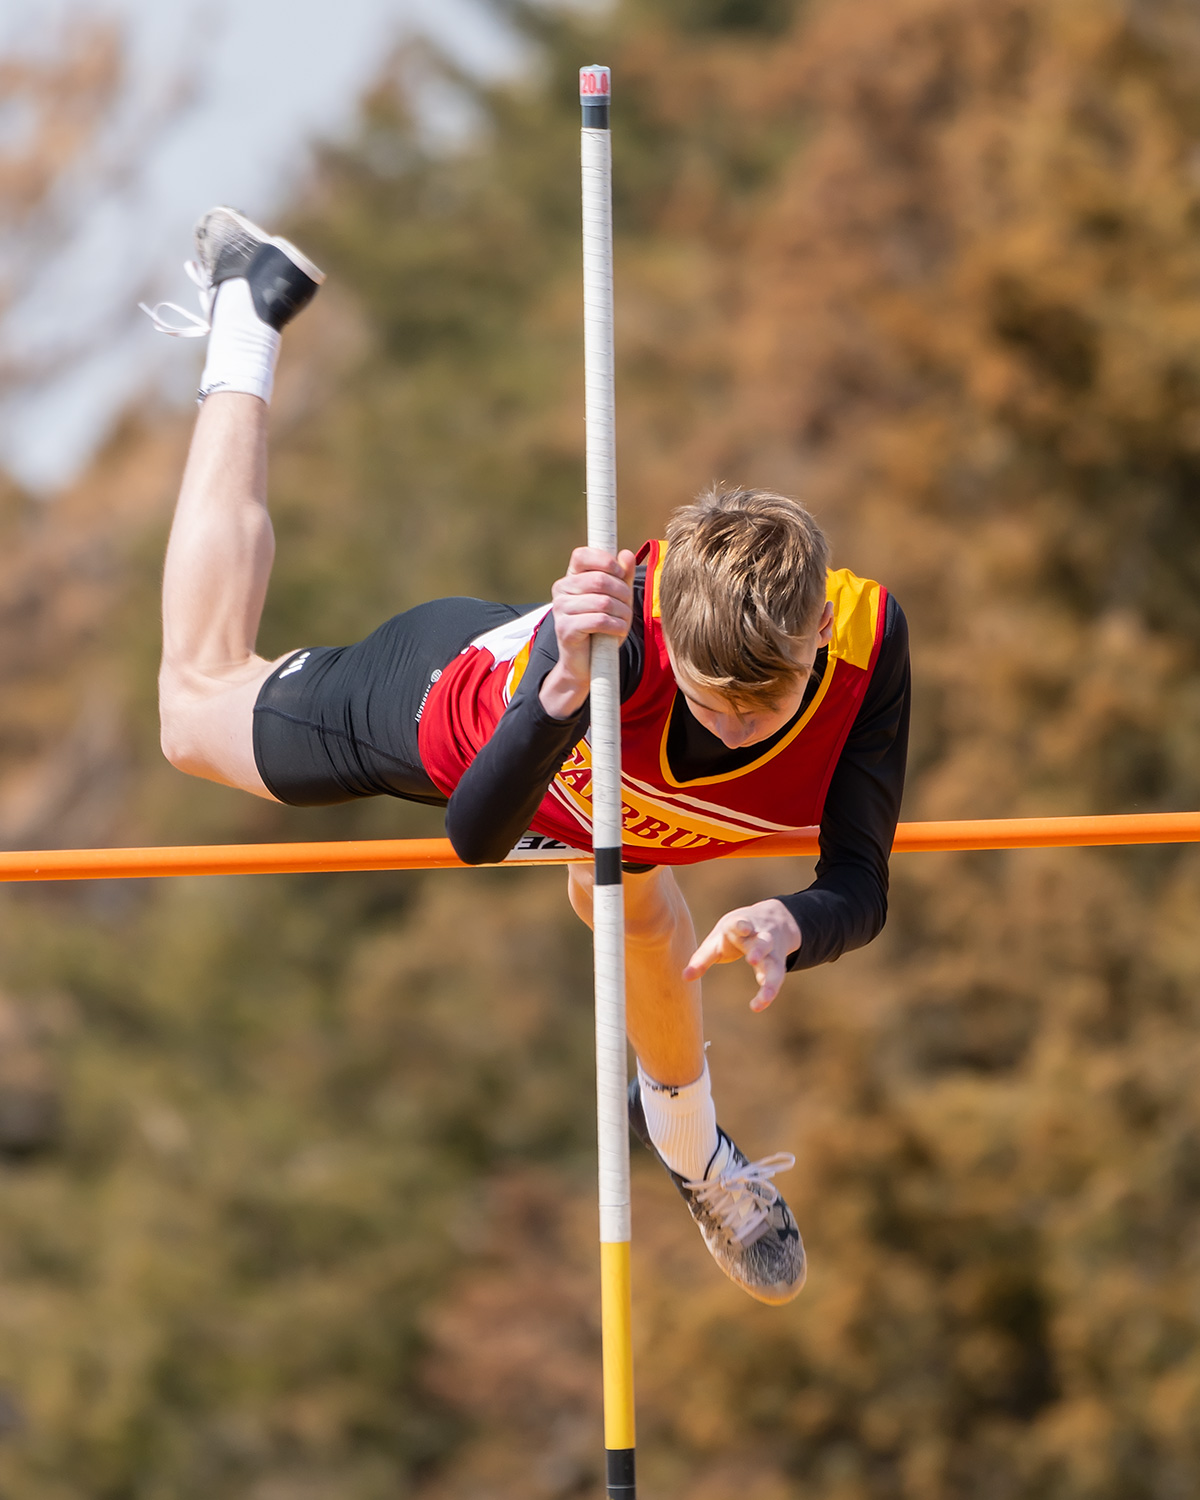
Get low and shoot up. I like to shoot low for many events, especially the high jump. I’ll try to get the jumper to stand out against the sky, and not blend into the background.
Move around and try new angles. If you are shooting a field event, you’ll notice that you might have a great angle on the athlete’s body, but never see their face. Capturing the expressions is big part of sports photography.
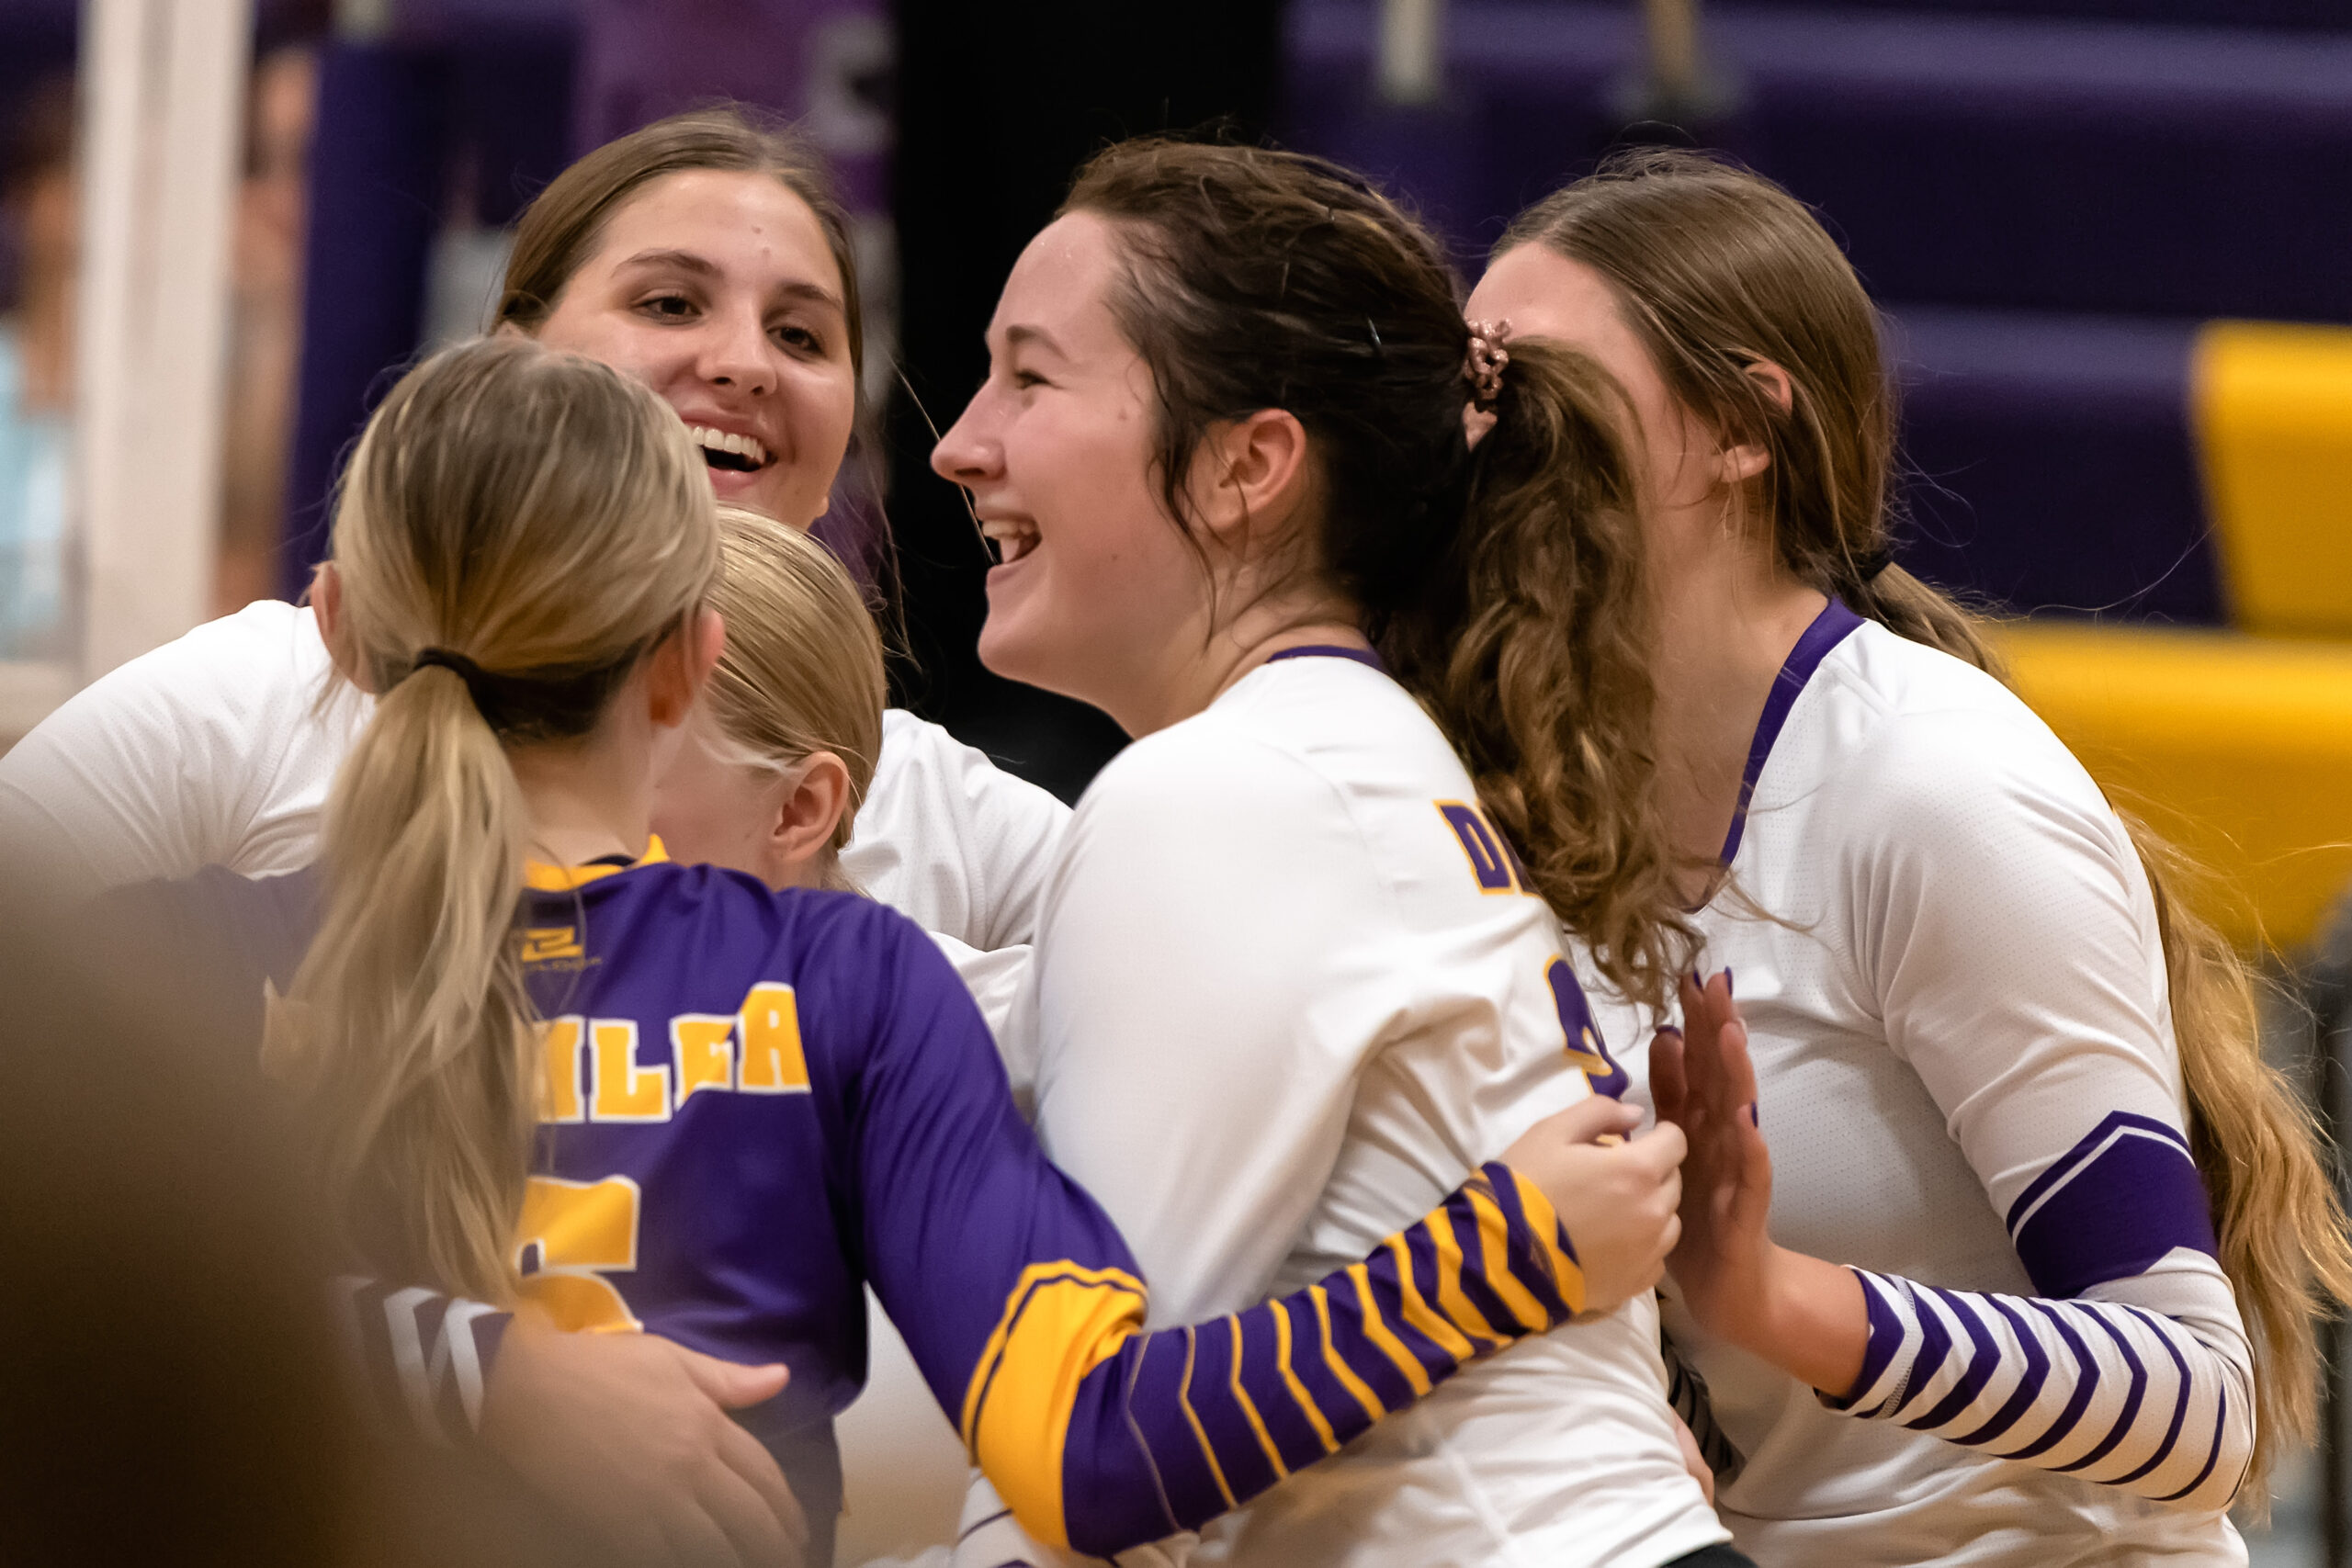
Look for the casual shots. Team members will usually be seen cheering each other on, and this can make for some great shots. Look for the athlete just before the event as they ‘get in the zone’.
Look for the best spots for a relay exchange. There may be a few different hand-off spots around the track (like the 4×100), so look for the best combination of lighting and background.
Speaking of lighting, always keep track of where the sun is. Most daytime track meets can last hours. This means the sun will move across the sky through the meet, and what was once good lighting is now in the shadows. Adjust your settings accordingly or look for new locations to shoot to and from.
Expect to walk a lot, so wear comfortable clothes and pack as light as you can.
Summing things up
I hope these tips get you started in the right direction. The biggest thing to remember is these are young athletes making an effort and you should try to capture those efforts and other moments. Parents these days put a lot of time in with their kids’ sports, from traveling, picking them up, and watching the games. They get involved and LOVE to see great photos from the games. In our area, local papers devote a lot of pages to local school sports. All of this adds up to high school sports gaining a lot of interest, and your skills as a photographer will capture a lot of memories for all involved.
As far as shooting goes, do everything you can to prepare (clean your gear, check your batteries, etc) and arrive to an event early if you can. Double check your camera settings and take some test shots during warmups. Zoom in on your screen to review your images and make sure you shutter speed is fast enough and check your WB. Remember to review your images along the way in case your settings or the lighting changes.
If you want to turn this into a business, you’ll be able to sell photos to the parents and possibly the media. But if you’re just starting out, have fun with it. Look for the emotion in the athletes. When editing find that one shot you love and try to do better each time out.
Post your photos to social media and see who is interested in your work. You might find that people will reach out and ask you shoot more events.
Thanks for reading, and if you have any questions, please email me or leave a comment below.
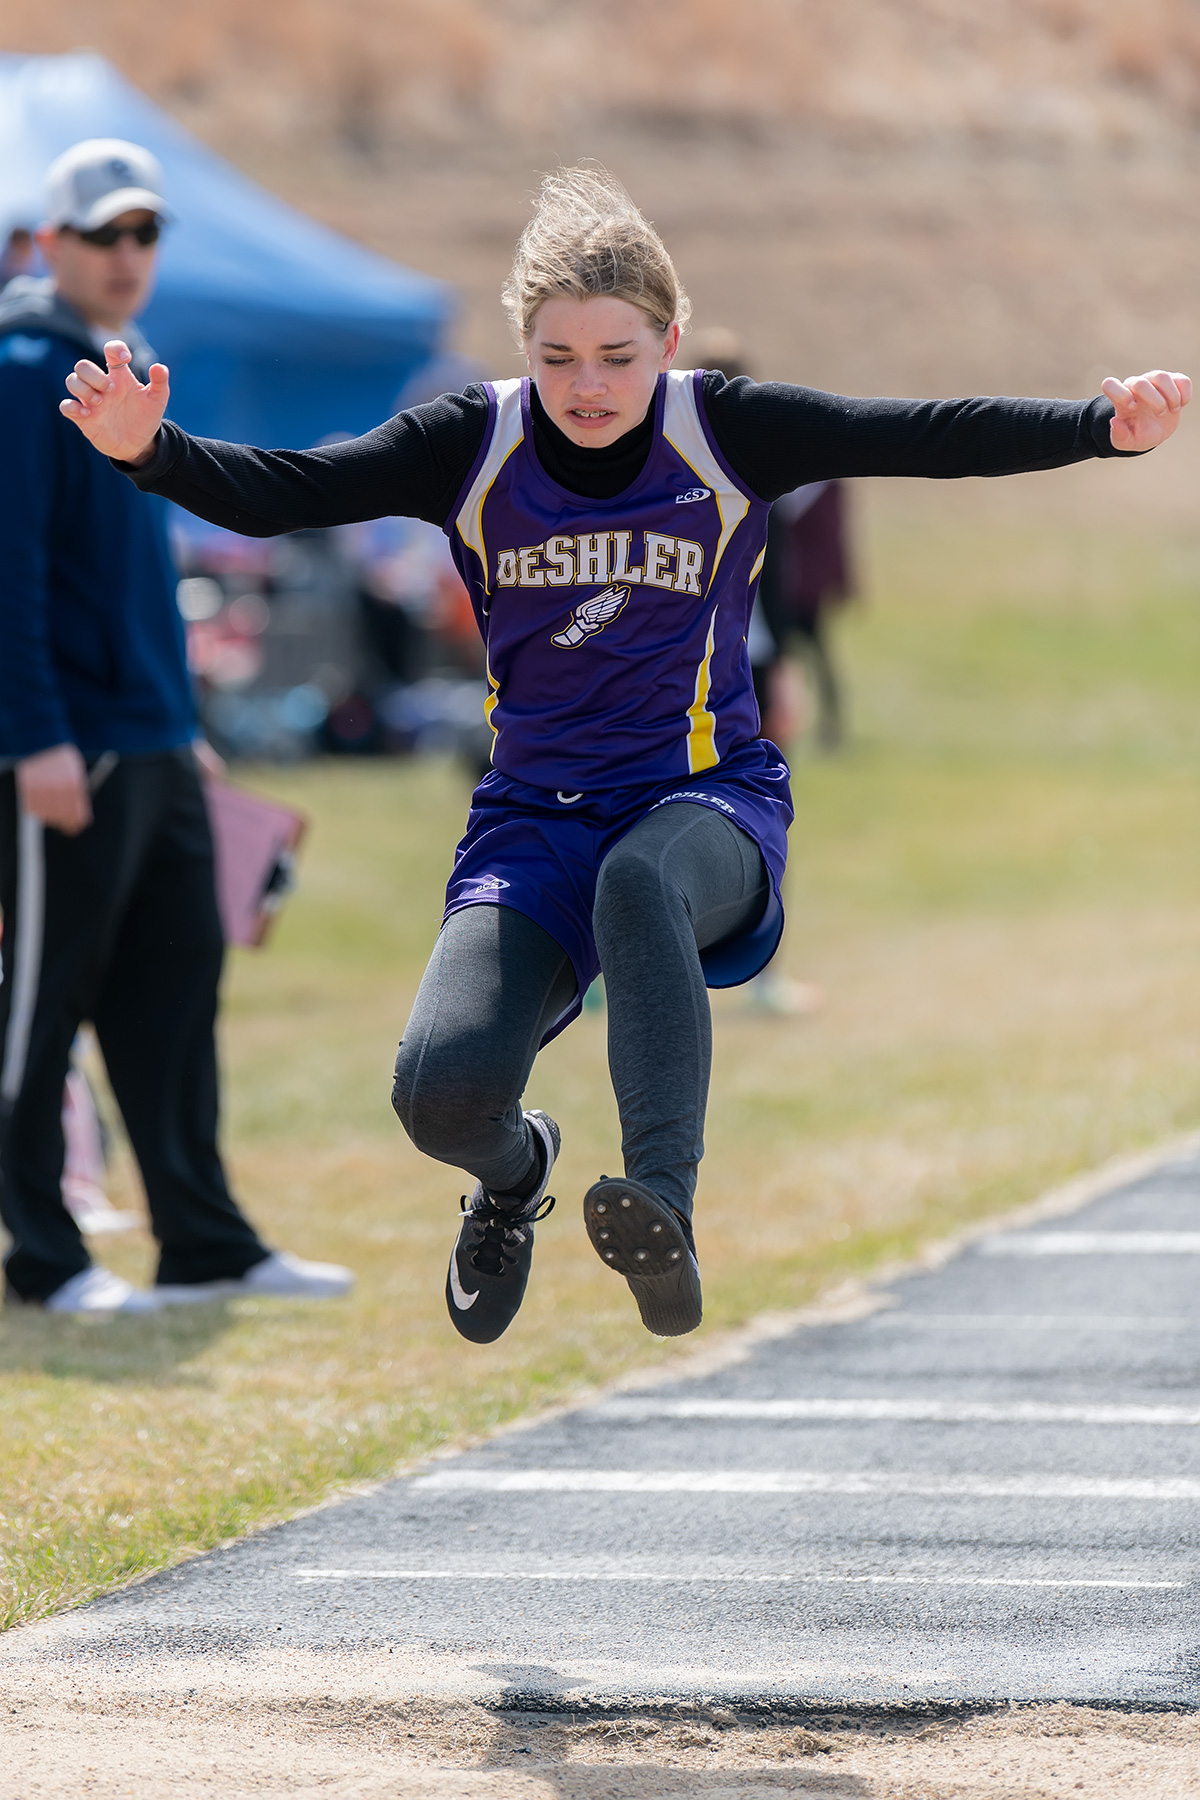
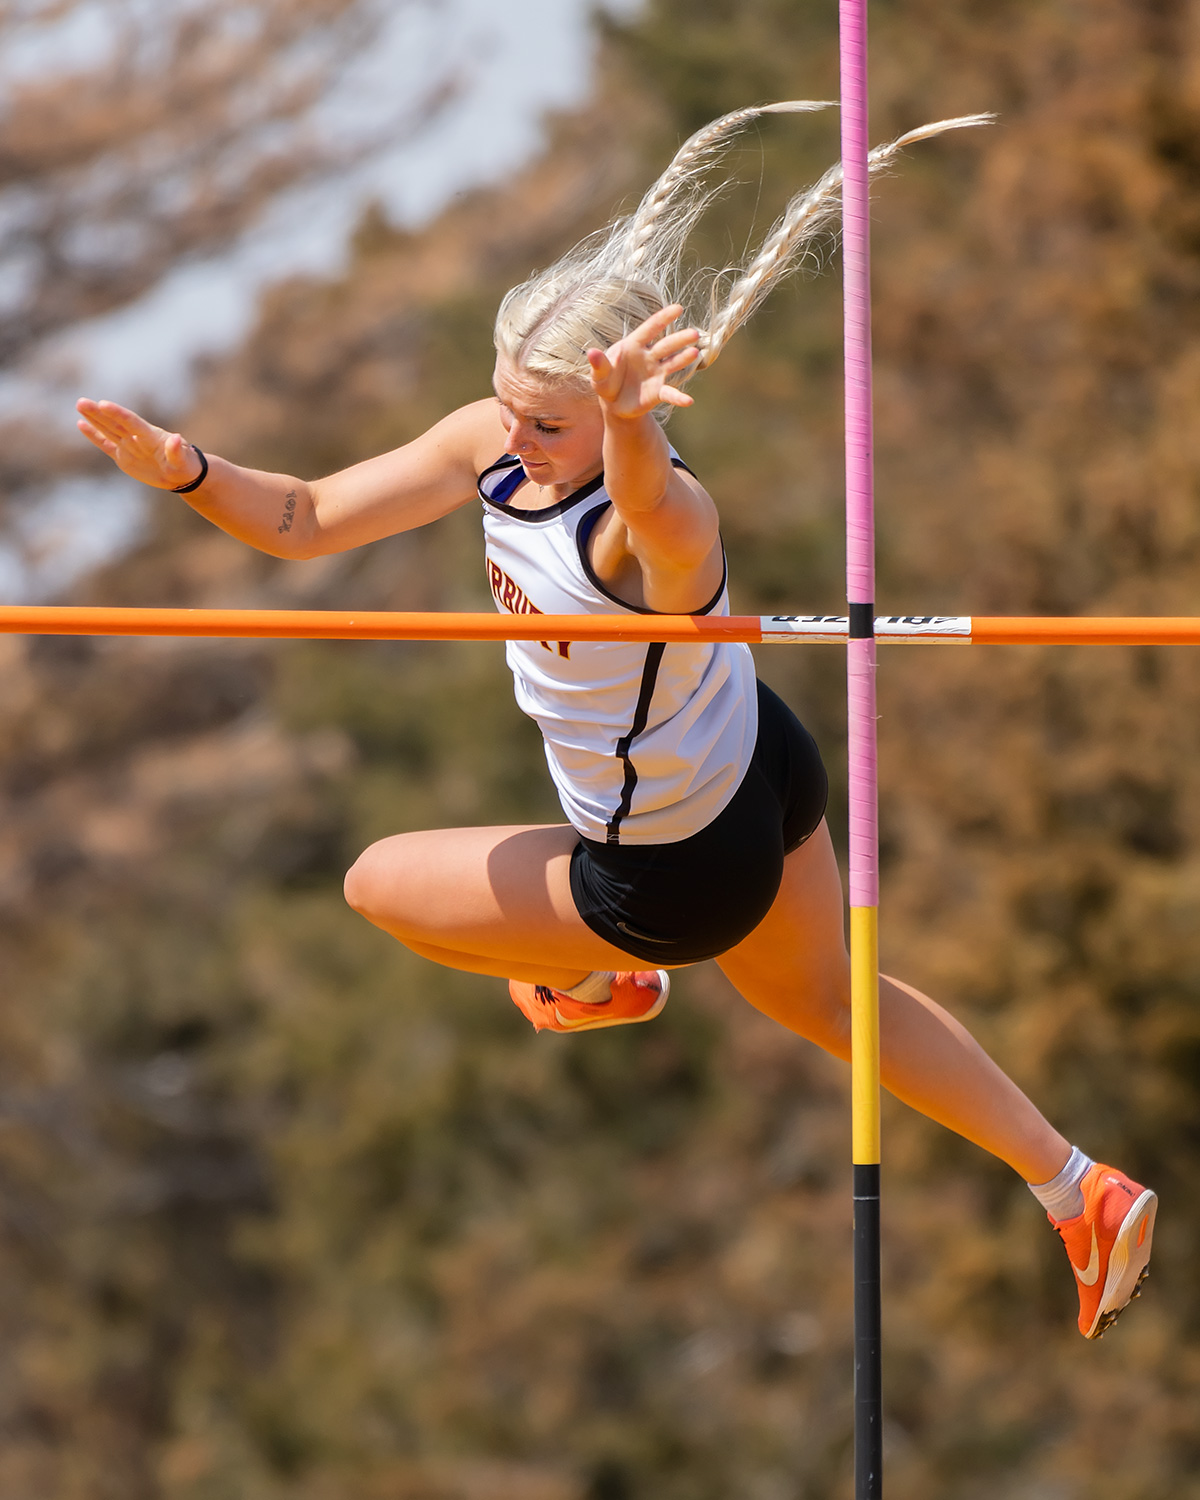
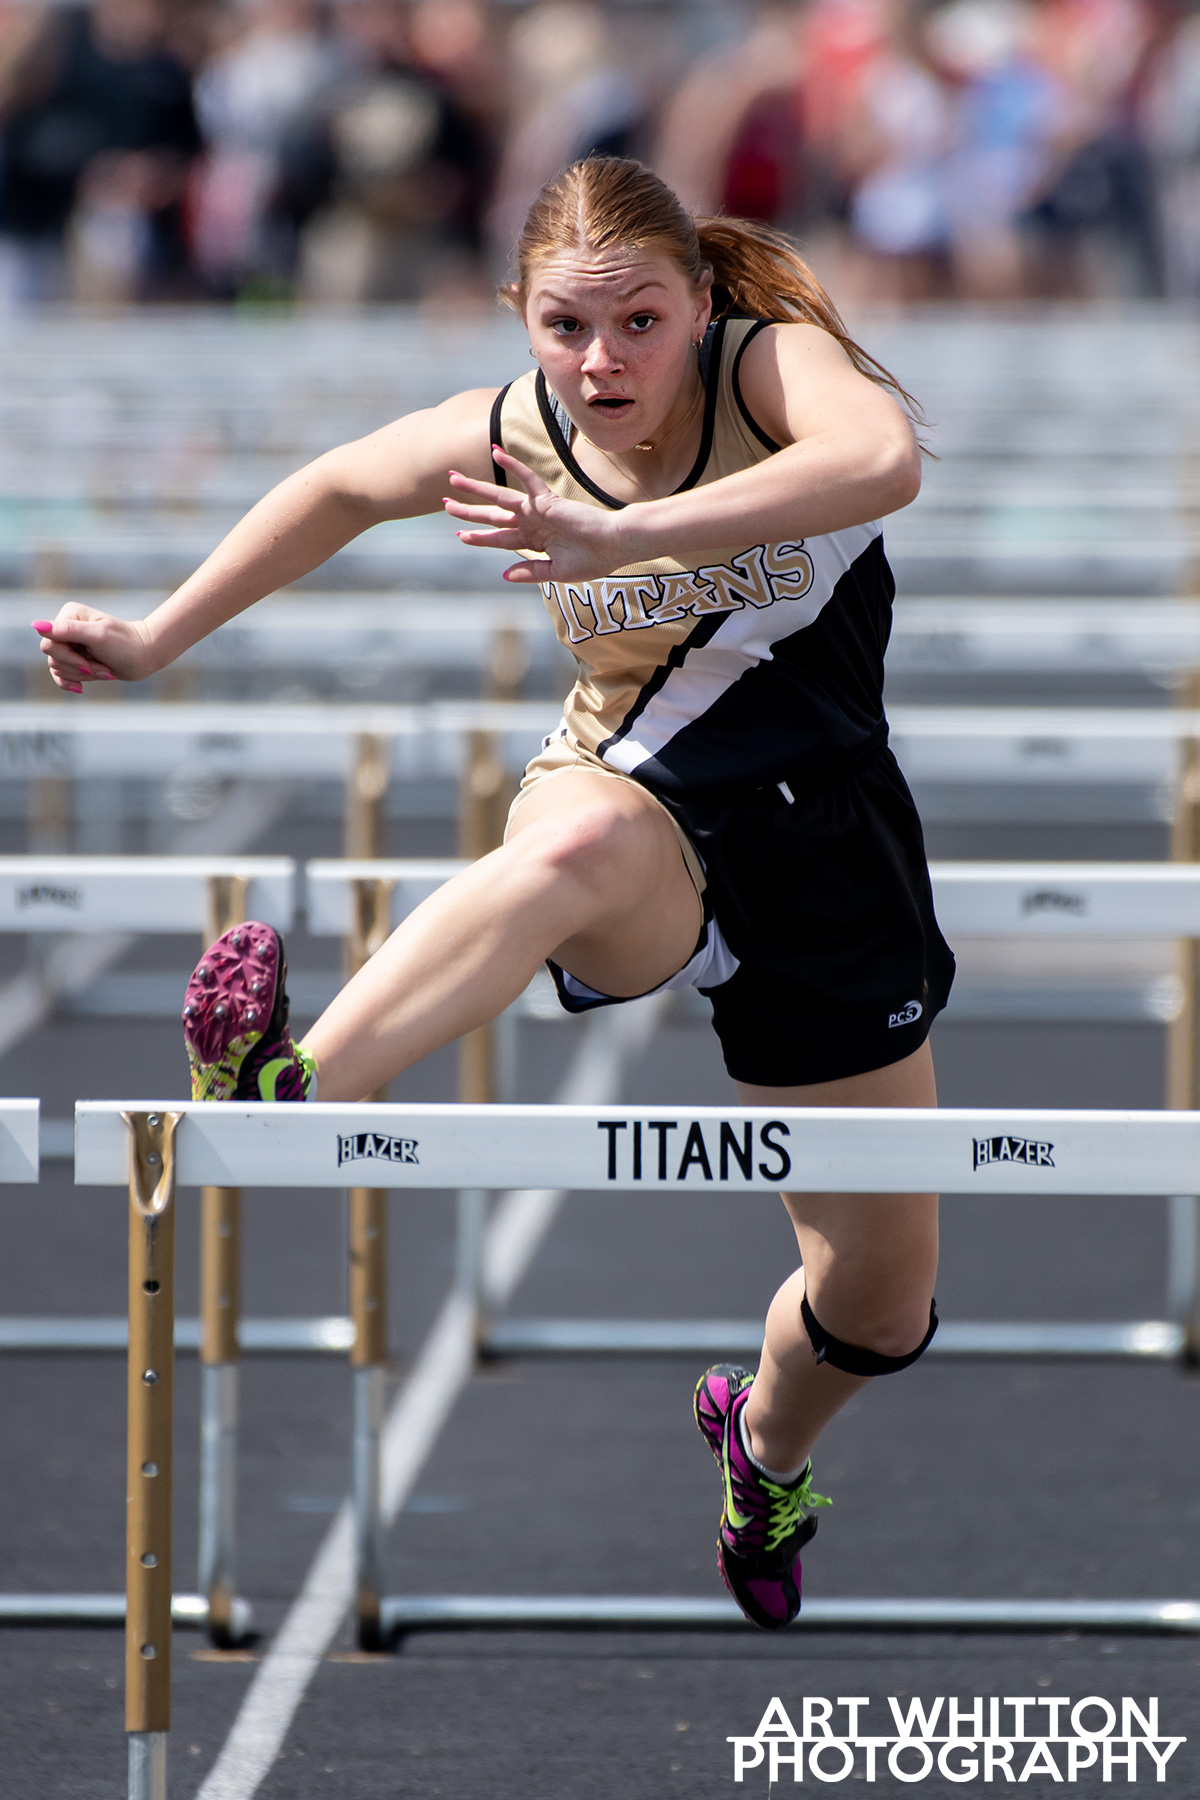
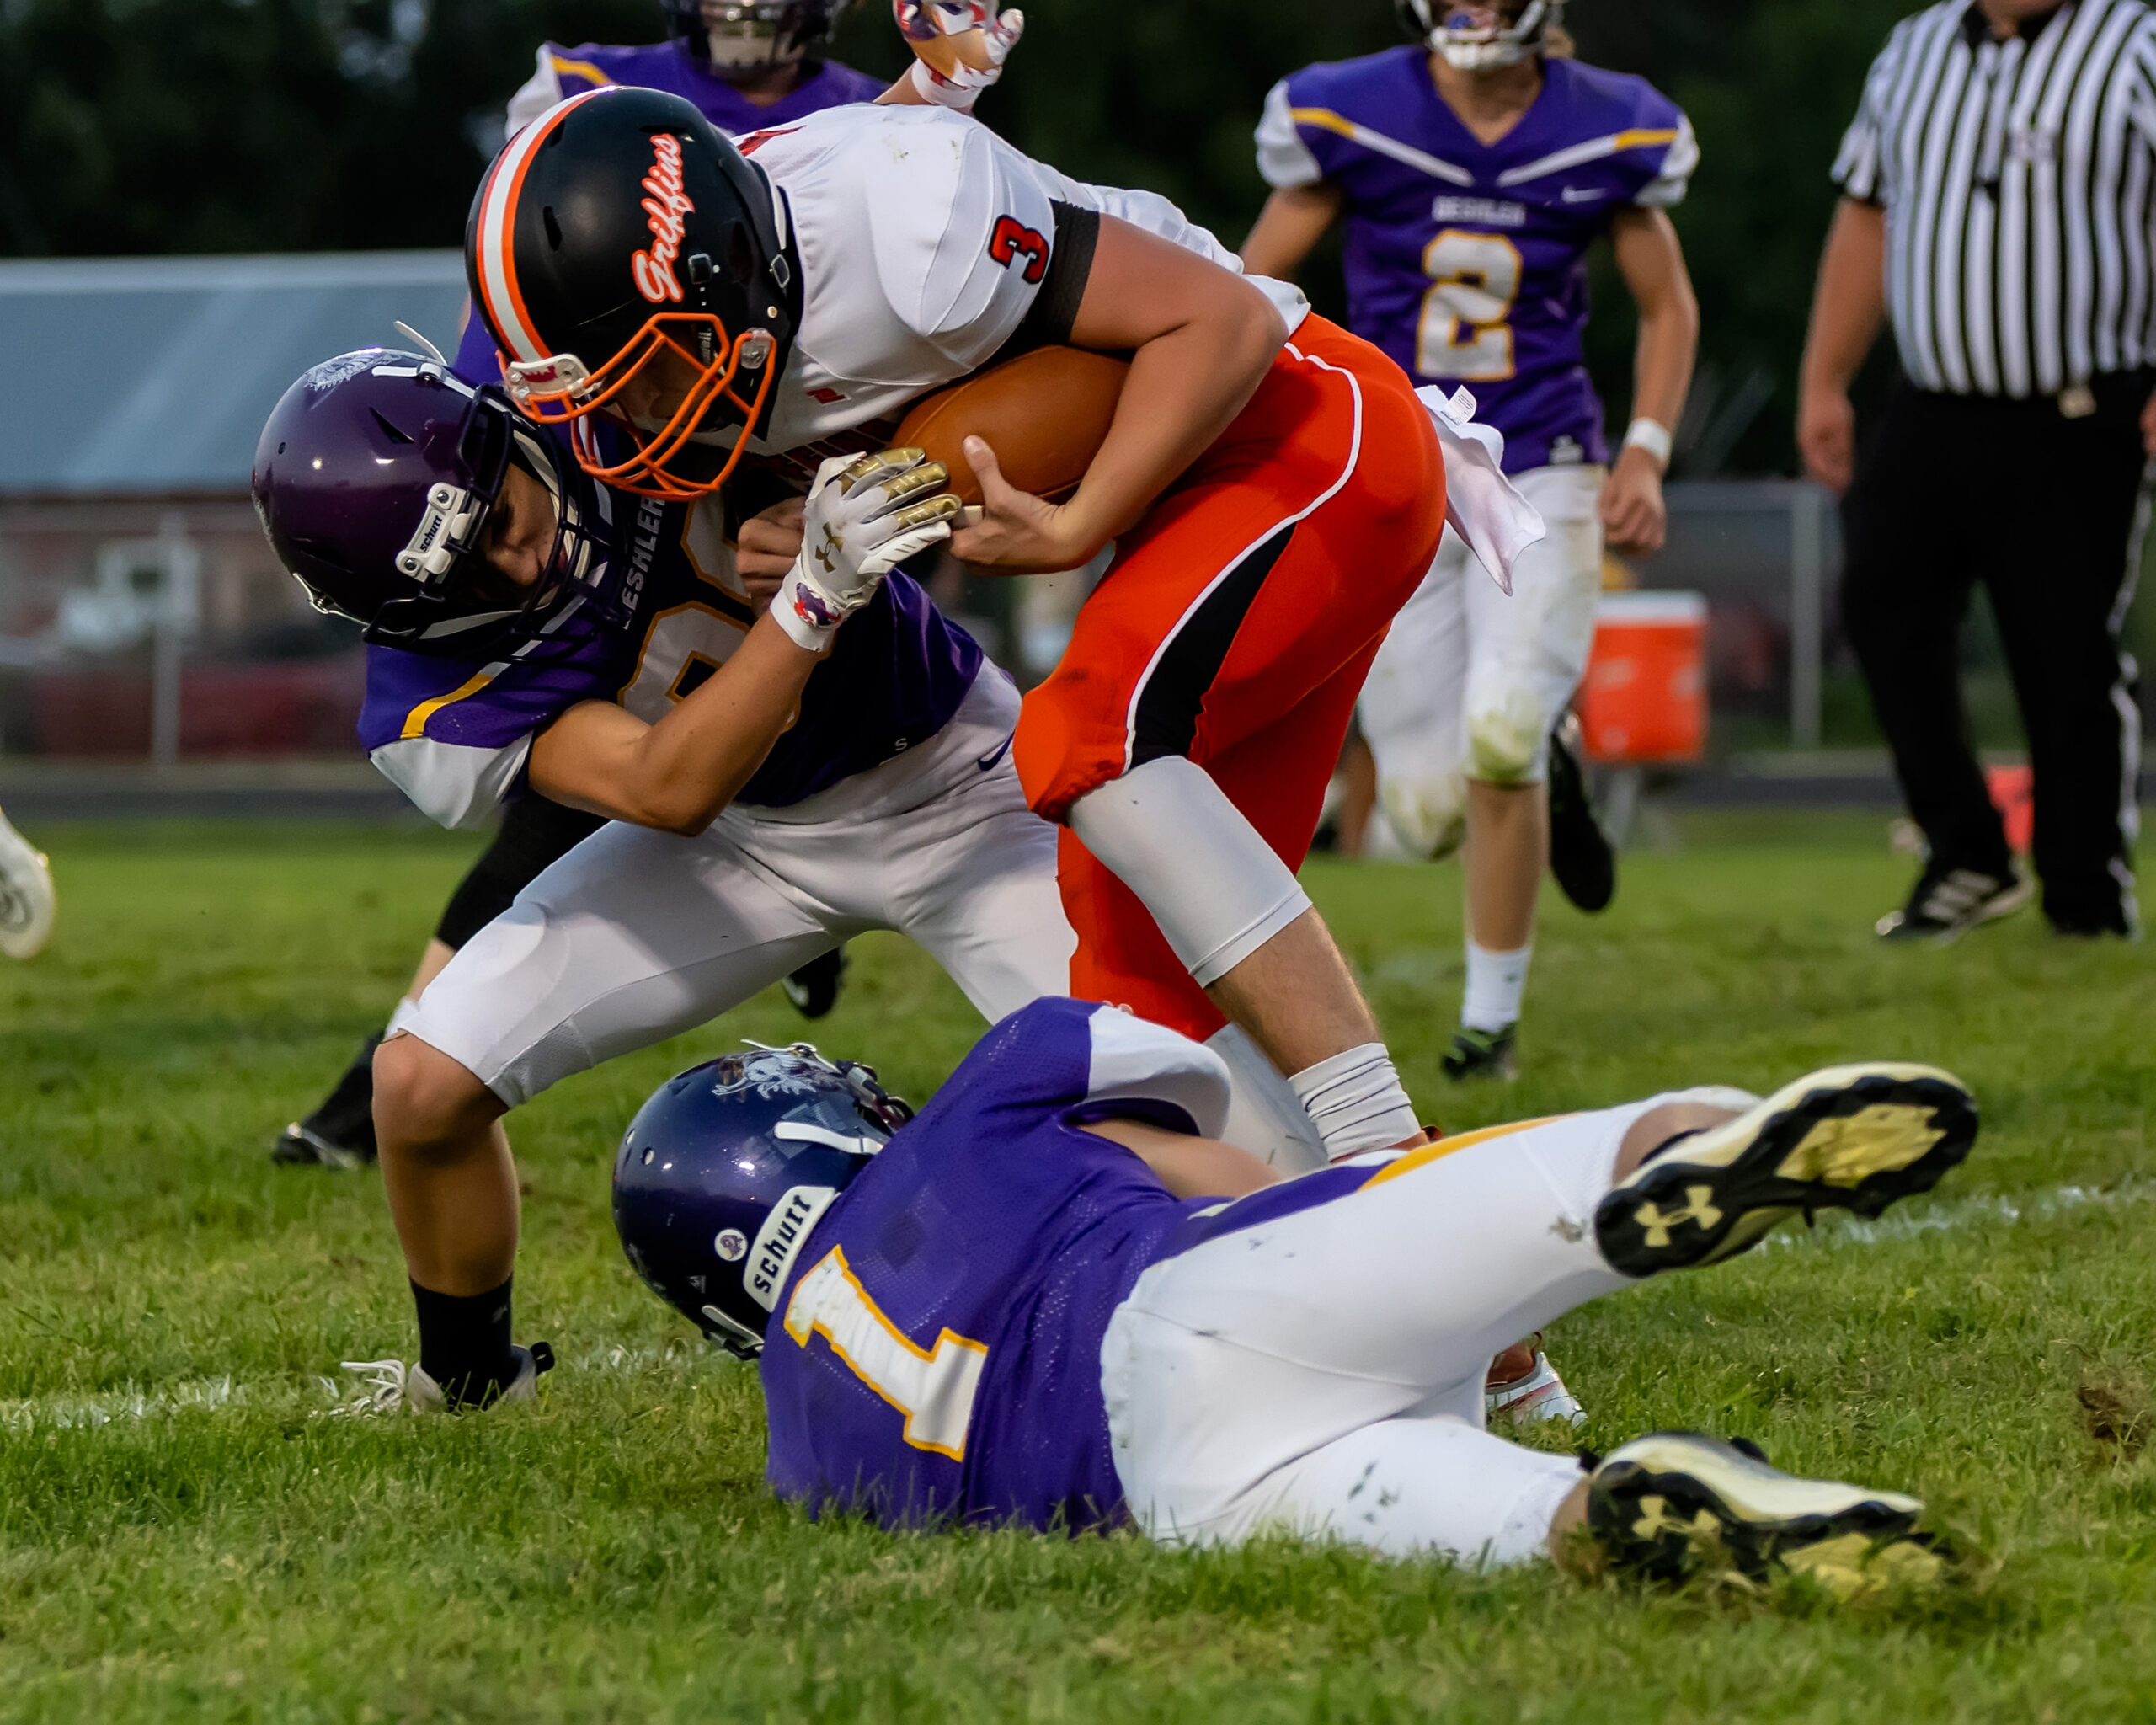
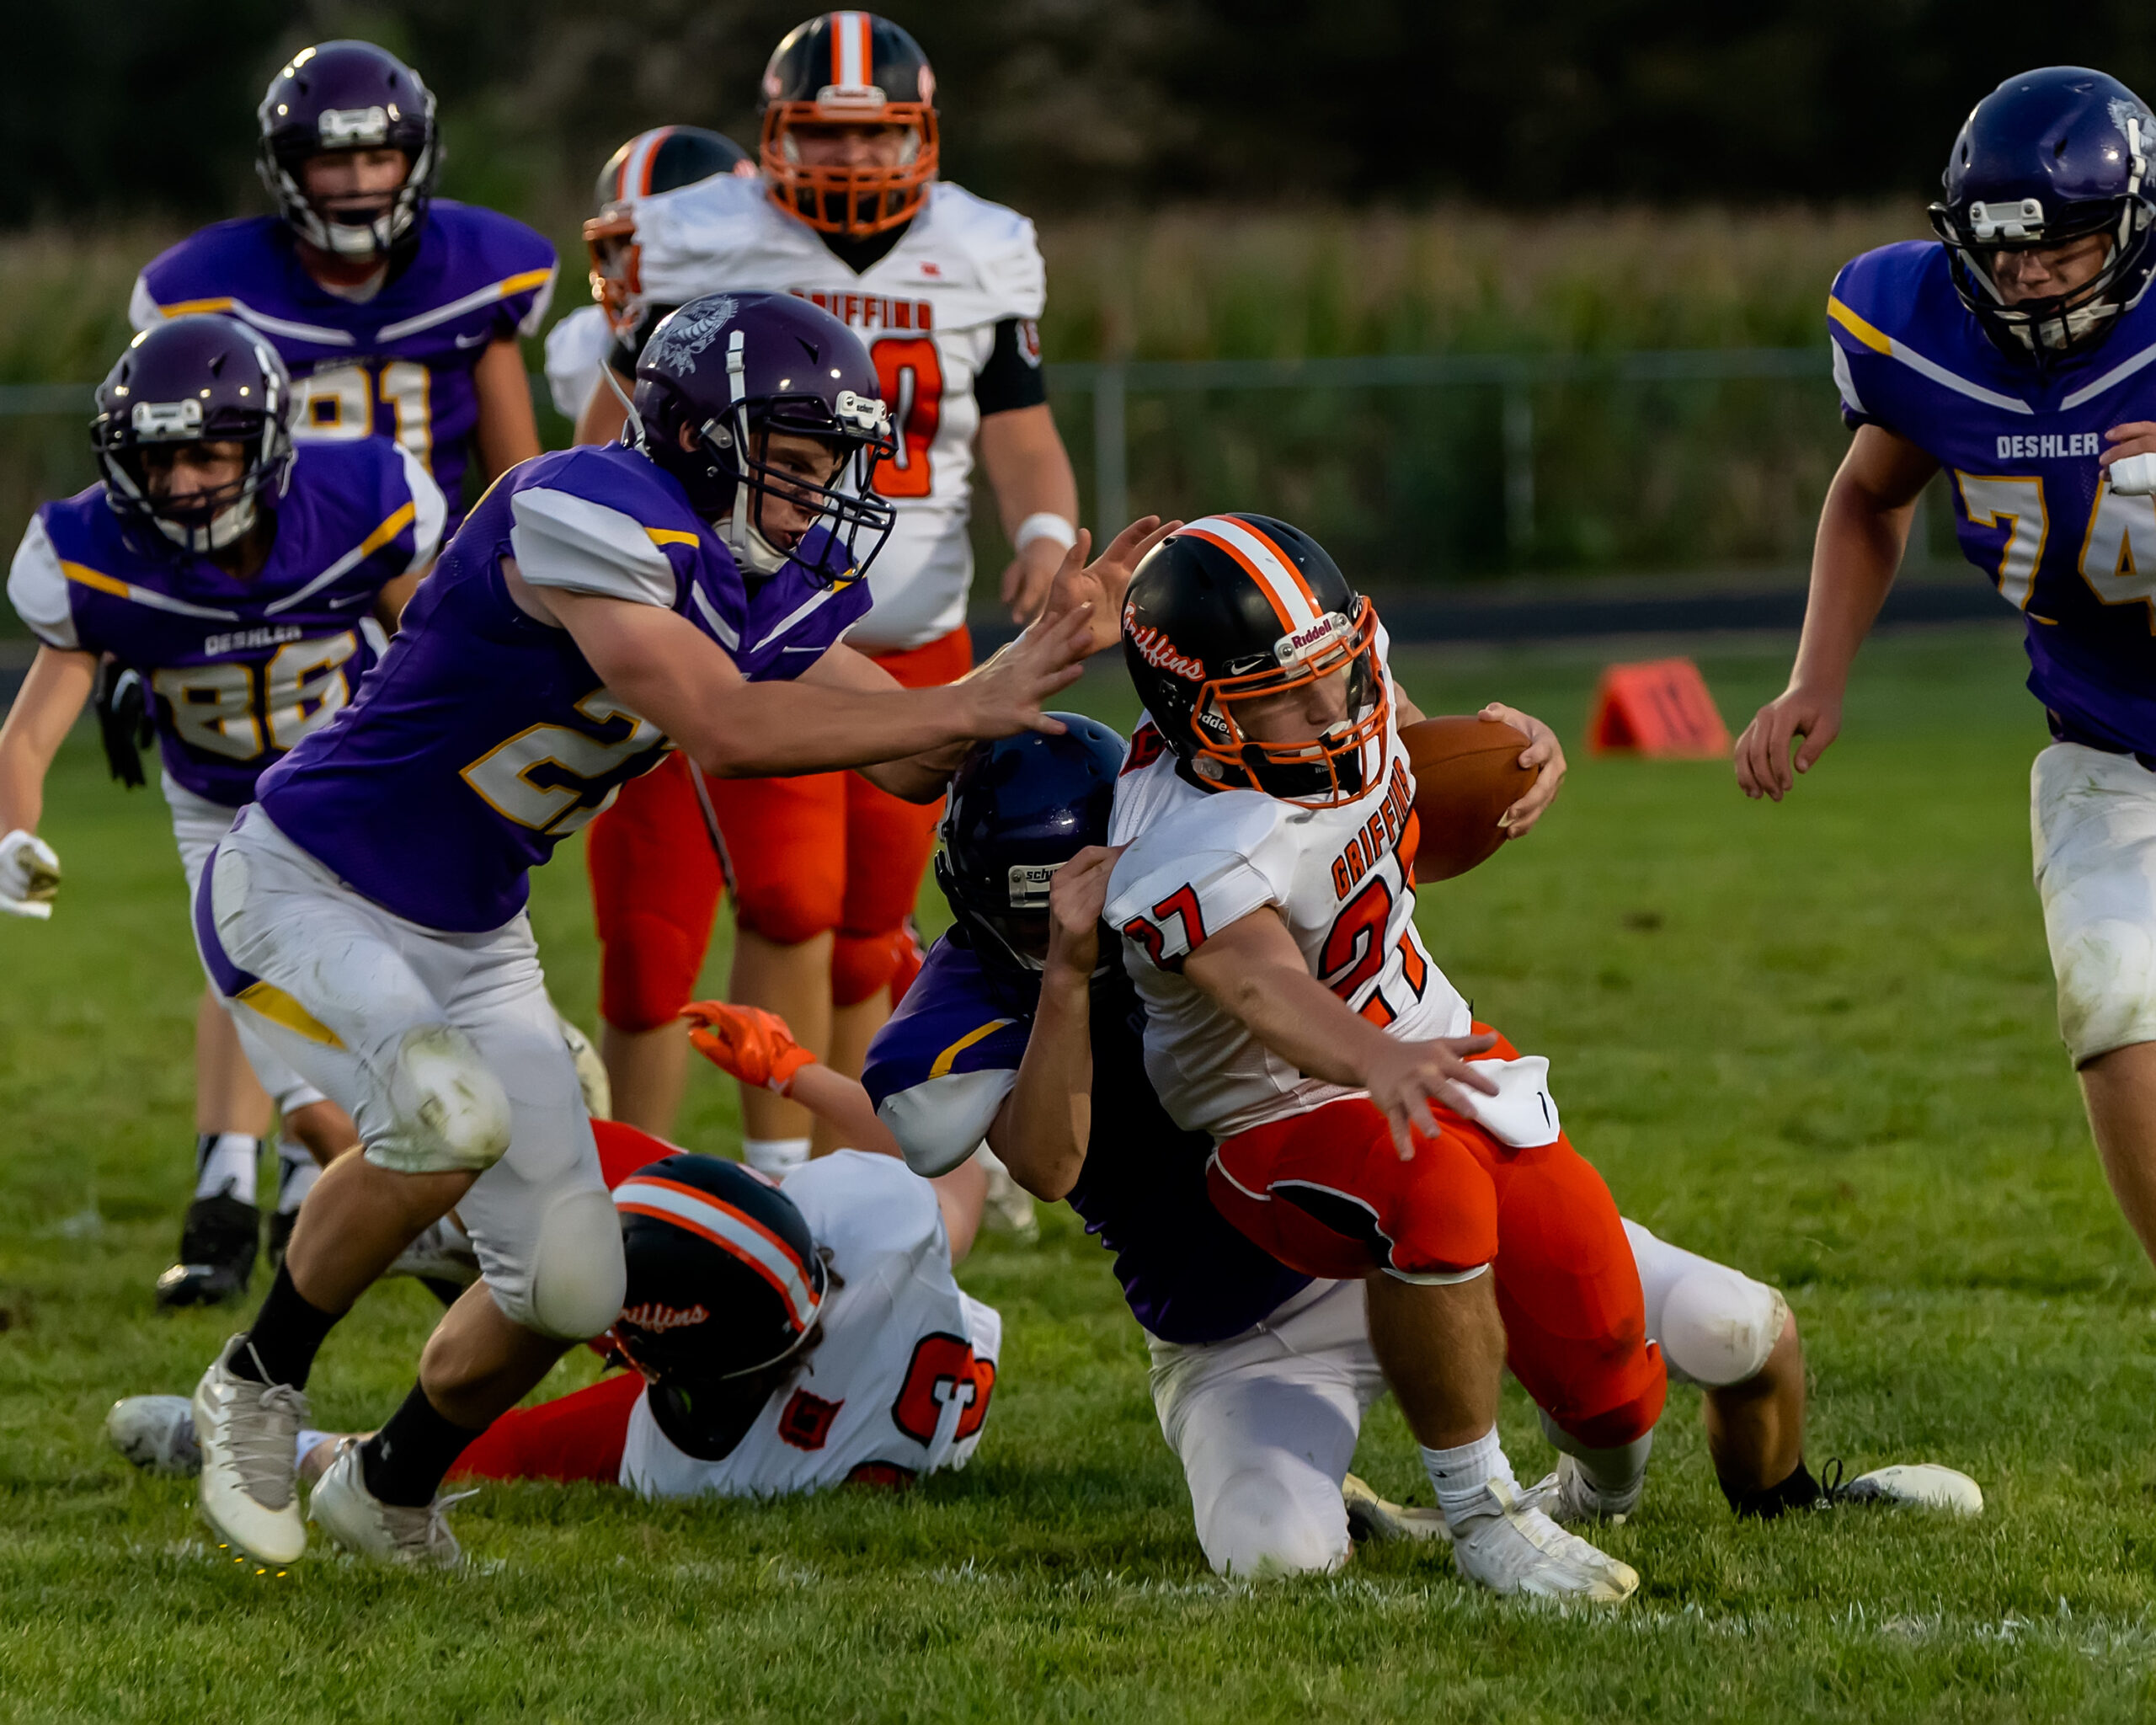
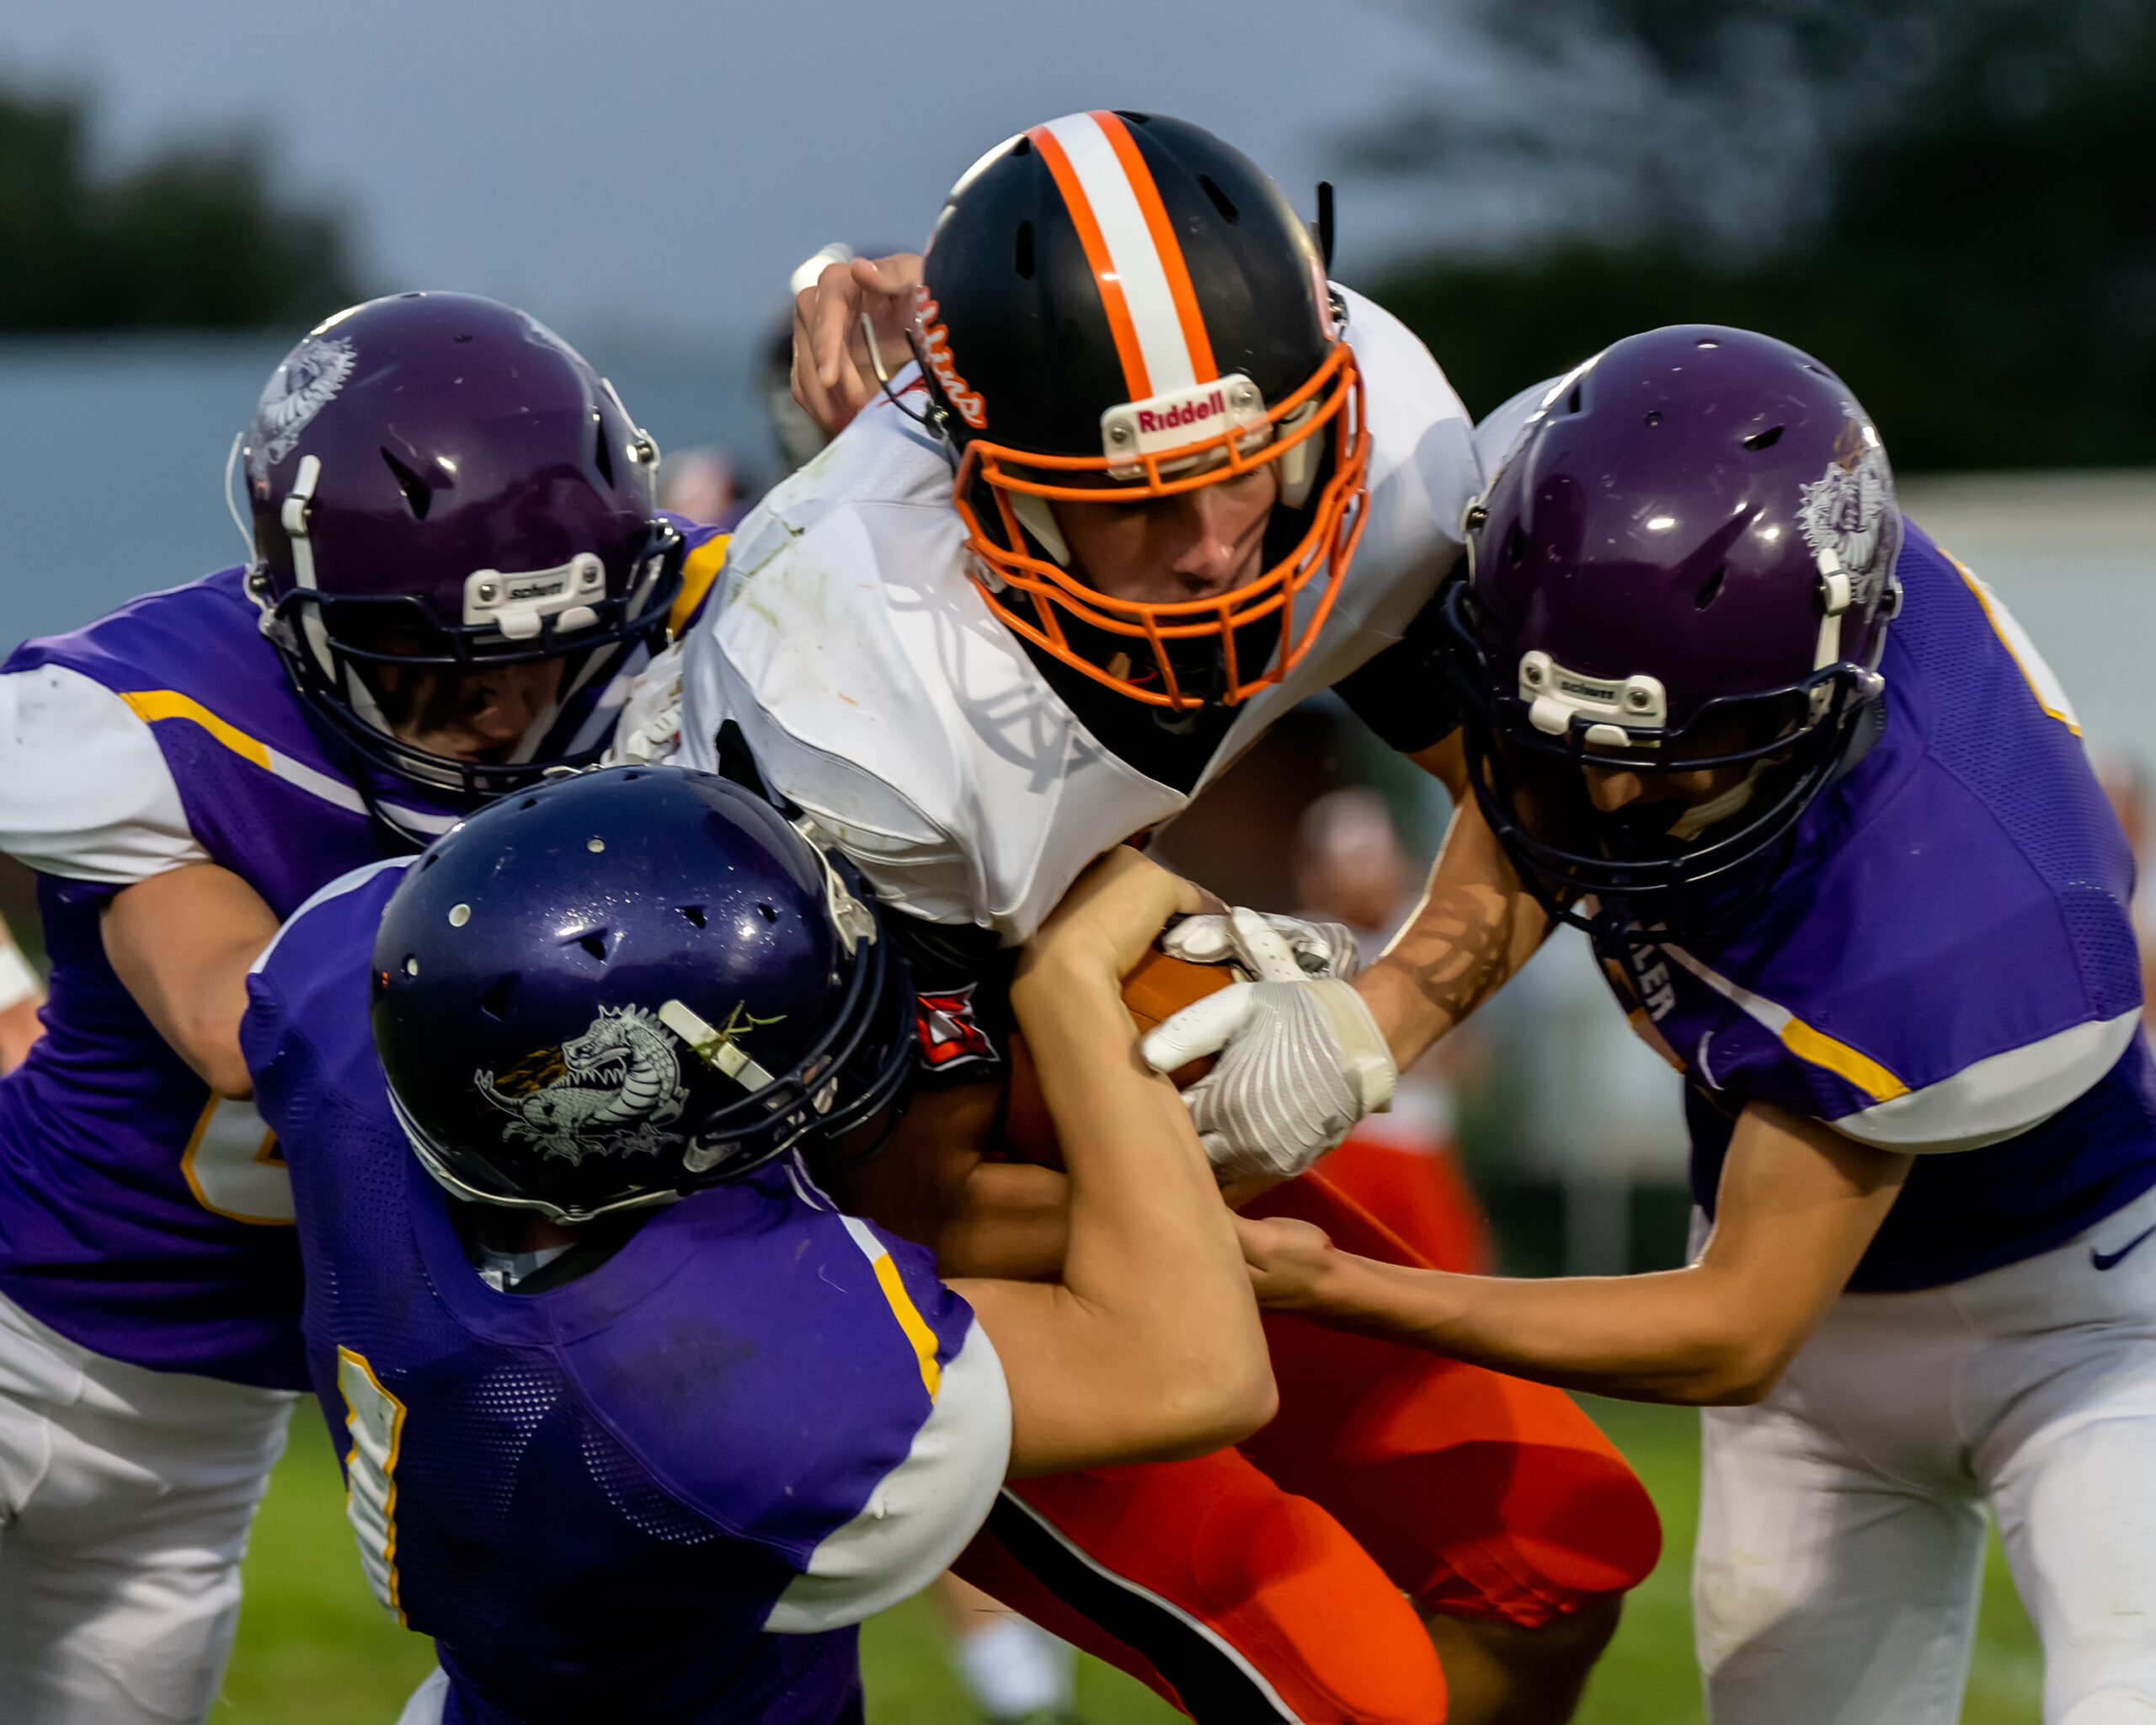
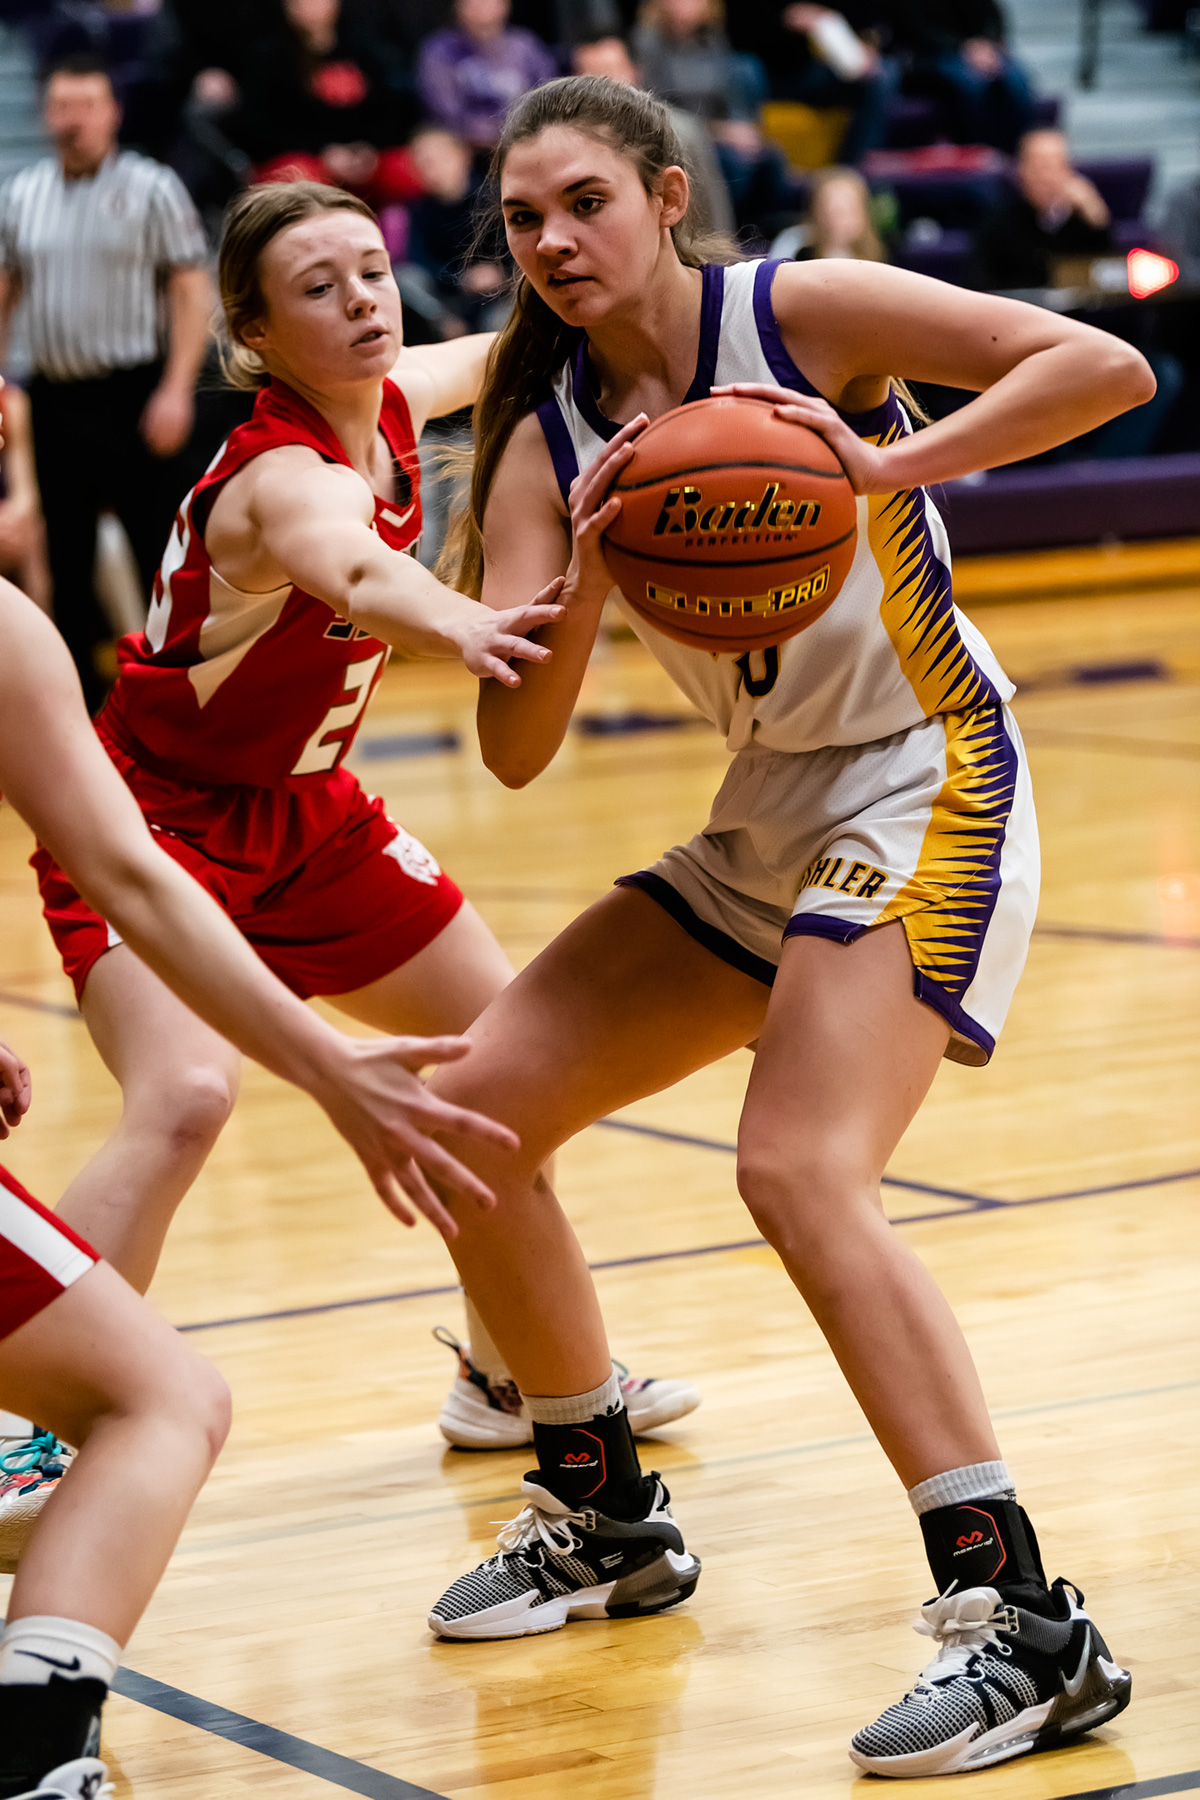
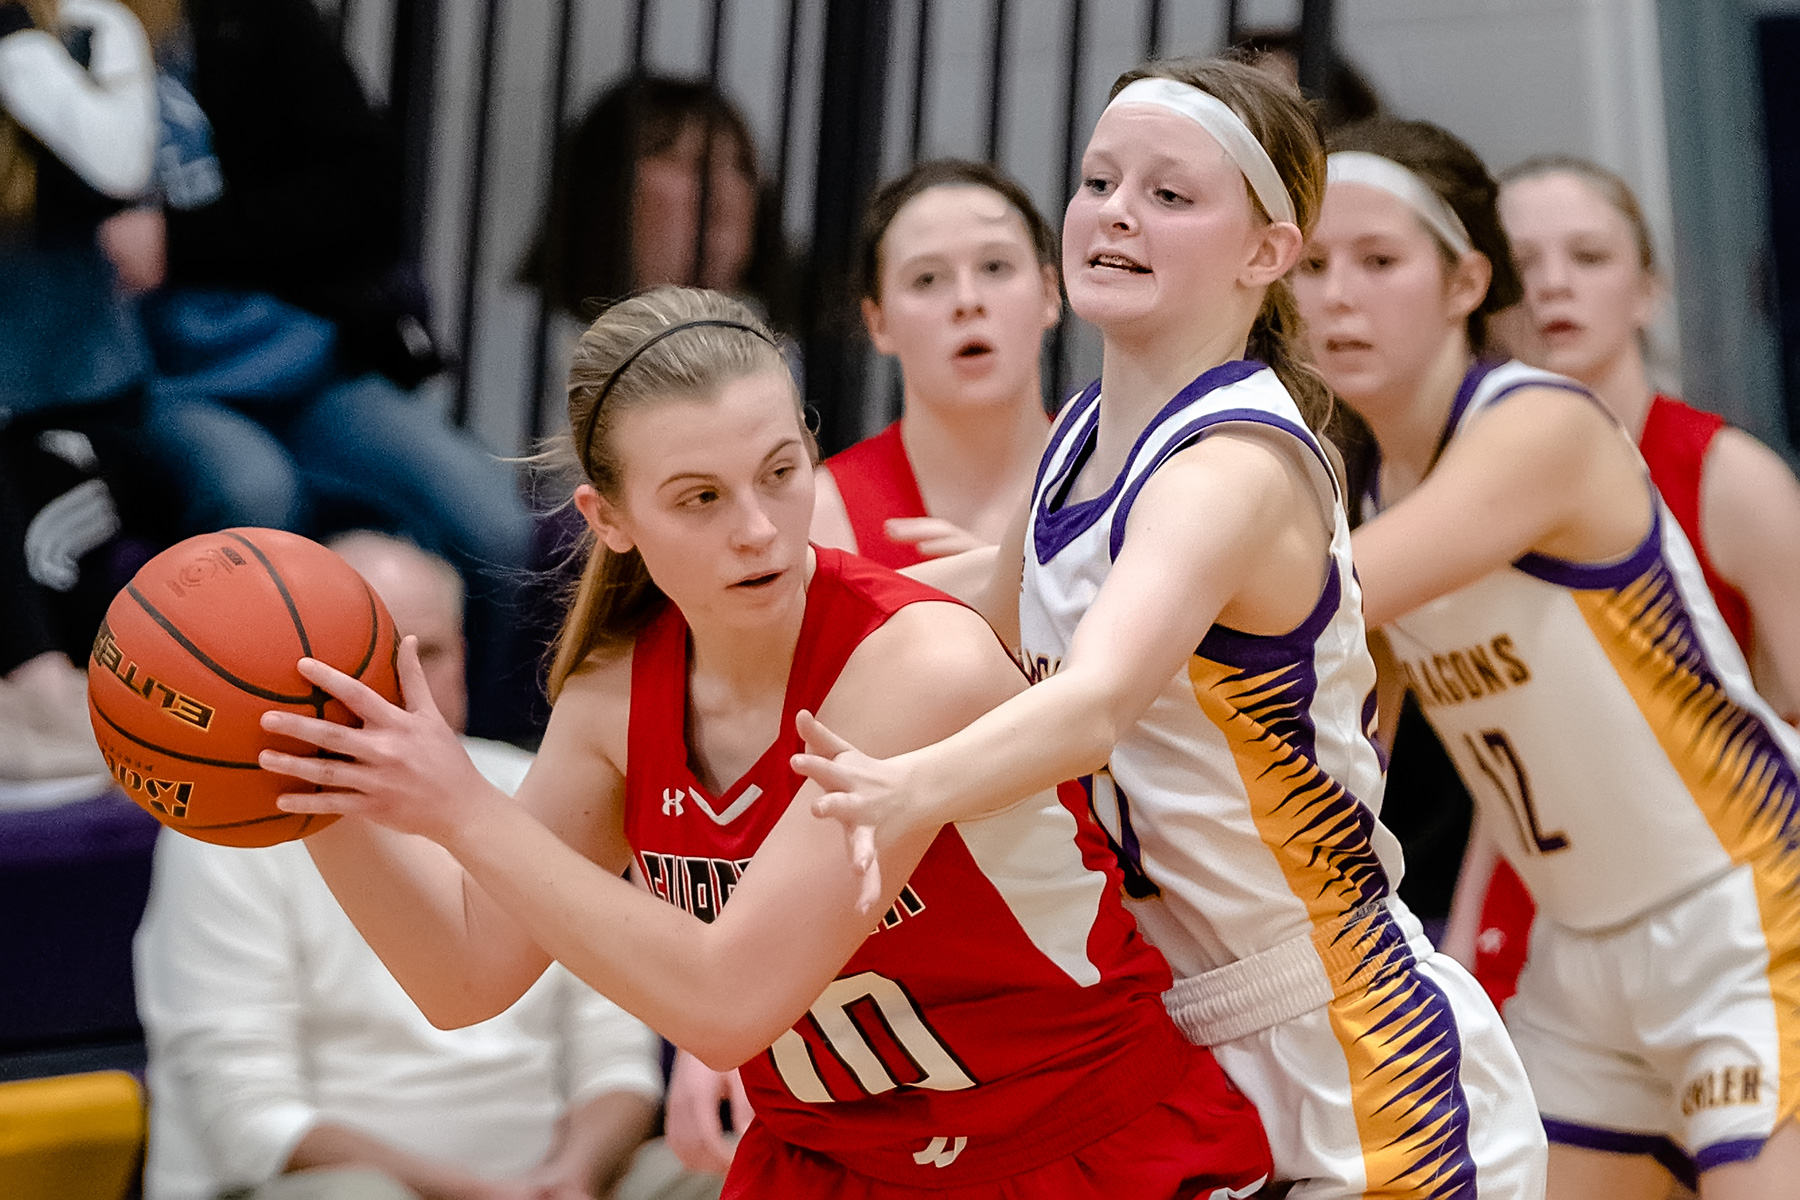
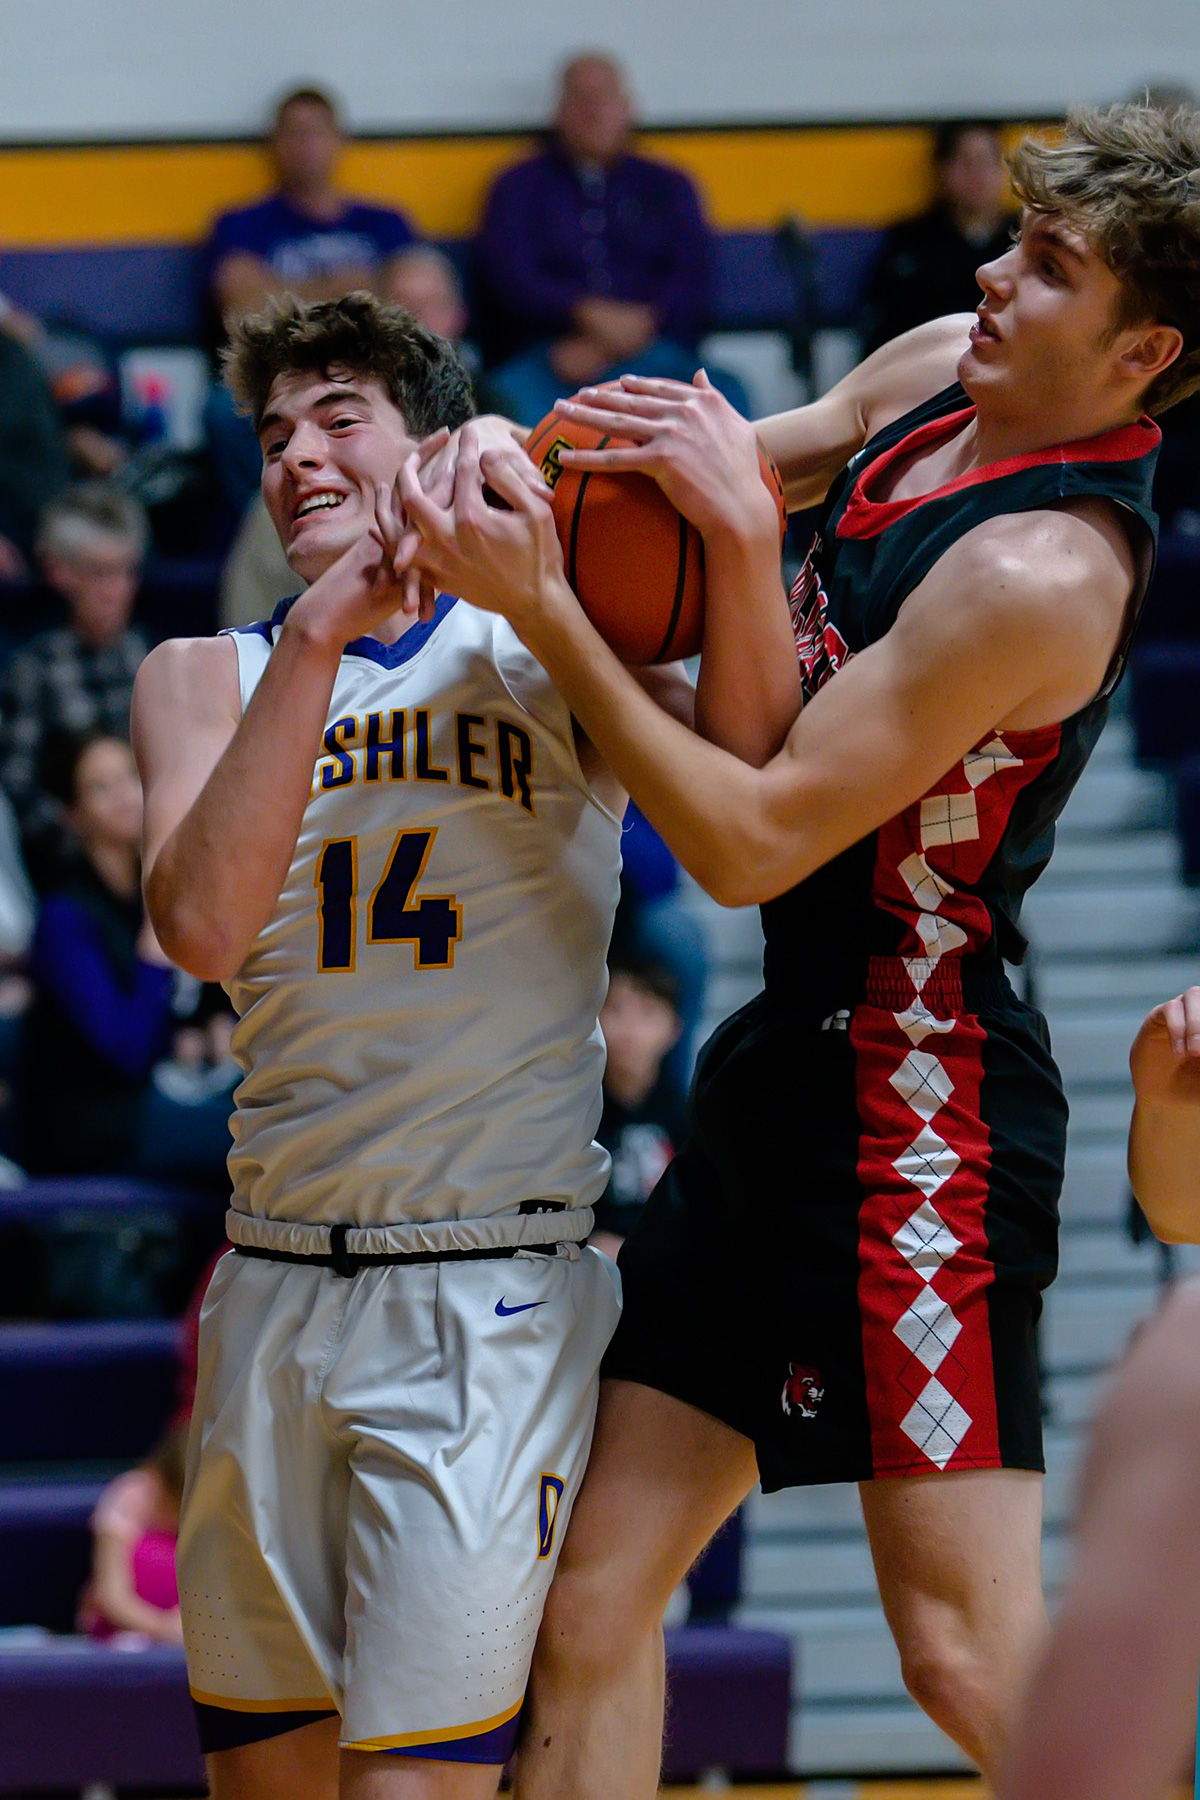
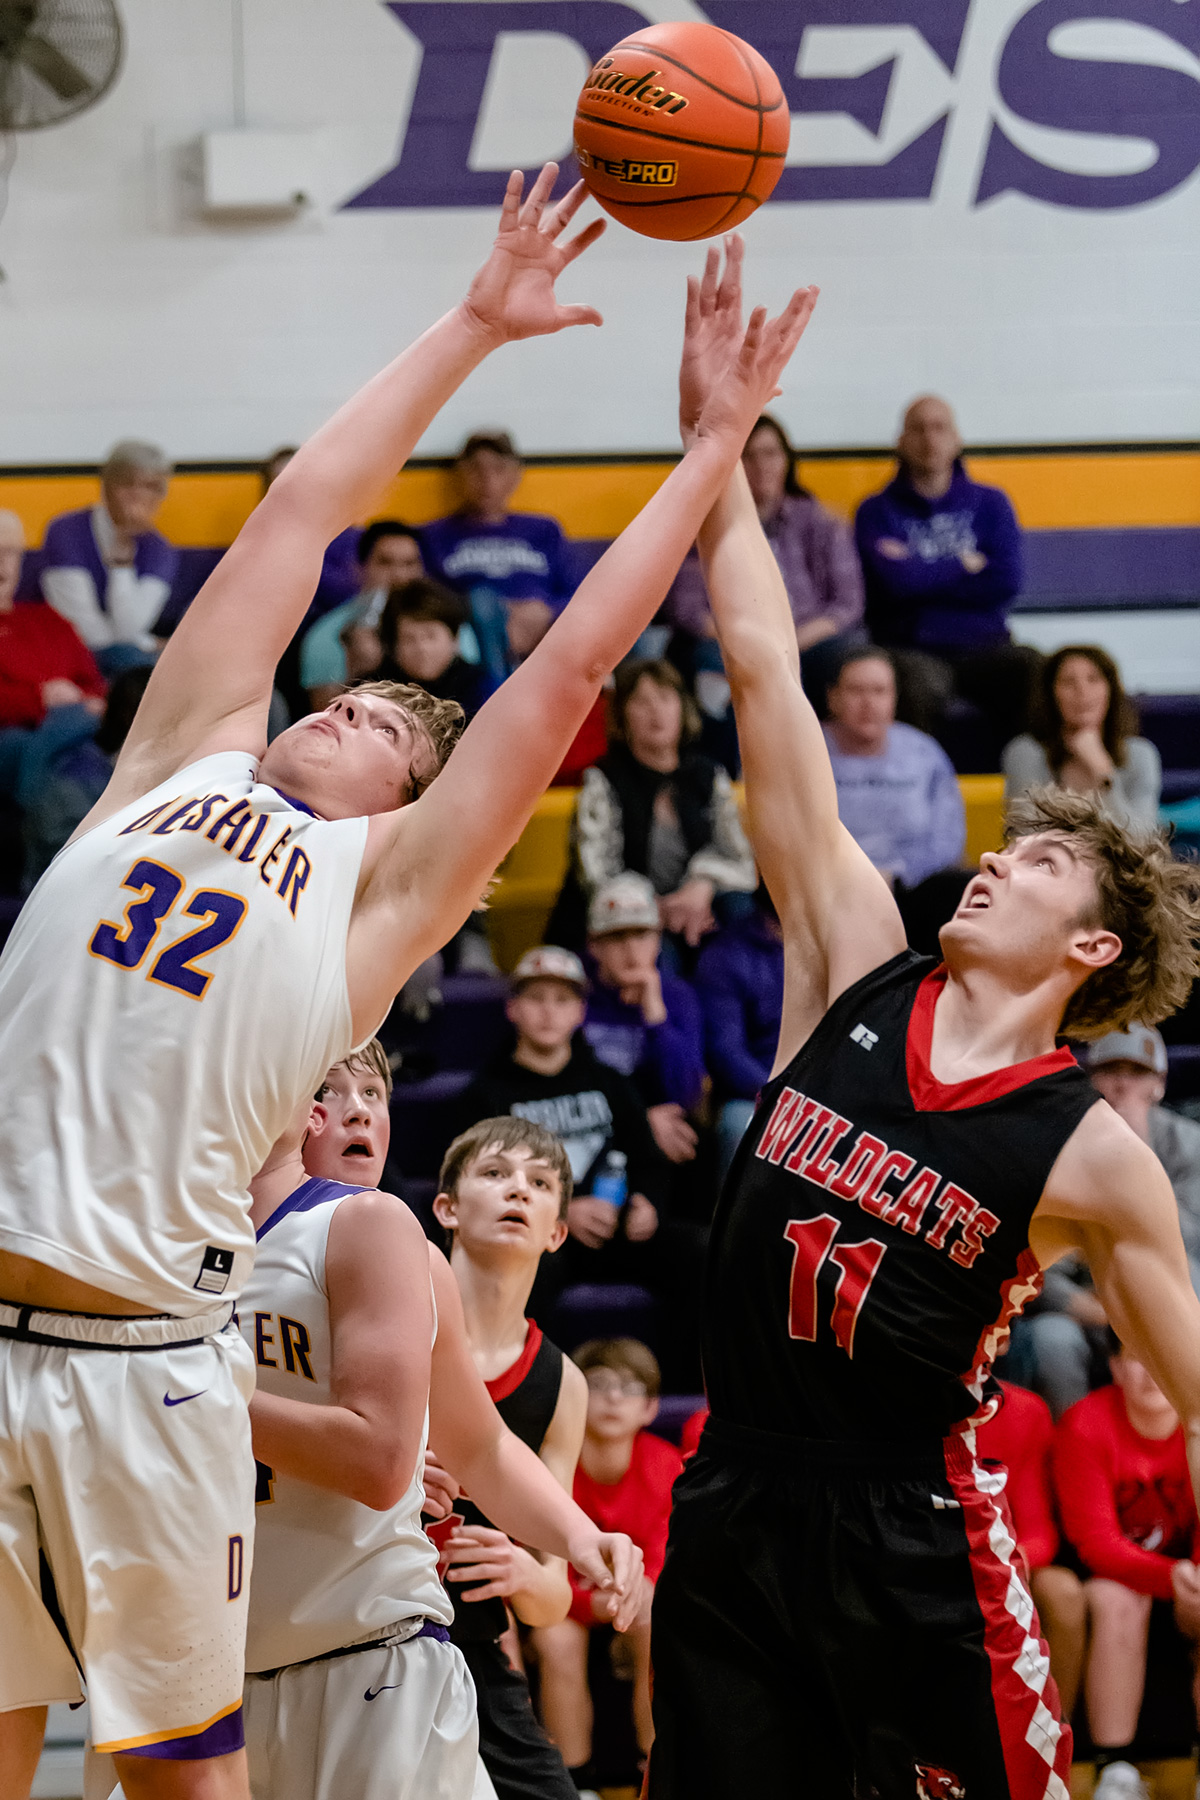
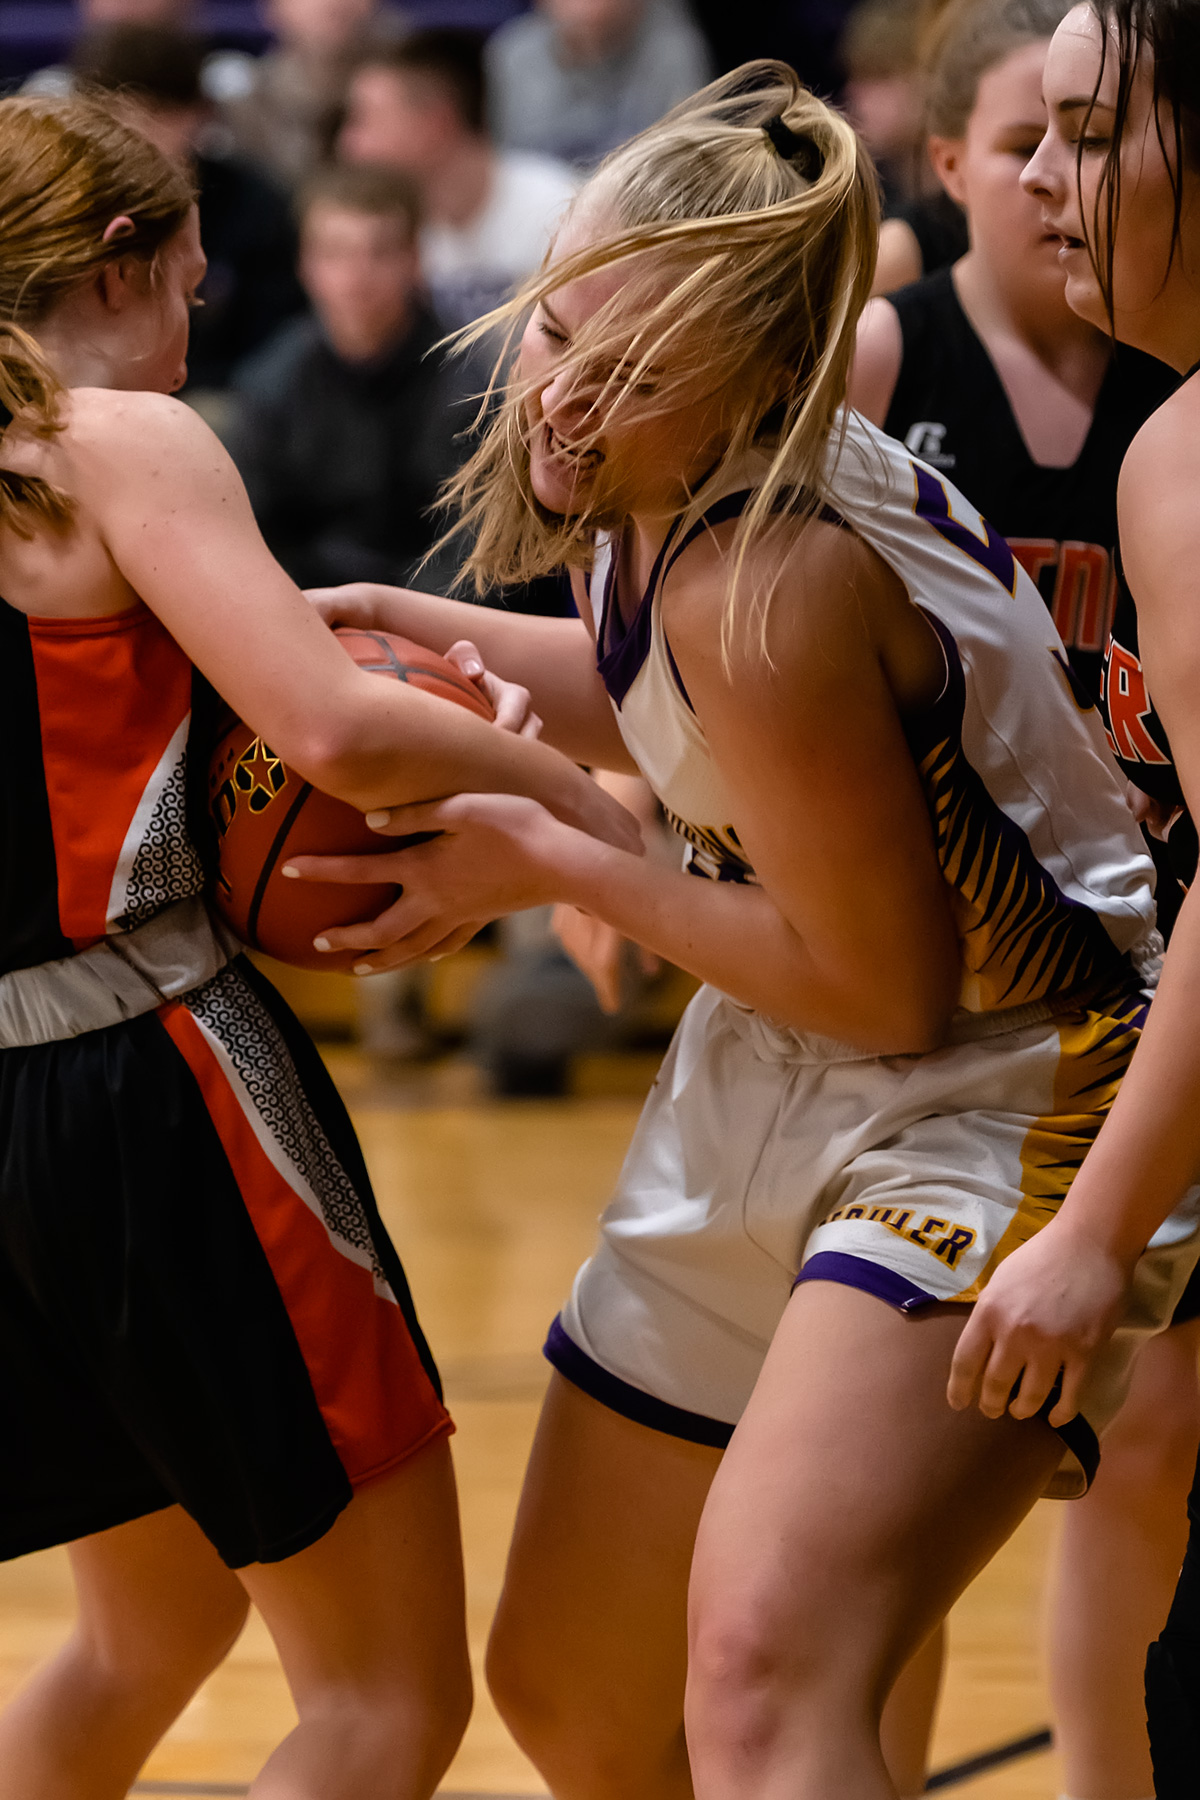
Below is a sampling from some of the events I shot in my first year of covering high school sports.