Shooting Firefighter Photos
Last night I got a phone call that had me jumping out of my desk chair and grabbing my camera. A friend called to let me know that our local Volunteer Fire Department was conducting a ‘Practice Burn’ in town. This is a situation where the Fire Department will do a controlled burn on an abandoned home so that they can work on techniques they’ll need when an unplanned fire comes along.
 - 200mm") I’ve never had a chance to get firefighter photos before, but had always wanted to. My goal in this shoot was to capture the firefighters as they did their job and although this was ‘just practice’ the same dangers of any house fire were still involved. I hoped to convey the drama that is played out as a house goes up in flames along with the men who risk their safety for the security of our town.
I’ve never had a chance to get firefighter photos before, but had always wanted to. My goal in this shoot was to capture the firefighters as they did their job and although this was ‘just practice’ the same dangers of any house fire were still involved. I hoped to convey the drama that is played out as a house goes up in flames along with the men who risk their safety for the security of our town.
This burn was happening at the end of the day and the sun would be setting in about half an hour. With no time to prepare or think too long about equipment, I grabbed my camera (Nikon D800e) and one lens (Nikkor 70-200 2.8) and jumped in my truck. I drove down to the spot and walked past the barricades and figured the people who knew me would tell me if I needed to back up. Thankfully this wasn’t the case.
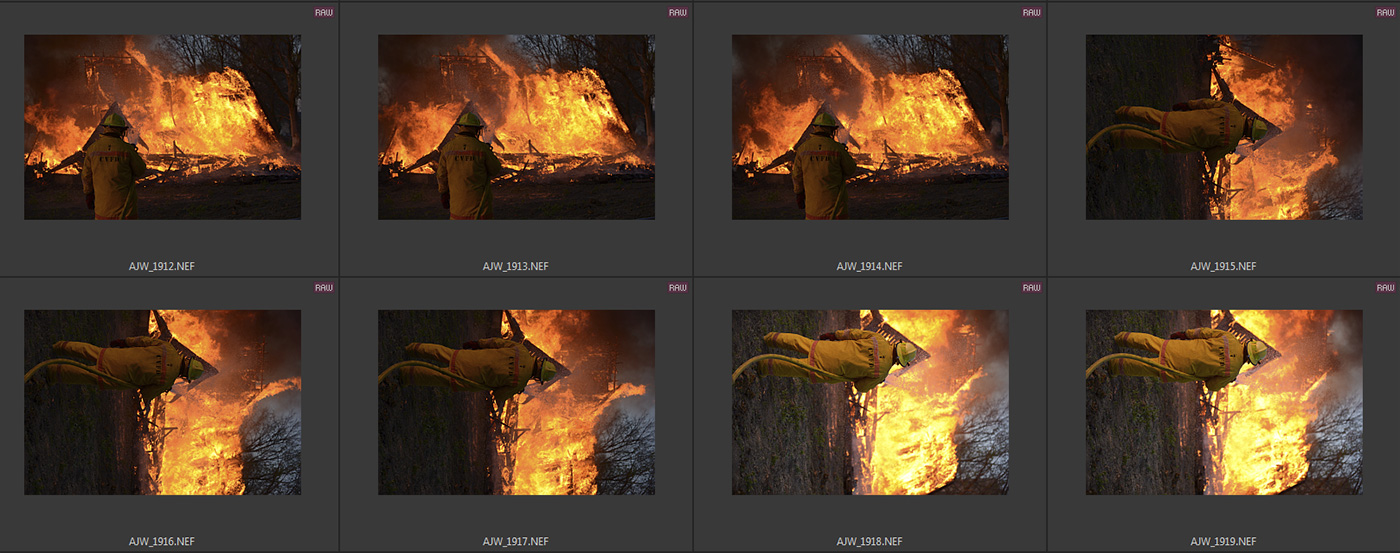
I started shooting as soon as I got there and my first few shots were of the  - 70mm (cropped)") burning building. Then I started looking for firefighters to place in the foreground and realized that I would be shooting a lot of their backs tonight. I stayed out of the way, which meant I needed to get to the backs or sides of people and would have very few shots to get their faces.
burning building. Then I started looking for firefighters to place in the foreground and realized that I would be shooting a lot of their backs tonight. I stayed out of the way, which meant I needed to get to the backs or sides of people and would have very few shots to get their faces.
As the sun was quickly setting, I looked for spots where I could find some dramatic backlighting. I was shooting in ‘Shutter Priority’ so that I could maintain a minimum shutter speed of at least 1/125s to try to freeze the action a little (but still allow for some Depth of Field) and used the exposure compensation dial to adjust my exposure as needed. This worked as I struggled with different light, fire flaming up and dying down, the setting sun and shooting into and away from the sun. I used autofocus as I normally do these days, but found that later that the smoke, water, haze and mist worked against me to some degree.
After shooting for about 5 minutes, I was able to get past the ‘excitement’ factor and start thinking more clearly about my shots. I could start thinking more about getting better angles and vantage points. I was lucky in that I had the freedom to move around (within reason!).
 - 86mm (cropped)") This shot (above) shows the Fire Department Chief discussing something with his crew. It was one of the times people had their faces away from the fire and I tried to get as many of these shots as I could. As I was using available light, and the light was constantly changing as flames rose and fell, I had to pick my moments. I shot 4 quick frames in this sequence, and this is the only one that shows the Chief’s face before someone moved in front of him.
This shot (above) shows the Fire Department Chief discussing something with his crew. It was one of the times people had their faces away from the fire and I tried to get as many of these shots as I could. As I was using available light, and the light was constantly changing as flames rose and fell, I had to pick my moments. I shot 4 quick frames in this sequence, and this is the only one that shows the Chief’s face before someone moved in front of him.
 - 170mm (cropped)") While also being aware of my location (and my proximity to the fire) I also kept my eyes open to see potential scenes unfold. In this example (left) I noticed that a few firemen were walking past in front of the blaze, so I found a spot where I could try to frame them in the burning window. I had to be quick, but I was able to capture a few shots like this one.
While also being aware of my location (and my proximity to the fire) I also kept my eyes open to see potential scenes unfold. In this example (left) I noticed that a few firemen were walking past in front of the blaze, so I found a spot where I could try to frame them in the burning window. I had to be quick, but I was able to capture a few shots like this one.
By this time the sun was almost set and most of my light was coming from the flames. As my camera doesn’t have a White Balance setting for “Fire”, I kept the WB set at Direct Sunlight.
Anyone that knows me, would be shocked to see me taking photos of  - 200mm (cropped)") people. I’m not known for my portraits and I generally avoid getting people in my shots (although I know many reasons why I should). I continually looked for new and interesting angles and different ways of framing shots that would make the fire look ‘interesting’ and not just a “Hey look! A house is on fire” shot. I found the windows worked great to create natural frames and this shot (right) shows the fire within. If you click on it (to see it larger) you can see the embers falling like meteors from the top right corner. This element along with the large X at the bottom in front of the still untouched piece this a shot with a few things to look at, while being contained within the natural frame of the window.
people. I’m not known for my portraits and I generally avoid getting people in my shots (although I know many reasons why I should). I continually looked for new and interesting angles and different ways of framing shots that would make the fire look ‘interesting’ and not just a “Hey look! A house is on fire” shot. I found the windows worked great to create natural frames and this shot (right) shows the fire within. If you click on it (to see it larger) you can see the embers falling like meteors from the top right corner. This element along with the large X at the bottom in front of the still untouched piece this a shot with a few things to look at, while being contained within the natural frame of the window.
 These shots above show I sequence I shot while trying to frame the fireman against the fallen wall and surrounding fire. I didn’t like any of these, and the next shots I zoomed out and was able to tell more of the story. The water coming from the hose was not visible in the shots above can be seen now, plus the scene now tells a different story of one man against the inferno.
 The final shot I chose (below) I picked because it’s fairly well lit and that helps balance the yellow of the flames on the right with the yellow of the jacket on the left. I like the hose providing a ‘leading line’ into the frame from the bottom. The minimal depth of field puts the focus on the fireman.
 78mm")
Here is another shot where I had a natural frame to work with. The house is now almost completely burned and just the front wall is still standing. The sun has set and twilight is beginning.
 95mm") As this home was finished off, I was told that they would be taking down another house up the road. I went back home and grabbed my second camera (D300 w/18-200) to set up for a time lapse. I also grabbed a flash so I could use some fill light now the the daylight was gone. One problem with using a flash around emergency crews is the reflective strips on their safety gear. Not much I could do about that, but for the rest of the night, I used a combination of available light (the fire) and added flash when needed. I set the flash on camera hot shoe (which I rarely do) and used the TTL setting (which I rarely do) for the speed and ease I needed while moving around in the near dark.
As this home was finished off, I was told that they would be taking down another house up the road. I went back home and grabbed my second camera (D300 w/18-200) to set up for a time lapse. I also grabbed a flash so I could use some fill light now the the daylight was gone. One problem with using a flash around emergency crews is the reflective strips on their safety gear. Not much I could do about that, but for the rest of the night, I used a combination of available light (the fire) and added flash when needed. I set the flash on camera hot shoe (which I rarely do) and used the TTL setting (which I rarely do) for the speed and ease I needed while moving around in the near dark.
Here is a shot that I felt embodied what firemen do – they willingly go inside burning buildings. By now my ISO is boosted to 1250 and my shutter speed on the shot below fell to 1/25s – handheld with lens vibration reduction helping out.
 70mm") Here’s a shot where the flash was used and although the reflective strips do their job and reflect the light, I don’t feel that it overpowers the shot. Again it shows the Chief working with his crew through this training exercise. It can be hard to get firefighter photos without seeing these reflections.
Here’s a shot where the flash was used and although the reflective strips do their job and reflect the light, I don’t feel that it overpowers the shot. Again it shows the Chief working with his crew through this training exercise. It can be hard to get firefighter photos without seeing these reflections.
 200mm") This next shot is cropped (shot at 200mm, but as close as I could get). The fireman is shooting water into the house, some is spraying back out and down the wall, the only light is from the flames in the window and surround area. No flash was used, so I was shooting at ISO 2000 to get the fireman better exposed. Trying to get the shot and deal with metering in a scene like this was challenging – fun, but challenging.
This next shot is cropped (shot at 200mm, but as close as I could get). The fireman is shooting water into the house, some is spraying back out and down the wall, the only light is from the flames in the window and surround area. No flash was used, so I was shooting at ISO 2000 to get the fireman better exposed. Trying to get the shot and deal with metering in a scene like this was challenging – fun, but challenging.
 200mm") It’s great when you see the shot, take it and you know you nailed it. It doesn’t happen often (for me), but it’s a great relief when it does. I happened to notice the Chief taking a break away from the building and managed to get one shot while he was standing there. I didn’t have time to change any settings and used the same ones as the image above. Luckily, it worked. It all came together with a shallow depth of field, nice lighting, soft background and some backlit breath.
It’s great when you see the shot, take it and you know you nailed it. It doesn’t happen often (for me), but it’s a great relief when it does. I happened to notice the Chief taking a break away from the building and managed to get one shot while he was standing there. I didn’t have time to change any settings and used the same ones as the image above. Luckily, it worked. It all came together with a shallow depth of field, nice lighting, soft background and some backlit breath.
 200mm") This next shot is one of my favourites from the night. It shows the teamwork that needed in these situations. Once again, I only had available light. A flash would have ruined the scene by lighting up the reflective strips. I shot a series of five images as they brought the hose over, and the first was the only one that worked as in the next second the fireman in front turned his head back to the rest of the crew.
This next shot is one of my favourites from the night. It shows the teamwork that needed in these situations. Once again, I only had available light. A flash would have ruined the scene by lighting up the reflective strips. I shot a series of five images as they brought the hose over, and the first was the only one that worked as in the next second the fireman in front turned his head back to the rest of the crew.
 200mm") Here’s another favourite shot – again showing some teamwork. I really like the silhouettes of the firemen against the building that is now engulfed in flames. It’s almost as if they don’t notice it. Again, trying to meter a scene like this is not easy, and with people moving in and out of the shadows, I needed to react quickly. By now most of my images have a -1.33 exposure compensation to deal with the extreme light of the flames against a near black background.
Here’s another favourite shot – again showing some teamwork. I really like the silhouettes of the firemen against the building that is now engulfed in flames. It’s almost as if they don’t notice it. Again, trying to meter a scene like this is not easy, and with people moving in and out of the shadows, I needed to react quickly. By now most of my images have a -1.33 exposure compensation to deal with the extreme light of the flames against a near black background.
 70mm")
This shot (below) presented itself as a natural composition. I had to crop two firemen out on the right (you can see the water from their hose in the top right), but the form of the single fireman and blurred water from the hose makes for a great (almost graphic) composition.
 200mm") This last shot was the only posed photo of the night. They asked to have their photo taken and I didn’t want to waste their time fumbling with settings, so I quickly took a test shot as they walked into position, checked the results and found they were ‘close enough’. Once again, it was a matter of balancing the exposure between the bright flames in the background and hoping the TTL setting on the flash did its job (and wasn’t confused by the reflective strips). With a few minutes and some more test shots I could have achieved a clearer image, but as a quick record of the night, it works.
This last shot was the only posed photo of the night. They asked to have their photo taken and I didn’t want to waste their time fumbling with settings, so I quickly took a test shot as they walked into position, checked the results and found they were ‘close enough’. Once again, it was a matter of balancing the exposure between the bright flames in the background and hoping the TTL setting on the flash did its job (and wasn’t confused by the reflective strips). With a few minutes and some more test shots I could have achieved a clearer image, but as a quick record of the night, it works.

All in all it was a fun night and I was happy with the shots I ended up with. Could some shots have been better? Of course, but for the most part, I was able to get the shots I wanted and a big part of that was being familiar with my camera’s settings. Not having to think twice about where the dials were for shutter speed, ISO or exposure compensation really saved the day. It’s also good that I know the limits of what ISO I can use and be happy with. In the few situations when I used a very slow shutter speed, good camera holding technique helps as much as vibration reduction.
Finally, here is the time lapse video that I shot at 30 second intervals. Not the clearest, but it was fun to try this technique out in a situation with difficult lighting.
Thanks for reading and if you have any questions about these firefighter photos feel free to email me or leave a comment below.