Learn Shutter Priority Mode

Now you have had a chance to practice using your camera in Aperture Priority (previous practice lesson), you can change gears and try this new exercise controlling your shutter. The purpose of this lesson is to get you started out using Shutter Priority Mode to control the motion in your photos. Using this technique allows you to either freeze your subjects as they move, or use blur to convey movement and make a creative statement.
Another part of this lesson will show you how your shutter speed can create unwanted camera shake. This is one of the most common problems photographers face when learning to take photos.
If you haven’t already read the introduction to shutter speed and motion, or want to review it, you can check it out here.
From the earlier lessons, you should know:
1) Shutter speed is the amount of time that camera opens up to let light in to expose the sensor to light.
2) A ‘slow shutter speed’ is a setting slower than “1/lens length” – a standard rule to know when starting out.
3) A slow shutter speed may introduce blur via the subject or camera moving while the shutter is open.
4) A fast shutter speed can freeze a moving subject.
Just like when you learned about how the aperture worked, I think it’s good to look at how a shutter works in a camera. This video shows the shutter of a film camera. In digital cameras the shutter is never seen, so it can be a bit of a mystery to people who are new to photography.
When you take a photo with DSLR camera, the aperture opens, the mirror flips up and then the shutter opens – then it closes, the mirror flips down and the aperture goes back to its widest setting.
When you set your camera to Shutter Priority (Time Value / Tv mode with Canons) you will be setting the shutter speed while the camera take care of the other settings. This is the “opposite” of Aperture Priority, but the techniques behind both settings are similar in that you can focus on one aspect of the image while the camera works on the rest of it.
Setting your camera to Shutter Priority Mode
Many DSLR cameras will have a dial or button at the top that allows you to easily switch to “S” mode. Look for the mode setting on your camera and if you can’t find, check your manual or search the web for “Shutter Priority for Model XXX“.
With your camera set to Shutter Priority Mode, check that you can set different shutter speeds and see what you have for the slowest and fastest settings. Newer cameras can be as fast as 1/8000s and as slow as several seconds. While checking out the settings, you may see a “Bulb / B” option. This lets you leave the shutter open for as long as you press the release button. It’s used for very long exposures such as those used in night photography.
Review
Remember that the faster your shutter speed, the more light you need to let in through your aperture. That means you use a lower F-Stop number. You can also use a higher ISO setting if you want to keep your aperture closed down a little for more depth of field. But for now, we’re just going to think about how the shutter speed affects motion.

You might remember from the earlier lesson that ‘speed is relative’ and the closer an object is to your camera, the faster it will appear to move. The example I used was to imagine driving down a highway and seeing the road signs appear to move much faster than the landscape in the background.
Also look at the differences between each stop in the chart above. In one stop, you can go from 1/15s to 1/30s which is actually a big difference. Compare that to changing from 1/4000s to 1/8000s. At the slower speeds, one stop can make or break a photo.
When you are working through this exercise, I’ll ask you to try the same settings while working with subjects that are at different distances.
Step 1: Shooting close

For this exercise, I’ll ask you to set your camera to shutter priority mode and if possible, Auto ISO as well. The only goal here is to see how the shutter affects motion, so we’re not worried about aperture and depth of field at all (or even the exposure at this point).
If you can get a volunteer, have them stand about 3′ / 1m in front of your camera. You can also do this with a remote timer or a self-timer (but a volunteer will be easiest). If you have a tripod, mount your camera on it so that the camera stays still and you only capture the motion of the subject and not the movement of the camera. If you don’t have a tripod, you can carefully place your camera on the edge of a table.
Set your focus to the general area where the arm will be waving and turn it to manual focus when you have it set. This will keep the camera from hunting for focus while the arm is moving up and down.
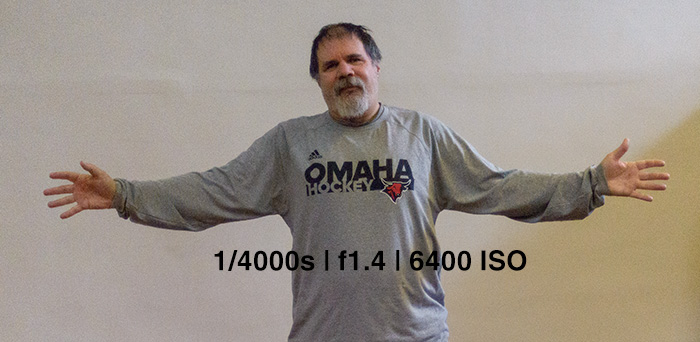
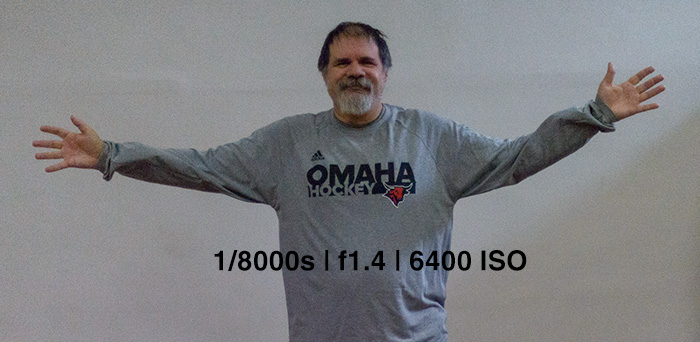
Have them wave their arm quickly in front of the camera at a consistent pace while you take photos at different shutter speeds.
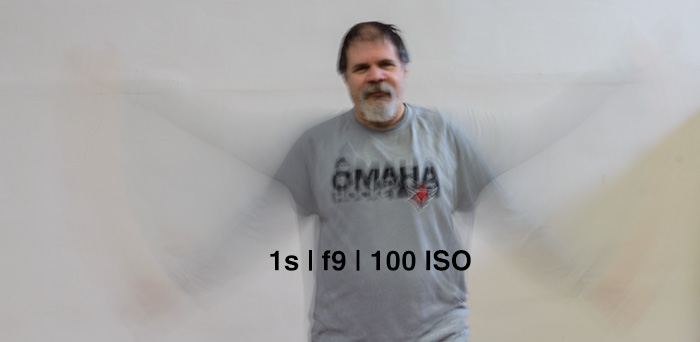
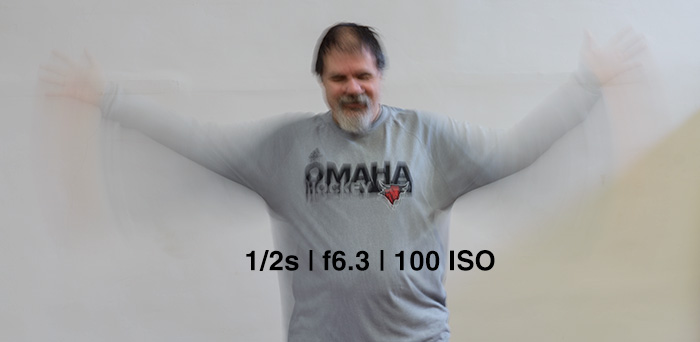
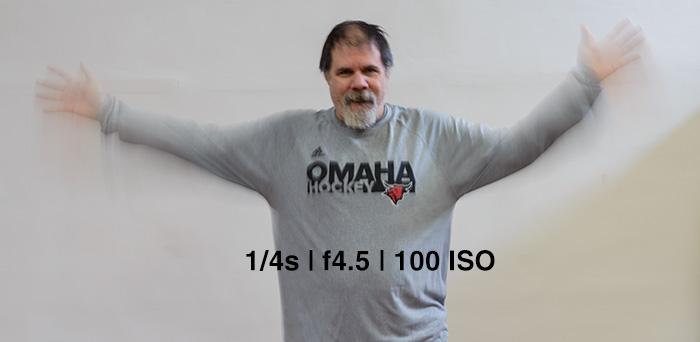
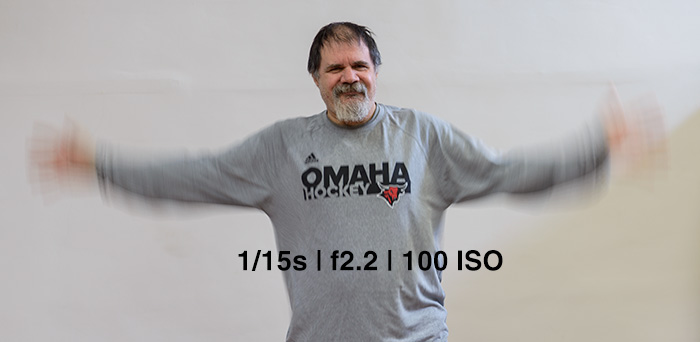
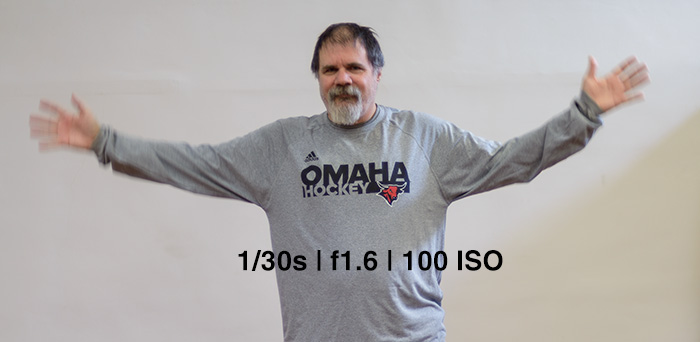
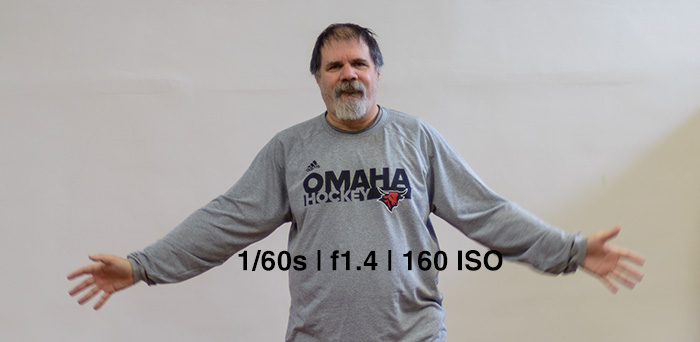
I shot a series from 1 second to 1/8000s. My camera was set to Shutter Priority and Auto ISO. My ISO ranged from 100 with the longer exposures to 6400 with the short exposures. All the images were shot in the same light (overhead fluorescent) and adjusted to give a similar brightness in the final shots. Remember that my arm is moving in every image with the same speed and chopping motion.
Take a look at the background – in the first slides (1s | f/14) you can see some texture in the wall that is about 18 feet behind my arm. By the time I’m using 1/30s | f2.5, the wall looks smooth.
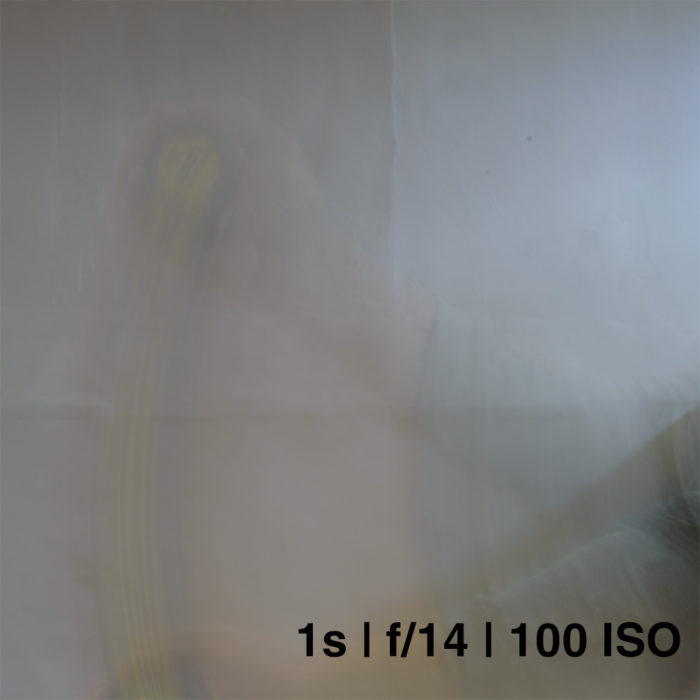
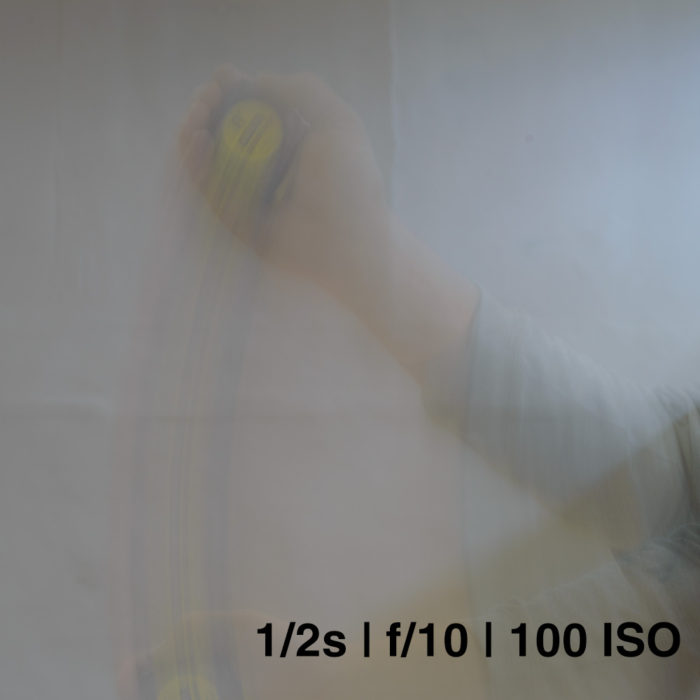

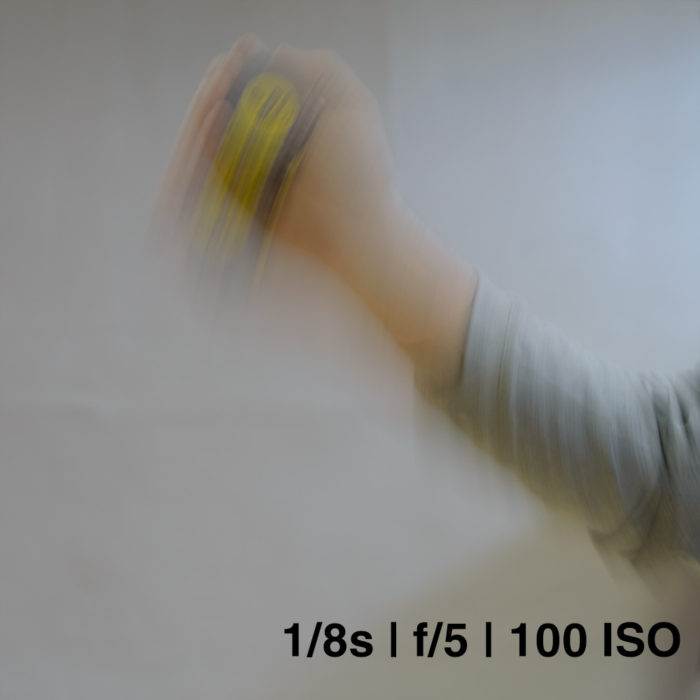
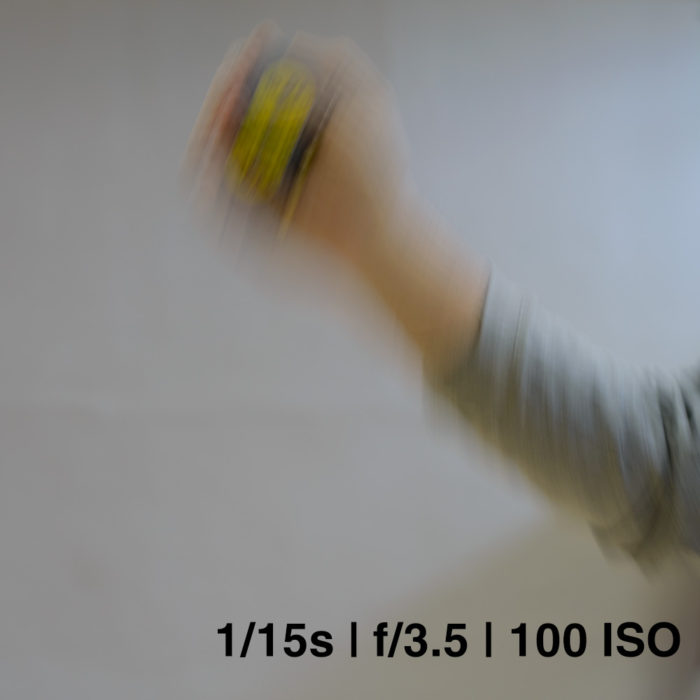
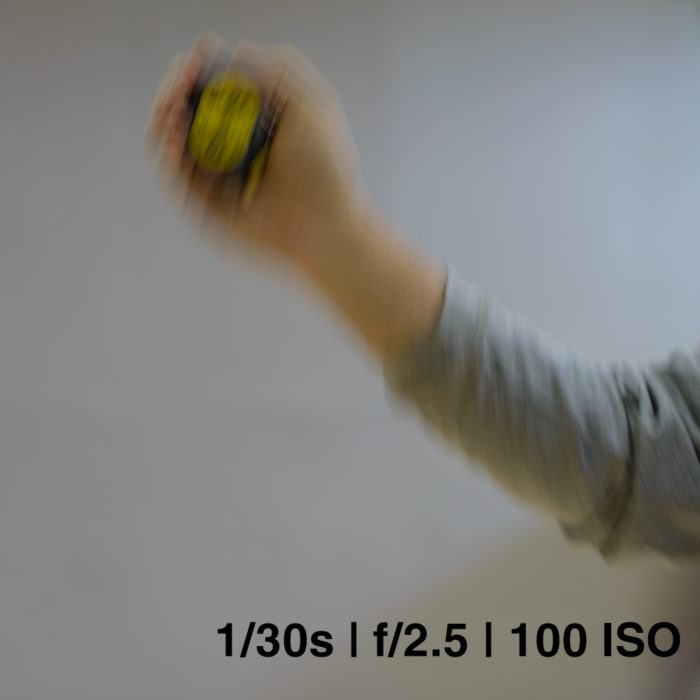
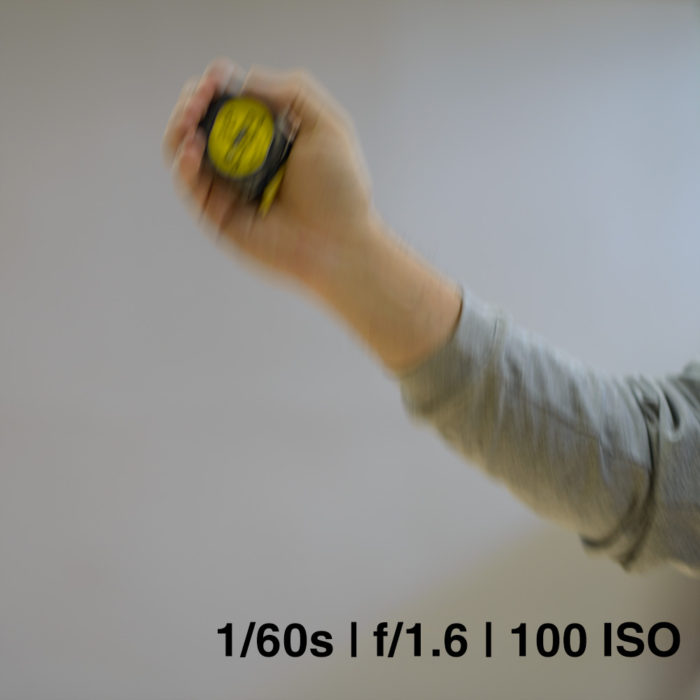
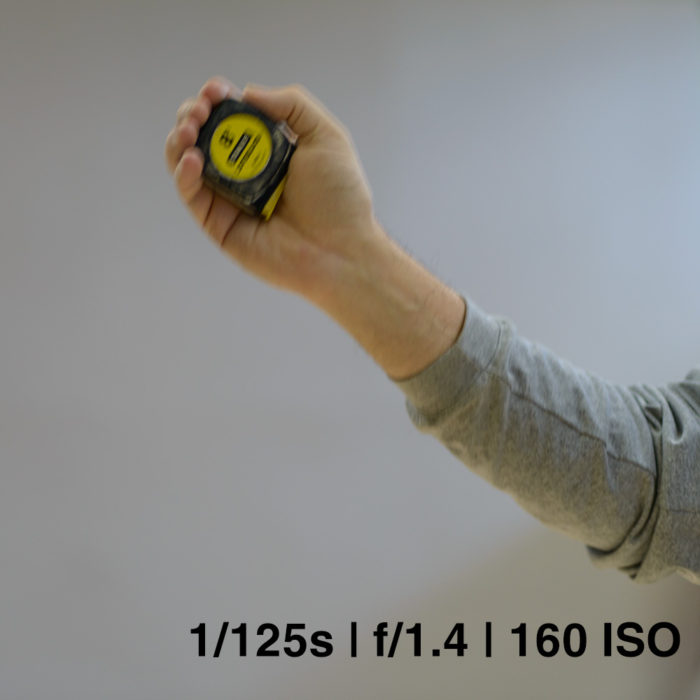

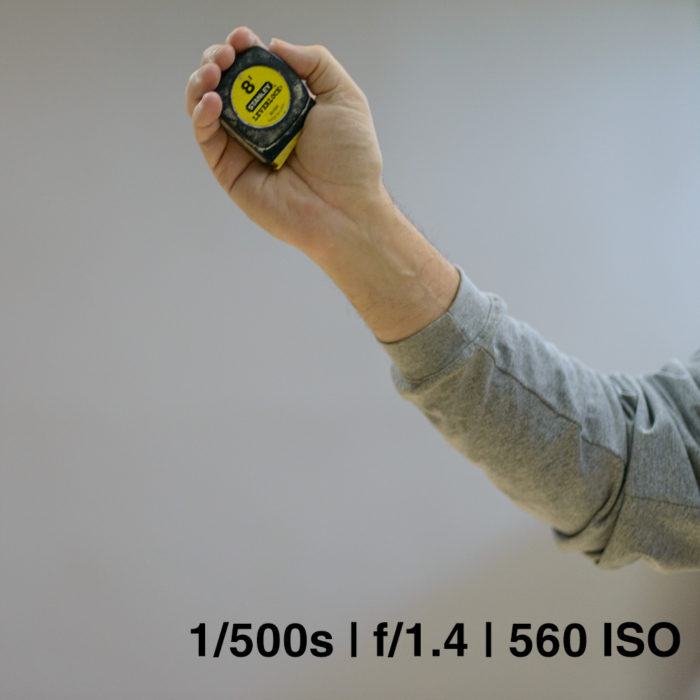
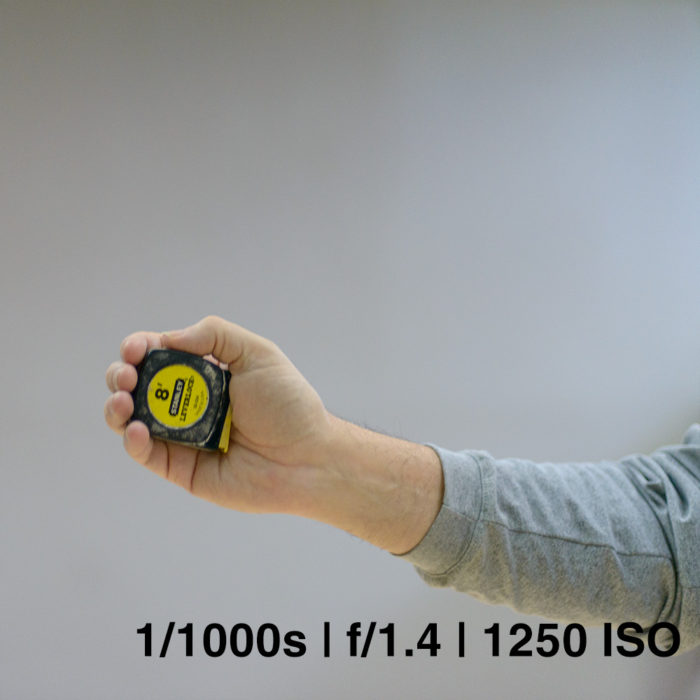
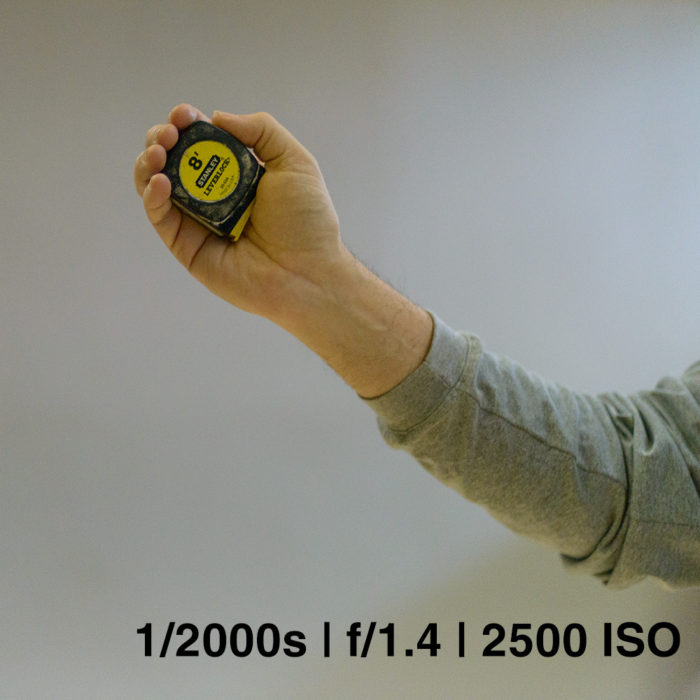
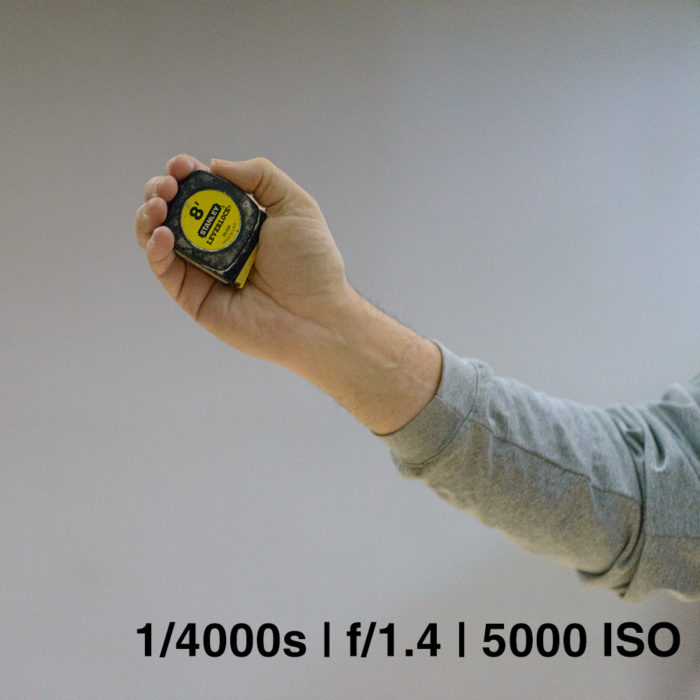
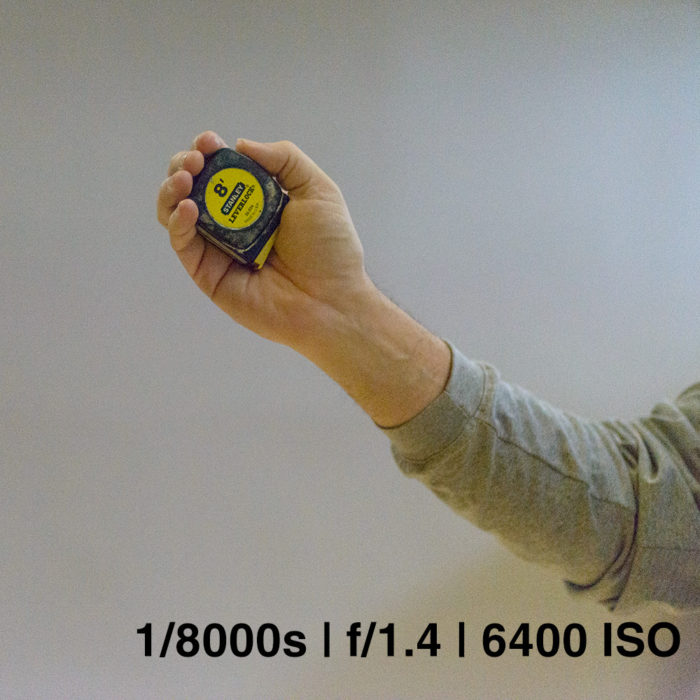
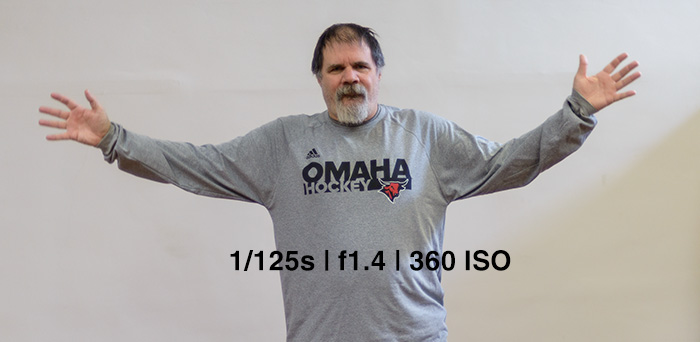
The first image is a blur, but then you can start to make out a little more each time. At some point, I can freeze the ‘action’ and going to a faster shutter speed is overkill (and requires the higher ISO). What speed would you choose based on these images?
Think about how you could apply this in the real world. Imagine you are shooting your child playing basketball in a school gym. The lighting will be bad, but you want to capture the action and not have a bunch of blurry images. You also don’t want to your highest ISO and deal with excessive noise. This is a great example of where you would practice some shots during the warmups and find your best setting. The lighting won’t change, so you can use the same setting for all of your shots.
Even though the ISO is the same for the images at the end, using the faster shutter speed resulted in underexposure, which caused me to adjust the image to be brighter, and this caused the excessive noise you see.
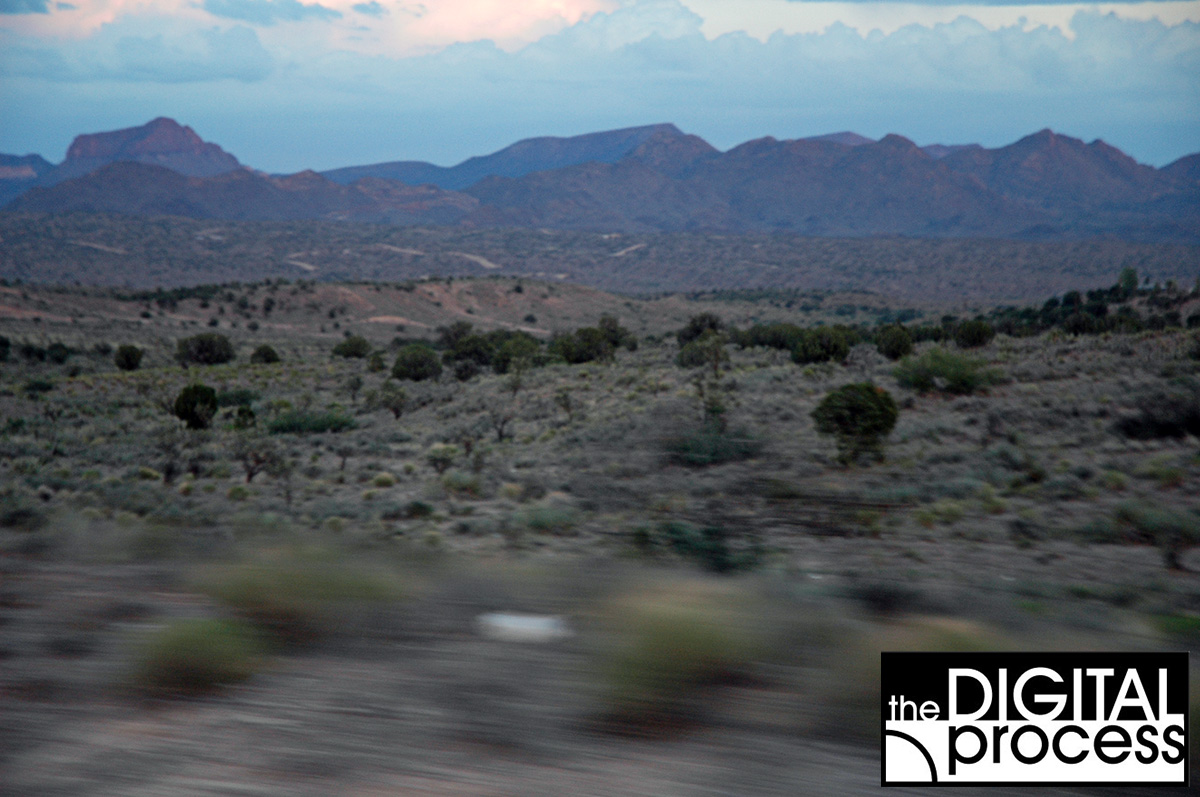
Now try the same exercise while the subject is further from the camera – try 10′ to 15′ away (3 to 4.5m) and see how the movement looks better or worse. You can also try this outside and have your subject do jumping jacks or run back and forth. (Don’t take too long or they might not volunteer again!)
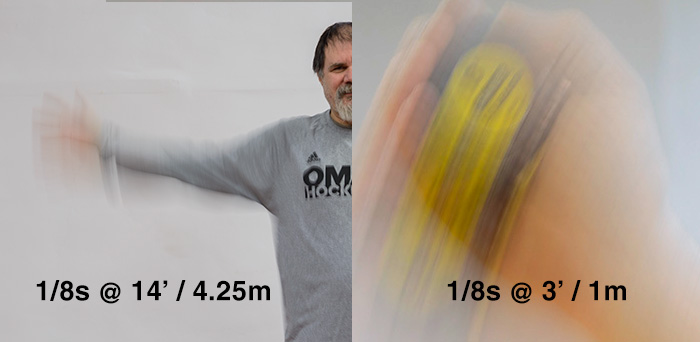
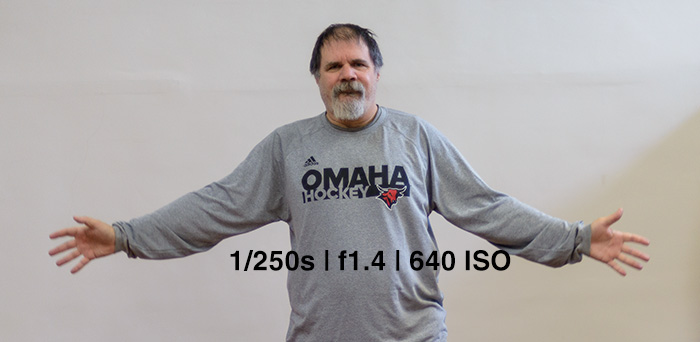
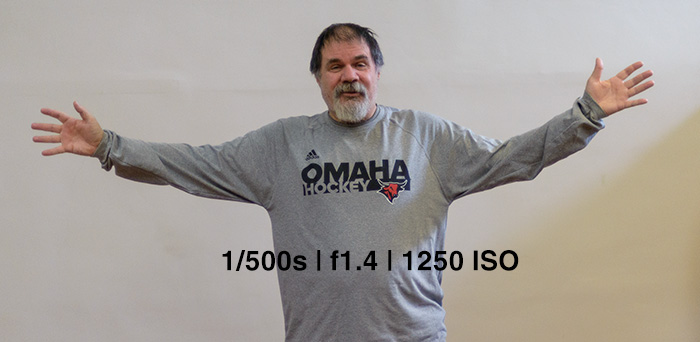
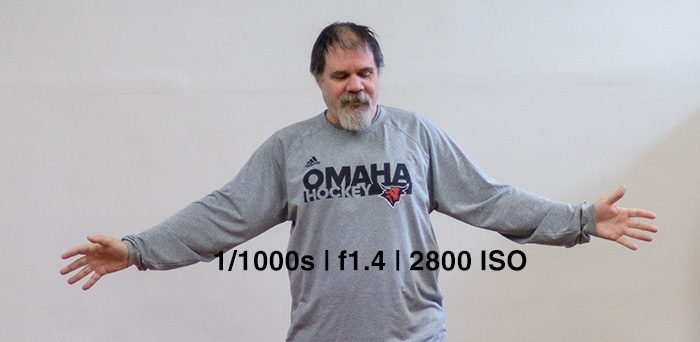
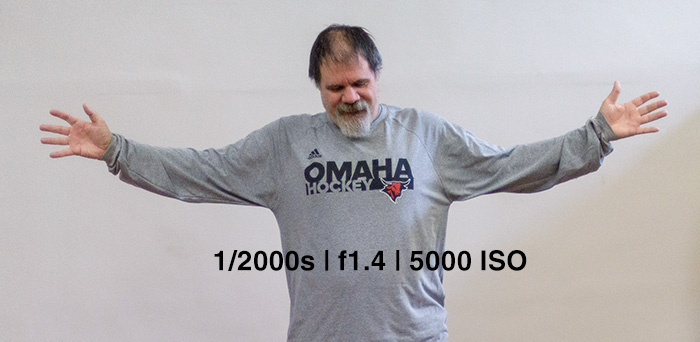
Here’s another series of images shot with the same method as above, but at a distance of 14′ / 4.25m

Another thing to practice is to see how slow you can hold your camera and still get a sharp image. Try taking a photo of a detailed painting or photo that you have on the wall. If your camera has vibration reduction (image stabilization) you might be able to get a good shot with a slow shutter speed, but everyone will be different. It depends on your every thing from your camera, distance to the subject, your arm strength, how tired you are – and of course, how you hold your camera.
Summary
Just like the road signs on the highway, the closer your subject is (in case waving their arms) the faster shutter speed you’ll need to freeze the motion. The more you shoot, the more you will learn to establish a ‘baseline’ for subjects that you commonly shoot: kids, dogs, wildlife, sports – you’ll find that you soon learn a good place to start each time. It just takes practice and experience.
The main take-away from this lesson is that different shutter speeds have different effects on the image. If your subject is moving, shutter speed priority mode will give you more control over the look of your photo. This is another big step in “making” photographs instead of “taking” them.
Start thinking about situations when you would prefer Shutter Priority over Aperture Priority and vice versa. Learn to predict when to use the best setting and you are well on your way to taking better photos!