Introduction to Off Camera Flash Photography

Flash units are portable, powerful, easy to use and very versatile. If you have only used your flash on the camera’s hot shoe, you’ve been missing out on a whole world of options. Off Camera Flash, or remote flash is a general term used to describe any technique where your remove the flash from the hot shoe and fire it via cable or remote control.
Today’s camera systems have made this process incredibly easy and it’s up to us to explore and challenge ourselves to use this technology to improve our photography. I’ve been using remote flash for decades. Originally I used a cord to connect my Olympus film camera to a Vivitar 285 flash, but today I’ll use up to six flash units and fire them remotely using my built-in flash or special triggers while controlling their power via my camera’s menu.
Of course, the first question is, “Why should I bother with off camera flash?“. The simple answer is to control the light in almost any situation. The long answer is to grow your skills as an artist and photographer, to make the photos YOU want to make, and not let the available light dictate the photographic process.
Getting Started with Off Camera Flash
The first thing you need is a separate flash unit. Thankfully, there are many inexpensive options available for almost any camera. I use Nikon equipment and will be showing you some techniques with this brand, but the concepts will apply to any manufacturer. Here is the basic gear that I would suggest you either start with, or expect to use soon after you get started.
- Flash Unit
- Flash Stand
- Tripod (optional, but very handy!)
- Flash Cable (optional)
- Additional Reflector(s) / Diffuser(s) (optional)
Many DSLRs have a built-in remote connection to the flash unit. This is usually via an infrared light (IR) signal. Newer models might have a radio frequency (RF) signal. The basic differences are IR generally requires a ‘line of sight’ connection, while RF has a greater range and does not require line of sight.
If you are using a consumer line camera, it’s very likely you will be dealing with IR. This will work fine and I’ve shot like this for years. One potential problem with IR is that it can be less effective when used outdoors as a bright sun can overpower the IR signal. If you’re just starting out you can easily start practicing indoors and get comfortable with this powerful tool. If you look into remote triggers for your flashes, these will use Radio Frequency to communicate.
Benefits of Off Camera Flash
If you are new to photography and in particular flash photography, then you might be wondering why bother with this. I hope you’ve read through my first flash lesson (basics) and the second one (techniques) and answered this question for yourself. But if really comes down to this: if you want to control the light and the shadows in your photos, remote flash is the ticket!

Above are a couple of sample shots from the previous lesson. The goal was to remove the ugly shadow behind the subject. Even with the glass head 7 feet (2.1m) away from the wall, I still saw a dark shadow. Once I took the flash away from the camera, I could try any number of new positions and remove the shadow entirely.
If you are working with people, they might enjoy not having the flash right in front of their eyes for every shot (this also leads to red eye) and it can make the shoot a little less intimidating. You could also have a highly reflective subject and you might find there’s only a very small area where you place the flash to avoid reflections. But the bottom line is we take the flash off the camera to give us more options and control the light.
Working with a Flash Cord
The easiest way to work with a remote flash is to use a cord that connects from your hot shoe on the camera to the foot of the flash unit. This allows to work with all of the same settings as if the flash was still sitting on the camera. You don’t need to learn any new camera settings or menus, just works as if the flash is on the shoe, but now you can position it anywhere that might make your photos look better.
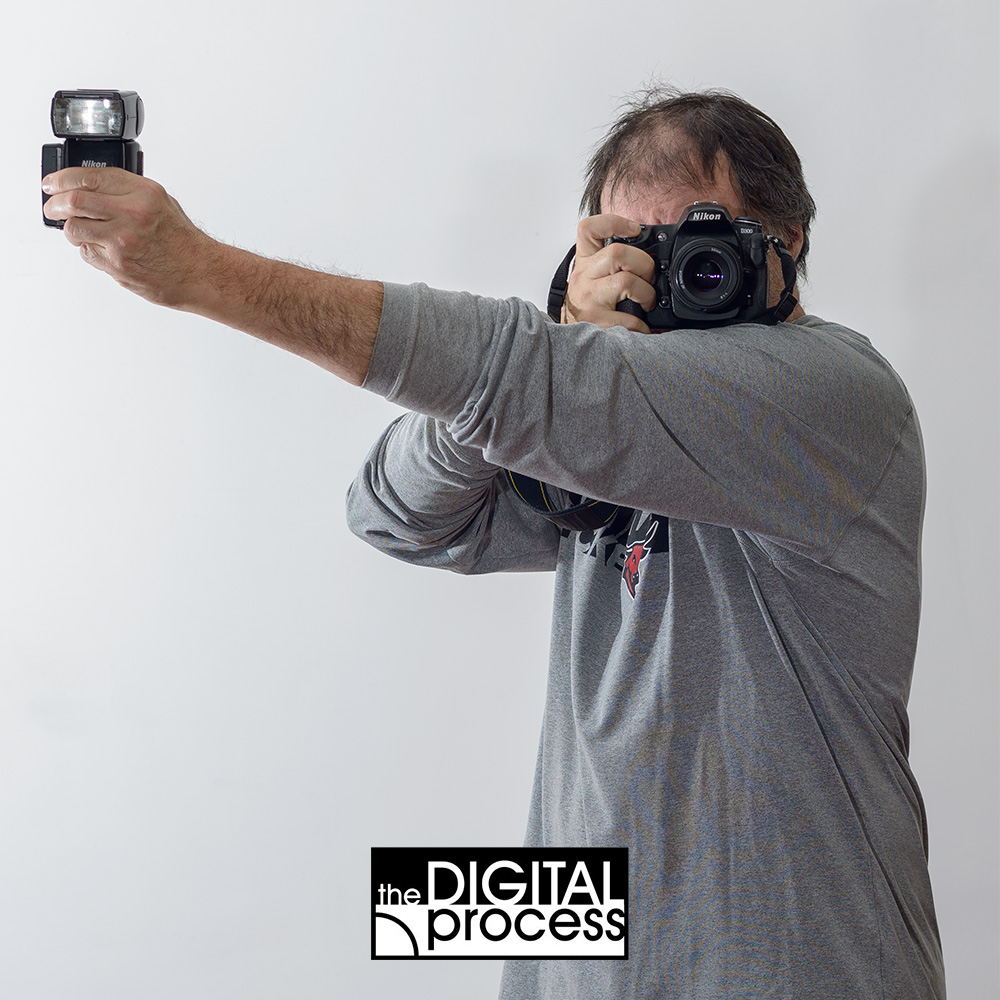
How you hold the flash and camera is up to you, but consider a few things like how high or low your flash is in relation to the subject and how steady you can hold the camera while holding the flash. Here’s one photo that shows me holding a remote flash and a camera.

This method could work, but even though the flash is at arm’s length, it might be too high and cause some ugly shadows (consider a subject with deep-set eyes). I’m also holding the camera with one hand and that’s not very steady. Here’s another option for holding a flash and camera.
Now I have the flash at a better height, and it is still at arm’s length away from the camera. I’m also resting the camera on my shoulder and getting much better support than if I just held it with one hand.
How you decide to hold the flash is up to you and where you want the shadows to fall. You can also place the flash on a tripod – BUT – be very careful not to pull on the cord and send your flash and tripod flying. It’s easy to get caught up in the moment and move while your flash is on the tripod. For this reason, I will usually only use the flash on a tripod if my camera is also on a tripod.

With your camera and flash secure, start taking some photos!
Set your camera to manual mode and use the sync speed for your shutter speed and set your aperture to control the depth of field. Now adjust your flash power to get the best exposure, highlights and shadows. Experiment! Try new angles, different power settings. Try close subjects and some further away. Put the flash high, put it low – off to the side (high and low). At this point you are only limited by the length of the cord. This is how I got started in remote flash, but I haven’t used this cord in years.
Cutting the Cord – Remote Flash Techniques

At this point, you’ve either tried working with the cord and want to go further, or you bypassed the flash cord section and want to see what off-camera flash is all about. For any serious flash photography, you will want to learn how remote camera flash works and how it can change your photography forever (not an overstatement). Once you learn these techniques with one flash, you’ll soon realize that you want to get another flash or two (or more!).
Make sure your camera and flash are compatible for remote shooting. If you are not sure if they will work together, check your manuals.
The first thing you want to look at is the camera menu and the flash settings. Each camera will look a little different, but here’s a look at how to set up a remote flash using a Nikon system.
As you can see, it’s not rocket surgery. Once you’ve done it a few times, you’ll find that it’s very easy. If you’ve ever shot with a cord between your camera and your flash, you’ll find this method is very liberating. You might have a range of up to 50 feet / 15m as long as your camera can see the flash. In many cases, you don’t need a literal ‘line of sight’ between flash and camera as long the barrier isn’t too large. One example is putting a flash behind a subject to light background.

To see how off-camera flash can be used in a ‘real world’ situation, here is the photo of Sadie that you might have seen in an earlier lesson. Beside her is a diagram that shows how three flashes were used remotely to light her and the background. Also, consider how great it is not to have cables running everywhere when there’s a big goofy dog in the studio!
As you can see, I didn’t have a flash right in front of her face, but they were almost at her side. The third flash is used to light the background. This is a very simple and common setup for lighting, and it’s very easy to do with off-camera flash.
Summary
I hope this lesson has inspired you to either try remote flash or at least look into what options you have available. Almost every shot I take in the studio uses remote flash, and I would be lost without it. I’ll use flashes in combination with diffusers, reflectors and other accessories as well as bounce cards to control shadows.
I can’t stress how important it is to experiment and try different options – especially when it comes to lighting. If you read the first lesson in Level 1, “It’s All about the Light” – then you should know that controlling the direction, intensity, and colour of light gives you a lot of power as a photographer and artist.
Once you start to work with remote lighting, you’ll start to find the settings that work well for certain situations, but don’t fall into a rut and just use the same setup because it’s ‘good enough’. Lighting can always be better, and when you start to get more critical about your work, you’ll get more critical about your lighting.
If you have any questions about this lesson, feel free to email me (info@theDigitalProcess.com) or leave a message below.