Introduction to Flash Photography
Learning how to use a flash can be an intimidating process for some people. I’ve worked with flashes in some way since I had my first Olympus SLR and used a Vivitar 285. Although that was a great flash for its time, and people still seek them out, there are great new tools using the latest tech to help us with our digital photography.
When I purchased my first DSLR, I quickly bought a flash to go with it as I saw there was a lot of potential with this new system. I could take the flash off camera AND wirelessly control it. Most of the modern DSLRs allow for off camera, through the lens metering while working with flash.
Using a flash off camera allows you to move the flash to any place you choose so you can control the light and shadows. Modern units that don’t require a physical connection give you options to place your flashes far away from your camera if you choose to. The applications and possibilities with flash photography are now endless.
Here is a short video that shows some of the common features you will see on a flash unit:
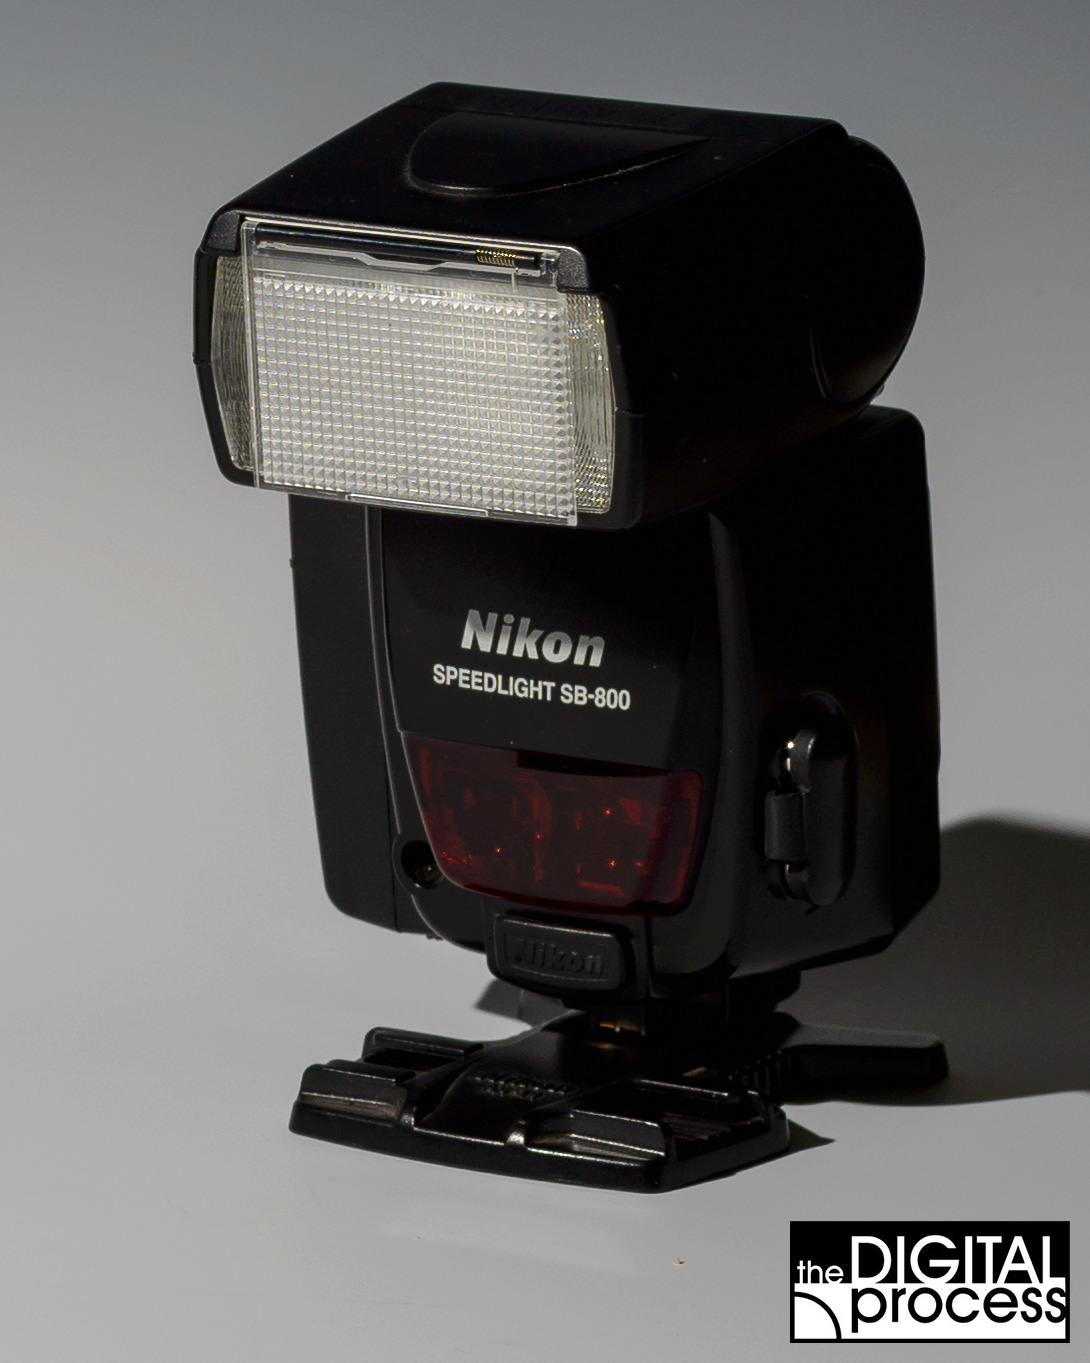
I am familiar with the Nikon system and will use this in the examples, but the same techniques can be used with Canon, Sony and other major brands – just check your manual – and it’s very easy to use once you’ve done it a few times. You might also hear the words “strobe”, “speedlight” or “flash”- they all mean the same thing: a separate flash unit.
On or Off Camera?
One of the first questions you might ask is,”Why shouldn’t I just use the built-in flash that came with my camera?“. I’ll say that there’s nothing wrong with using your built in flash. One issue you’ll find is that it is not as powerful as a separate flash. Also, the closer your flash is to your lens, the greater the risk of bright reflections and harsh shadows. If you have ever used a compact camera and shot with a flash into a mirror or a window, you likely got a big bright reflection of the flash.
[glossary_exclude]
| Built in Flash | On Camera Flash | Off Camera Flash |
|---|---|---|
 |  |  |
Above are three quickly shot sample images to show the differences between using different flash techniques. Notice the small bright spot from using the on camera flash. The middle photo shows the on camera flash, and I still get a bright highlight – only bigger. When I use the off-camera flash, the bright spot is gone. This is just one example to show the relative differences.
The reason for the bright reflection is that the smaller the angle between the lens and the flash, the greater the chance that the light will bounce straight back to the lens. The further you can move the flash from the lens (and the greater the angle) the better the odds of avoiding the bright reflection.
[glossary_exclude]
| Compact Camera (Smallest Angle) | SLR Built in Flash (Small Angle) | SLR Flash Attached (Larger Angle) | SLR Bounce Flash (Largest Angle) |
|---|---|---|---|
 |  |  |  |
As you can see in the simple diagrams above, you will have a small angle with a compact camera, a little better with a built in DSLR pop-up flash, a decent angle with an on camera flash, and the best angle with a bounce flash (more about that later).
“Why would I want the flash OFF the camera?“. The biggest reason for off camera flash to avoid harsh shadows behind your subject, or bright reflections. Again if you look at the three photos above, you can see how the reflection on the glass door is lessened by move the flash off the camera and placing it arm’s length above the camera. As this lesson progresses, you’ll see more examples.
“Red Eye” is the result of the flash going straight in the eye of the subject, lighting up the blood vessels in the retina and then that red light gets bounced straight back the lens. The closer your flash is to the lens, the better chance of getting the unwanted red eye effect in your photos.
First, Some Basic Flash Photography Terms
TTL – Most cameras will allow you to set the flash to TTL (Through The Lens metering) so that the amount of flash used is based on a signal coming back to the camera. The camera will send out a short ‘test’ flash and then see how much light comes back. From this sample, the camera will calculate how much power to use in the flash output. In many cases this setting will do a good job for you. You can use the shutter speed and aperture you want, and not really worry about the flash.
TTL flash photography has been around for a long time, but like most tech, it just keeps getting better – and this makes our jobs easier as photographers. Using wireless TTL is a dream come true for many people.

Bounce Flash – As expected, bounce flash refers to the method of changing the direction of the flash so that it bounces off another surface before hitting the subject. In many cases, you can adjust your flash to bounce the light off the ceiling to provide a softer diffused light over the subject. It’s a quick, easy way to avoid harsher shadows and red eye.
The key to remember is that if you bounce the light off a white ceiling, you’ll be fine. If you bounce the light off a green wall, your flash beam will take on that same green colour.
Recycle Time – One limitation of flash photography is that your flash unit requires a certain amount of time to recycle the power to the capacitor that causes the flash to fire. Recycle time is dependent upon three things: your flashes efficiency, the amount of flash power used and battery charge.
Some flashes are designed to have a faster recycle time, and a flash unit is generally going to recycle faster than a built in flash. If you use the flash at its fullest power, it will take more time to recycle than if you had it use 1/4 of full power. Obviously, as your batteries wear down, recycling time slows.

Hot Shoe – The Hot Shoe is the connection on the top of your camera that allows you to attach a flash. It’s called the hot shoe because there is an electrical connection to trigger the flash. Old cameras have hot shoe with one contact to power the flash. New cameras have multiple contacts to transfer data back and forth between the camera and the flash.
These contacts need to be kept clean, and if you don’t use a flash often, I recommend using a hot shoe cover. A quick wipe with a Q-tip is usually enough to clean a hot shoe (check for any fibres that get caught).
Although hot shoes are the same for most brands, and you could fit a Canon flash on a Nikon camera, I STRONGLY urge you not to do this. Each brand has their own connections and data to pass back and forth through the shoe connection, and mixing brands could damage your flash, your camera or both.
Sync Speed – A camera shutter works by opening a ‘first curtain’ and then closing a ‘second curtain’. With a slow shutter speed there is a short period of time when both curtains are out of the way and whole sensor is exposed. If you use a fast (1/4000s) shutter speed, the sensor is never fully exposed at one time. In this case, the shutter is exposed in sections as a small opening is moving across the sensor. A flash might fire at 1/10000s, so the whole sensor needs to see that.
I have to explain how shutters work to explain sync speed. A camera’s sync speed refers to the fastest shutter speed you can use to fully expose the sensor while the flash is firing. With many cameras this sync speed is in the range of 1/250s or 1/320s. Check your manual if you are not sure, as this gets important later on!
Here’s a short video that shows (in very simple terms) how a shutter works and how it affects sync speed:
Some cameras allow for High Speed Sync (HSS) by firing multiple, quick flashes to make sure the whole sensor is exposed to the flash’s light. You can also use slow speed sync so that you can expose for the scene and then use the flash to fill in the shadows. An example of this is when you expose for a sunset (maybe 2s) and then fire the flash.
Summary
This lesson is just a short introduction to the world of flash photography and some of the terms that you should be familiar with. The next lesson will show some practical examples and get you started on a new branch of photography.
If you have any questions, leave a comment below or email me: info@TheDigitalProcess.com