Creative Photography Projects #1 – Light and Shadows

Introduction
This is the first in a series of photography projects designed to work with your creativity. If you have a basic knowledge of photography and lighting, this is a great project that you can do in an hour or two (or longer). It’s a simple approach to still life photography that will force you to focus on light and shadows.
I hope that you’ll use this exercise to examine how light and shadow interact and work together to form an image. This is also an exercise in composition. The goal is to work within a confined space and limit distractions. You will work with a single light, a single subject and discover how many options you have in this very simple set up.
Working through set projects is a way to force yourself into new situations and new ways of thinking. Allow 30-45 minutes for set up time and then relax and enjoy the process of experimenting.
Goal of this Project
The ultimate goal of this project is to closely examine the effects of lighting and shadow as you control the light source. You can then apply this as you look at scenes in your daily shooting and use this to better plan your shots. The more you pay attention to light and shadow, the more your photography will grow.
Materials Needed: Gather up a few common items and you’ll be ready to go. Here’s a list of what you’ll need:
- Subject – Pick an interesting item that has some depth. It could be a toy, a knick-knack, rock, or just something you like to look at. The size of this subject will dictate the size of your box.
- Cardboard – This can be from a box or something with colour – I use matte board for my boxes, scraps of different colours.
- Tape – Find a good tape to use on the edges – black tape will work great to cut the light that might come in through the seams.
- Knife – A good sharp knife to cut the cardboard (be safe!)
- Straight Edge – this will help you get edges to meet up and keep the light out.
- Tripod – when it comes time to shoot, you’ll want your camera on a tripod, but you can hand hold your camera if needed.
- Light source – This can be a flash unit, a flashlight, LED light panel or even a bare bulb of a table lamp.
- Camera – Any camera that allows you to control your aperture would be preferred.
- Lens – Almost any lens will work for the project.
Making the Box
To make the box, it’s a simple process of cutting up the cardboard to make 2 sides, a roof and a floor. If you have different colours or textures for your cardboard, you’ll have more interest in your image – but even plain brown cardboard will work.
You can make the edges square, or cut them to odd angles. Start with the 2 sides and make sure that you have one edge on each that are the same size. This common edge will form your back corner. Find a good angle for these walls and use them as a template for the floor and ceiling. Cut an opening in one of the walls. This will be used for lighting your subject. Make sure the opening matches the perspective of your wall if you didn’t cut a straight wall.

The only tricky part about this is deciding how big to make your opening. I will suggest that it should in scale to a small to average size window on a wall. The smaller the opening, the less light that will get in to your box – but if it’s too large, you’ll have a harder time controlling the light.
Cut the pieces and tape them together so that everything is secure and light tight along the edges.
Here’s what my first box looks like. I cut up some spare pieces of matte board and worked with some odd angles to get a little different look with the perspective. Nothing fancy here, just cardboard and tape. I’ll save this for other photography projects as well.

Find a stable place to put your box and make sure you have room for your camera in front and space on the side with your opening to move your light around freely. You might want to have your light source move from inches away to a few feet away.
Setting up your Camera
You have your box built, you found a good place for it, now you can set up your camera and light source. You camera can be on a tripod in front of the box and placement will be your first creative decision. Do you want a wide angle look? Will you use a telephoto to compress the shot? Here are four shots using four different lenses to give you some idea about lens selection.

The 14mm lens allows me to focus up to 10.8″ away, so I can place the camera in the box and shoot. The 28mm and 50mm shots are from the same place on a tripod outside the box, while the 105mm shot is further away.
Camera Settings
If your camera is on a tripod, then you don’t need to worry about the shutter speed. Change to aperture priority as your light will be changing a lot. Use a low ISO for less grain in your image. Shoot RAW instead of JPG as you will be dealing with some bright whites and dark shadows. If you are new to tripods, check out this lesson on working with tripods.
If you don’t have a tripod, then you will have less control over your settings. Find a good aperture for your subject and the distance to your subject, then consider switching to Auto ISO. If you are hand holding your camera, try to find an assistant to work the light.
Placing you Subject
Place your subject near the same depth as the window in your box. You can align it however you want, and feel free to move it throughout the project. Look for the ‘good side’, and the most interesting angles to show off your subject. After you’ve shot for a while, take the object out and hold it again, look at it from all angles and re-evaluate the object. Like any of your photography projects, how you place the subject is critical.
Setting up your Light Source
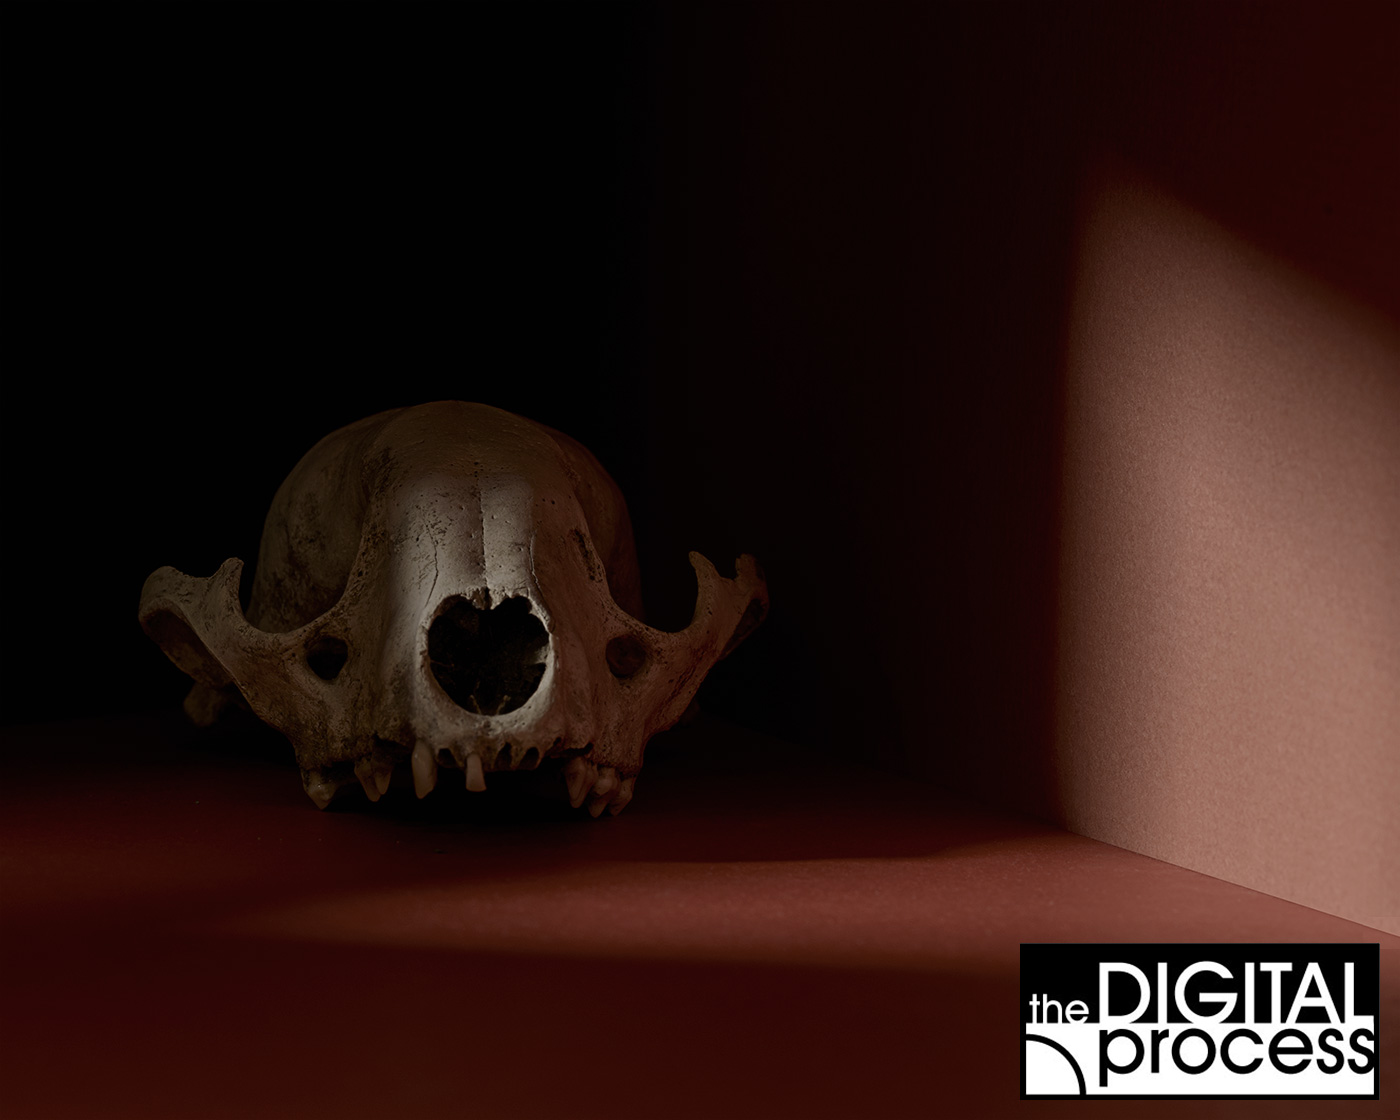
The placement of your light source is really what this project is all about. What you will find is that if you only have the opening (window) of your box to let in the light, you can control where the light hits and how bright it is. Turn off any room lights for greater emphasis on your ‘window’ light.
The closer your light is to the opening, the brighter light you’ll get and the more diffused the light will be. As you pull the light away, you get sharper edges to the lit area across from the window, and a narrower beam on your subject. You can raise and lower the light for different effects. Try several placements and see what you like and don’t like.
Different subjects will look better under different angles. Think about what looks good in a harsh light versus what looks good in a soft light. What would look best for a flower, might not look best for a metal sculpture.
Here’s a short video that shows the changes in light and shadow inside the box as I move the exterior light around outside the box.
During the Project
Remember, this project’s goal is to get you to examine light and shadows. Experimentation is key.
- Try as many lighting options directions as you can.
- Move your subject around.
- Add a 2nd subject – something similar or a juxtaposition
- Build a new box in a different shape
- Add a colour to your light source
- Try different white balance
- Change your aperture
- Change the distance from your camera to the subject
- Try different lenses
- Raise and lower your camera for different perspectives
- Try changing between flash and continuous lighting
- Use your editing skills after the shot to create a refined look for your vision

After the Shot
After you have been shooting for a while, take a break and look at the photos on your computer screen. Seeing the images larger always gives a fresh look and you may find things you like or dislike that you didn’t notice while you shot. Convert some to black and white and see how that looks. Increase contrast on others. There’s really a lot you can do in editing to create an image that shows your vision. This is all part of the digital process of photography.
Plan > Set up > Execute > Edit > Share
Here’s a video which shows some editing in Photoshop as I work on one of the photos I shot.
I hope you enjoyed this project. It’s one that I plan to continue exploring with different subjects. If you have any questions about this, feel free to email me at: info@TheDigitalProcess.com. I’d also love to see what images you create! Send them via email and I’ll try to post a gallery.
Thanks for reading – Art