One Approach to Still Life Photography
In the previous tutorials you have learned about the basics of how light and exposure combine to create an image – now it’s time to pick the camera up and put the theory into practice. This tutorial will show you how to approach still life photography. Of course, this is just one approach, but it will be a starting point to get you thinking about light, aperture, shutter speed as well as composing a scene.
A still life project is fun because you can do this in your home on a table and take as much time as you want. “Still Life” has been a subject for artists over the past few centuries. The purpose of this exercise is to get you thinking about using your aperture and shutter speed to work with the light and create the best possible image.
If you want, you could take some time to read my blog post about the concepts of composition. This could help with how you lay out the objects in your photo.
What is a still life?
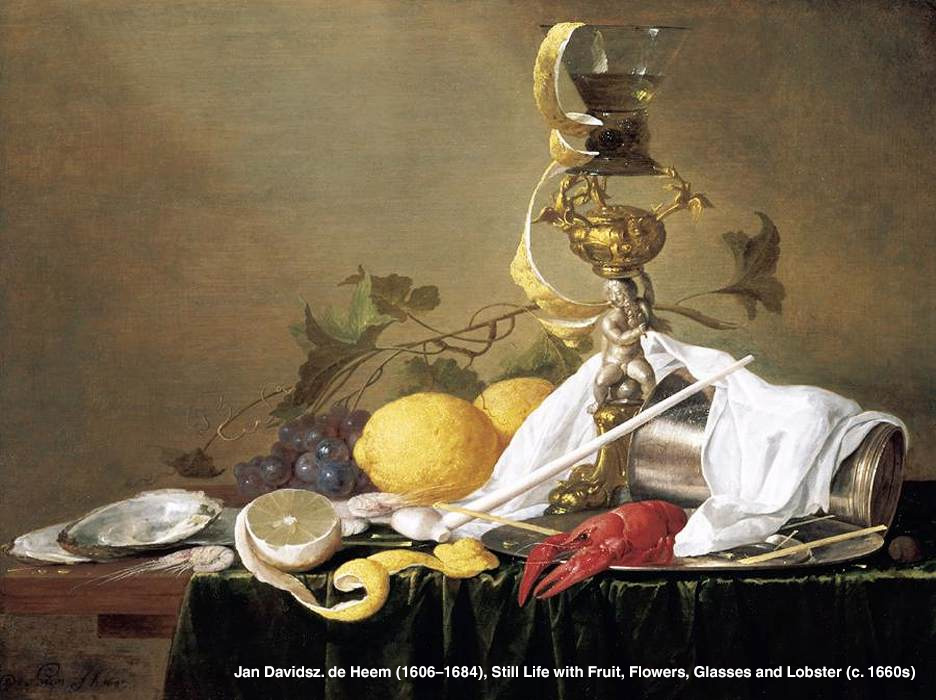
At its core, a still life is a subject that is not moving. But more than that, it’s a combination of objects (usually ones that can fit on a table top) that come together to create a pleasing design. See what Wikipedia has to say about it: an image full of “commonplace objects which may be either natural (food, flowers, plants, rocks, or shells) or man-made (drinking glasses, books, vases, jewelry, coins, pipes, and so on)“.
What you will need:
For still life photography, you really just need a camera and subject. But let’s delve a little deeper.
Light source: Sun through the window, table lamp, flash unit, studio light all make suitable light sources. Ideally, you’ll have a light source you can move to see how light and shadows affect your photo.
Camera / Lens: In general you don’t want a wide angle lens as it can take in too much of the surrounding scene (but you can crop it later). But if you have a lens in the 50mm range, this would be a good starting point. Once you have everything set up, try different lenses (or zoom in and out) if you have them and see how they make a difference.
Tripod: If you don’t have a tripod, don’t worry. A tripod just makes it easier to set your camera in place see how the scene changes as you move objects and lights. You can also easily raise and lower your camera to get a different perspective. If you hand hold your camera, you need to worry about shutter speed as well as trying to get the right angle for your shots each time.
White card: This is another option that is fun to work with. A white card can be used to reflect light and fill in shadows. If you are using window light, you can hold the light card on the the opposite to fill in some shadows. This can be something as simple as a sheet of copy paper.
Background: Your background can either be the naturally occurring background of the area you’re shooting or a section of material draped over something to add visual interest.
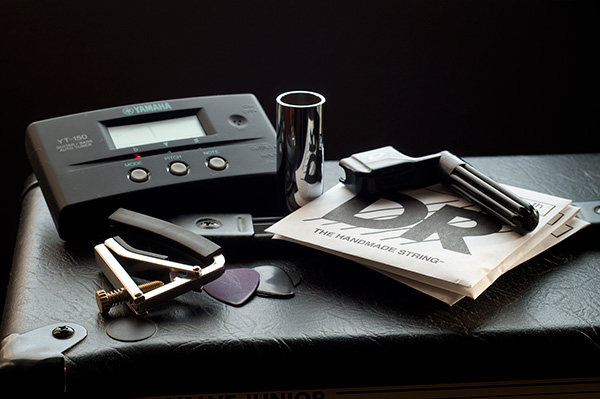
Subject: You subject can be anything, but choose at least 3 related items that will fit in the space you are shooting. One general design rule is to always use an odd number of elements for better balance. This will appear more natural than even amount which can pair up and distort your composition. Try to place them in a ‘triangle shape’ rather than in a row for a more interesting composition.
Gather your items, set them in place and take a long look at what you have. Look at them the together and alone. What features do you like? Texture? Reflection? Color? Think of what you like about the objects and scene and plan around that.
Plan your scene

The first step is to find your subjects. This sounds easy enough, but try to find at 5 or more objects that are related. One example would be a newspaper, coffee cup, spoon, reading glasses and car keys. These could be used to tell a simple story about how you start your day. Maybe you could group some cooking utensils and vegetables, or gather some toys – the choice is yours in still life photography.
Once you have found your objects, find your location. Where will you place them? What kind of lighting will you use? Your light source can be a flash, window light, a candle or artificial light. Once again, this is all your choice as photographer. Keep in mind that your location and your light may be directly connected.
Now that you have your objects and your location – how will you arrange the objects? What is the goal here? Are you telling a story? Do you want a nice composition? Will one object be the focal point? Do you want to just drop them in a jumble?
Now you have your inventory of objects and your objects – get them arranged and then we’ll talk about lighting.
Lighting your scene

Just as there are infinite ways to compose a scene, there are infinite ways to light it. Think of how you might want to light the scene to give a distinct look to it. Bright and cheerful? Dark and gloomy? Soft and inviting? Loud and vibrant?
What is your light source? If it’s a window, is the curtain drawn? Will you put a diffuser up to lessen the highlights and shadows? What direction does the window face? South for bright, hard light? North for softer, diffused light?
Are you using a flash? Will it be a direct on camera flash that will produce a bright, hard light with dark shadows? Will it be a diffused light to soften the shadows? Maybe the flash will be off camera and bounced off the ceiling to give a softer, top lit look?
Maybe it’s night time and you don’t have a flash, so you are relying on artificial light. Will you set the white balance to get natural colors? Maybe leave the white balance on Daylight and capture the green of the fluorescent light or warm light of a tungsten bulb.
Once again, all of these choices are yours. I’m not going to give you a lesson on lighting just yet, I want you to think about your options and how they will affect the look and the feel of the final image. This is a introduction – so have fun with it, experiment with your lighting. Set up a scene on a table with a window nearby and photograph the same scene throughout the day.
Compose your scene
Now that your scene is lit – have a good look at it. View it from all angles. What stands out, what doesn’t get any attention? Is there anything missing? Is there anything that doesn’t belong? While you’re looking at the scene, start thinking about what you will focus on. Think about what is the brightest spot and which is the darkest. Are you tired of me asking all the questions when this is supposed to be a tutorial? During this phase, look at the scene both with and without your camera.
Shoot your scene
This is the easy part. The actual “photography” part of still life photography. If you have planned your composition and lighting before hand, shooting the scene will be easier.
Remember the five factors of taking an image?
- Light
- Aperture
- Shutter Speed
- ISO
- White Balance
A still life doesn’t involve motion. This helps your decision as to how you will shoot it. You won’t care about shutter speed unless you are hand holding the camera. If you have enough light or a tripod, set your ISO to its lowest setting for the best quality image. Your white balance should be set to the type of light you are using (try other settings when you for different effects).
All that is left is aperture. This is what will give you control over the image. Remember the simple rule:
A lower f-stop (f/2.8) will give you less depth of field (less in focus)
A higher f-stop (f/22) will give you more depth of field (more in focus)
Think about how much of the scene you want to have in focus. A little – just to keep one object or word in focus? Maybe you want a lot to keep the whole scene in focus? This is your decision as an artist.
Thanks to digital technology, you can try different settings and it won’t cost you any money. You can also use the image file’s EXIF data to review which settings you used.
Start shooting and try some different exposures – move around to get new viewpoints – go crazy with it! You’ve set the scene up, so take advantage of it. BUT think about why you are changing your settings and what you see from a different viewpoint.
Summary

Once you have taken your photos and maybe adjusted them in your photo software, review them. Pick out your favourite 3 images. Then step away from it for a few hours. When you go back to those same 3 images – do you still like them? Do they remind you of why you chose those objects and arranged them the way you did? Show them to a friend or relative and get some feedback.
I hope that you learned in this project how preparation and thought can help you create a better image. I hope that you took the time to review your choices in composition and lighting.
Now that you have used some of you new knowledge in a real life project, I hope that it’s shown you that with just a few simple settings, you have started to control your photos. You could shot this scene in Aperture Priority mode and still controlled the look of your photo via depth of field. When you have time, set up another scene with totally different objects and see how you might view the scene differently.
Here’s a blog post I wrote that shows my approach on a simple, window-lit still life.
Watch this video to see how I worked on a simple still life photography project:
This second video shows the rest of the Digital Process as I take an image from this shoot and edit it in Photoshop to complete the project.
Questions
What did you learn? Feel free to let me know what you did or didn’t learn.
How will you approach your next still life project?
Did you make the connection between depth of field and your aperture settings?
Were you satisfied with your first results, or did you go back and re-shoot the scene?
Looking for a new technique? Light Painting is a great way to explore still life photography.