How to Care for your Camera Equipment
Introduction
We are so lucky to have amazing technology at our fingertips whenever we pick up a camera. It makes me smile just to hold a well designed camera. But as much as you like to work with these amazing tools, you also need to know how to care for your camera and keep it working at peak performance.
This lesson is one of the most important ones I’ll write, and I’ll ask you to heed any warnings that I provide. If you follow some easy tips and techniques, you’ll have years of worry free photography and your gear will (usually) not let you down.
I’ve done some REALLY dumb stuff with camera gear over the past 40 years. Each one was a lesson. A valuable and sometimes expensive lesson. As I have upgraded my equipment and added to my inventory over the years I’ve learned to be a little more careful and take that extra moment to do things right. I try to avoid shortcuts, but if there is a spectacular image to be taken and lens needs to be changed – then I might just do something dumb to get the shot.
The Enemies of Camera Equipment

Salt Water
As you can imagine, there are a few things that are REALLY bad for cameras. Number one on that list is salt water. Salt water corrodes. It corrodes metal and it corrodes electrical contacts – salt water is evil. I’ve dealt with many sad customers who dropped their camera in the ocean and did their best to dry it out – only to find their gear was destroyed.
If you are anywhere near salt water, you need to be aware that if your camera gets splashed, it could be enough to start the corrosion and rusting process. A dunk in the ocean and it’s game over.
If you’re near the ocean, make sure you have a plastic bag that you can seal your camera in for those “Just in case” moments that will appear. You might expect to be out on calm waters in a large boat, but wind and waves can add a lot of salt to the surfaces of your gear. I’ve been known to lick my camera to check for salt if I’m concerned about it. You might see a white film start showing up on your lens or body.
Bottom line: if you’re near salt water, keep the gear in a good case or keep a plastic bag handy for quick protection. When it comes time to clean a lens element that might have salt spray on it, be careful not to wipe grains of salt across your lens. Try blowing it off first, and if in doubt, use a soft cotton pad with a small amount of distilled water to soften the salt while cleaning.
Fresh Water
Fresh water is also bad if you get enough on your camera, but small amounts will not usually harm your gear. If there is one major difference between a ‘pro’ camera and a ‘consumer’ camera, it’s the weather seals that help protect the camera from the elements.

Some cameras and lenses will have extra seals to protect it from rain and splashes. If you’re not sure, have a look online and check your camera. As a general rule, if your camera gets wet in the rain, shake off and dab away the excess, let it dry and try not rub water into seams while trying to ‘dry’ it.
If you think your camera got excessively wet, you can place it in a large bag with some silica gel or rice to absorb the moisture. Here’s the complete process:
- Remove the battery – do this as soon as you can to keep any electrical current from possibly shorting out sensitive electronics.
- Remove the memory card(s) and let them dry separately with silica gel or rice. Cards will generally do fine after some water, but make sure they are 100% dry before putting them in the camera or card reader.
- Remove the lens and dry it separately, remove the caps on each end to let moisture escape.
- Dab at the water on the lens and camera to remove excess, try not to rub it in. Use medical cotton pads (best), microfibre cloth (good), or any clean cloth (if you have to).
- Place the gear someplace warm, but not ‘hot’. If you have silica gel, rice or some other moisture absorbent, you can place them in all in a cardboard box or paper bag. If you place them in a plastic bag, there is no way for the moisture to escape.
- Wait up to 24 hours or more for the gear to dry off. Remember that if there is moisture deep inside the camera or lens it will take longer to dry. Be Patient!
- When you are confident that your gear is dry, put the battery back in and turn the camera on. If there is a problem, let it dry out some more.
- If you are sure the gear is dry, and you’ve put the battery in and still have issues, you’ll want to consult with a tech centre to get your camera fixed.
- If you use rice to help absorb the water you NEED to make sure that you do NOT get any rice near the sensor. Rice absorbs water very well, but it is still a dusty, messy option that you should use if you haven’t saved all of the silica gel from your electronics purchases (and you saved those, right?).
That should about cover water, but seriously, make sure you take every precaution to keep your gear dry. Sometimes you can’t help it. I’ve been caught in rainstorms before and ended up totally soaked with my camera wet under my dripping wet t-shirt, but still had no problems. I know that my camera has some weather protection, so I don’t worry if I want to shoot in a slight drizzle, but I am always aware of the cumulative moisture.

Dust
The other big enemy of your camera is dust and for this section, I will include sand (which is really just bigger, coarser dust). In fact, if you think of dust as sand, you’ll be a little more careful in some situations. When I talk about dust, I’m not referring to common household dust, but more in regards to outdoor dust.
I live in Nebraska. If there is one thing I learned after moving here is that the wind is always blowing. Combine that with a lot of particles in the air (dirt and crop residue) and I’ve come to pay more attention to everyday dust. Previously I lived in Las Vegas, and when it got windy there the ‘dust’ was actually sand blowing up from the desert and getting everywhere. Before that I lived in Vancouver (see the previous chapter about rain and water).
There are two major things to consider with dust. It will either get on your lens or on your sensor. The good news is that you can remove it. How you remove it is a big part of how to care for your camera gear.
First we’ll look at dust on the lens. If you get dust and dirt on your lens, it will affect your image quality either by adding blurry spots or refracting light. To clean dirt off the front of your lens follow these steps:
Use a blower like the Rocket Blaster and NEVER use a compressed air canister. Why should you never used compressed air? First, it’s not air – it’s air plus a chemical propellant that can damage the micro coating on your lens. Second, it can push dust into places it wouldn’t normally go. Third, it can produce a freezing blast and damage your gear. If you need a fourth reason… well, there’s no hope.

Whenever I use my Rocket Blaster, I’ll point the surface I’m cleaning towards the ground. This allows any particles to float safely out of the way. I’ll start with light puffs and then get stronger. I’ll keep blasting until I don’t see any particles left on my lens. Usually that’s enough to clean my lenses – but – sometimes there’s a smear or (gasp!) a fingerprint!
When it comes to cleaning a lens element you want to remember one thing. This isn’t window glass. This is expensive optical glass with a fine micro-coating of special polymers to reduce flare and help with contrast. These coating can be scratched and cause problems like lens flare. You don’t want to take a grain of sand and wipe it around in a nice circular motion across the front of your lens.
I use medical cotton pads for cleaning my lenses. They’re easy to find at a drug store, cheap and come in a nice small round size – perfect for cleaning lenses. Also, these are disposable, so I don’t use them more than once per wipe. A lot people might use microfibre cloths, but if you wipe your lens with one to get the dust off, then wipe the next lens with the same cloth, what are you wiping with? A dusty cloth, that’s what. Use these at your own risk.
Here’s my method for cleaning lenses:
- Gently blow (with a ‘rocket’ blower) across the lens surface while the surface is facing the ground.
- Blow a little harder on the second round.
- Have a good look to see that the loose debris is gone from the surface.
- GENTLY wipe the lens with a cotton pad in a circular path from the center to the edge.
- Have another look at the surface.
- If there is a still a problem, add a LITTLE distilled water just to dampen the pad, make sure it doesn’t drip at all.
- With a slightly damp pad, wipe the element again in circular path from the center to the edge.

If that doesn’t get the lens clean, then you’ve got something on it that requires deeper cleaning. Don’t try any chemicals or cleaners as that can damage the micro coating. Just keep going with the water and you should be able get it clean.
You’ll also notice that I didn’t say “blow on the lens”. Human saliva is acidic and can contain food particles. As a rule I don’t want acidic water with particles wiped across my lens element. But with that said, there have been emergency situations where have ‘breathed’ on the lens and wiped it clean.
Speaking of emergency situations, you might find you have a smudge on your lens and don’t have any pads or a lens cloth nearby. If you feel the smudge will ruin your shot, or you’re seeing flare due to the smudge, then you can always resort to drastic measures.
My method for “field cleaning” a lens:
- Gently breathe on the lens element to get a minimal amount of moisture on it.
- Wipe the moisture off with the INSIDE of your shirt.
Dust on the lens is a simple fix compared to dust on your sensor. If you start to notice that your photos have dark spots showing up in the same location on every image, then you likely have dust on the sensor.
Changing your lens outdoors
When you need to swap lenses outside, assume that there is wind blowing dust around. Even on a ‘calm’ day, there is dust everywhere. Ideally, you will have a place like the inside of a car to change a lens (I even turn off the fans). Next best is to use your camera bag as a shield and change your lens with some protection. The inside of your jacket is another safe harbour.
Of course, you might not always have the luxury of a ‘safe’ place to change a lens. When you do change your lens ‘out in the open’, be careful and while your lens is off the body, protect the opening on your camera by pointing it towards you. In the time it takes to put one lens down and get the other one ready, you could let a lot of dust into your camera, by protecting it you will not have to clean your sensor as often.
Cleaning your Sensor
Many cameras come with a menu option to clean your sensor automatically. This will work for regular maintenance and you can choose to do this each time you turn the camera on. Cameras do this in a few ways that usually involve micro-vibrations and a negative charge to move the small dust particles. Most cameras have a small ‘sticky’ pad at the bottom of the sensor to collect the dust, so place your camera on a flat surface when you do this.
** Disclaimer: If you have ANY concerns about your abilities to follow the steps to clean your sensor, don’t do it – have someone experienced do it for you. **
With the disclaimer out of the way, cleaning your sensor isn’t usually a big deal if you take some precautions. Once again, I will strongly recommend that you use a Rocket Blaster. Never use compressed air on your sensor. See the notes above about this horrible tool and multiple it by 10 for your sensor.
Even if you use the auto cleaning option, you might still see dust affecting your images. If you have a DSLR, you’ll have mirror that is in the way of cleaning your sensor. Your camera should have a menu item to lock the mirror up for sensor cleaning. Please refer to your manual at this point to see the correct procedure, but it will be similar to most.
Before cleaning, take a test shot to see how much dust there is. Shoot at a bright sky or light surface and use a small aperture (f/22 or so).
- Find the cleanest room in your home to do this.
- Remove your lens.
- Lock the mirror up using the camera mirror.
- Point the lens opening towards the ground (so the dust will fall out)
- GENTLY blow into the opening with the end of the blower staying out of the camera body (you don’t want to touch the sensor with the tip of the blower).
- Take another test photo and compare it to the one you took previously to cleaning.
- If there is still dust, repeat steps 3 to 6.
In most cases you will remove a majority of the dust. You might even get all of it. I’ve seen some cameras that are so dirty that repeating this process five times has little to no effect. Your results may vary.
The next step is to look into getting a Sensor Cleaning Brush. This is a special brush designed just for cleaning sensors. This is known as the ‘dry’ method. You will need to buy the correct size for your sensor and it will come with instructions. The basic method is that you carefully slide the brush across the sensor once, in one direction and the slight static charge in the brush will attract the dust particles. Never touch the bristles with your fingers, or the grease from your finger will go on the brush fibres and onto your sensor (and you get to buy a new brush).
The final and most drastic stage of sensor cleaning is the ‘wet clean’ method. Wet cleaning is usually needed when you have grease, oil or a very bad case of dust infestation. The process is similar to the dry clean method, but using a liquid to help clean the sensor a little more. You can buy a wet cleaning kit, but I recommend again with the disclaimer that you should be VERY comfortable with what you are doing.
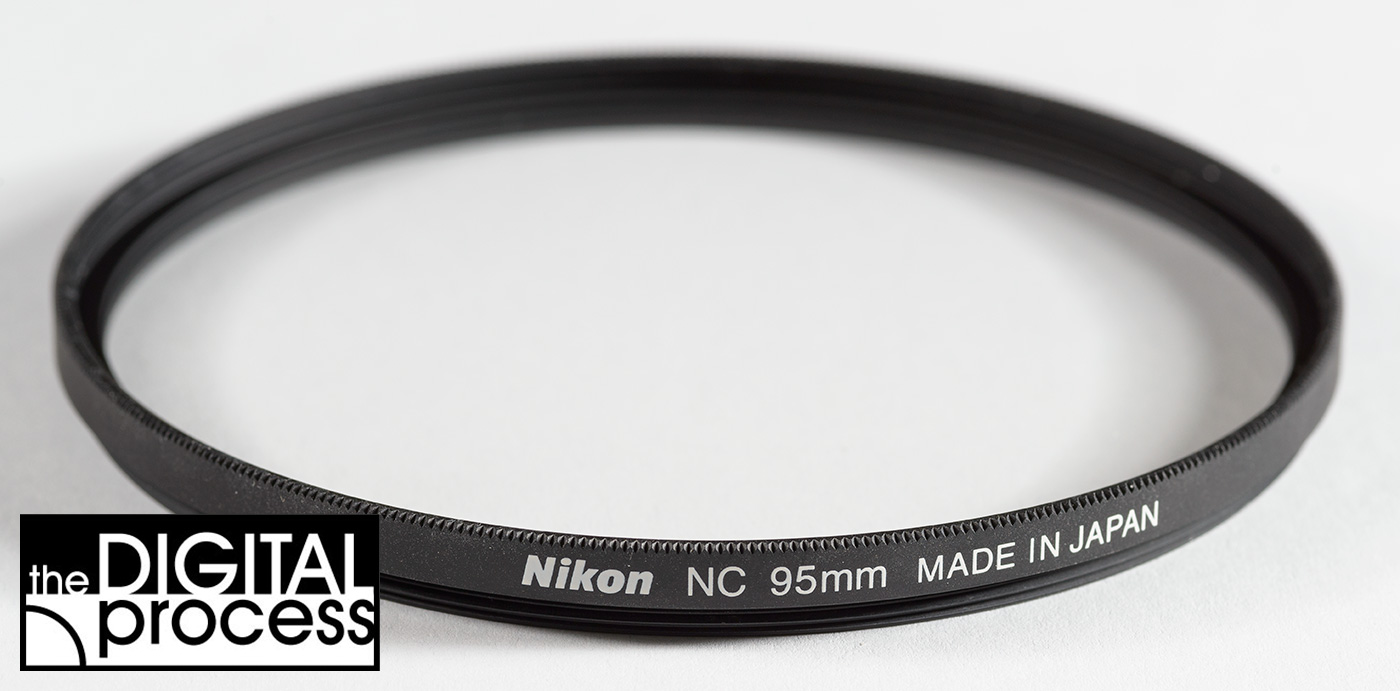
Of course you can always take your camera in for a cleaning. I’ve sent a camera into Nikon and had it come back looking like new (after its sun and sea adventure as shown at the top of the page). I’ve also taken my D800e into a local shop for cleaning before a big trip as I didn’t want to risk messing up my sensor. It’s not very expensive to get a sensor cleaned, so if you’re not sure if you want to handle it, call around and check reviews.
Don’t Drop your Camera
Shock is always a bad thing for electronics. Dropping your camera is never a good idea, so make sure you use a good strap and good technique when holding your camera (see my earlier lesson about holding your camera). No matter how careful you are, you will still likely drop your gear at some point.
I dropped my camera last summer after the strap somehow came loose. It fell about 3 feet onto concrete and landed on the lens hood. I’ve knocked flashes over when they were on light stands. It happens, but it’s not always the end of the world.
If you drop a piece of camera gear, check it out immediately. When I dropped my camera, and error message came up on the screen and I panicked. But then I turned it off, removed the battery, put the battery back in and everything came back as it should. Check for cracks on your body that might let dust in. Look for crack in a lens element. Have a good look at your gear after a drop and take some test photos to be sure everything’s working – don’t assume everything’s A-OK.
Precautions you can take
Now that I’ve listed the many things that can go wrong with your camera, here are some tips to make sure you decrease your odds of bad things happening.
Insure Your Equipment
It is very easy to add your camera equipment to your homeowner or renter’s insurance. You’ll need to provide an itemized list with serial numbers, but at the very least, get a quote. It’s usually affordable and covers loss and damage.
Use a Lens Filter
If you don’t want to worry about your lenses, put a good filter on the end of it. This will protect the front element from scratches as well as be the first place of impact should you drop it on that end, of have something hit it.
I don’t always use a filter, but I have them ready in case I’m shooting something unpredictable like baseball or will be near water. If you can’t control the situation, screw a filter on to be safe.
Buy a Good Camera Bag
I’ll have a separate article about bags, but for now, lets look at what a good bag should have. I want to have a bag that will hold all the gear I need for the shoot, as well as accessories for cleaning, batteries, filters, spare cards, etc. I want it to have zippers to keep the dust out. It should be padded to protect what’s inside. Nothing should be jammed in or rubbing against other gear – use the dividers if you have them. Put you lens in its case and then put it in the bag for added protection.
If you’re not shooting every day, store your gear in your camera bag. It will keep away from household dust, and it will be ready when you need it.
Have a Spare Battery
Any time I buy a camera, I buy a second battery. I like to keep one in the charger and one in the camera. I don’t ever want to miss a shot because I didn’t charge my battery. Also, when it comes to batteries, I ALWAYS buy from a reputable, authorized dealer. I won’t buy a camera battery on eBay, because there are far too many counterfeit units out there. I won’t risk an expensive camera to save $20 on a questionable battery.
For AA batteries, I like to keep a supply of rechargeable batteries on hand. I’ve used the Sanyo Eneloops for years and they haven’t let me down yet. Again – keep some spares around and buy a good charging unit like this one
.
If you’re not going to use your camera or flash for a while, take the batteries out. Although modern batteries are a lot better than the old ones, they can still leak and corrode your battery contacts if not used for extended periods.
Avoid Heat and Cold and Humidity
When you’re not using your gear, think about where you have it stored. The biggest thing to remember is there are oils and lubricants in your camera and lenses. These are liquids that can harden up in cold weather or become runny in hot weather. Of course it takes extremes to really affect your gear, but do be aware of temperatures when putting your gear away.
Humidity is another factor to be aware of when storing your gear. If you live in a humid climate, store your equipment in your camera bag and be sure to include some packets of silica gel to absorb any excess moisture.
If you go out and shoot on a nice cold winter’s day, you’ll have a lot of fun. What won’t be fun is when you bring your camera back into a warm house. The change in temperature will attract a LOT of condensation to your gear. The best thing to do is to place your camera in a sealed plastic bag while you are still outside, then bring it indoors. This way the condensation builds up on the outside of the bag.
I’ve also read that storing your lenses ‘front side down’ is best so that gravity doesn’t move the oil to one side. But if you don’t have extreme temperatures or store your lenses for a long time, this shouldn’t be an issue.
Use Quality Memory Cards
When I started out in digital photography, I just bought any old card I found and used them. Then I would get errors and problems and try some other brand. It didn’t take me very long to realize that like everything else, “you get what you pay for”. Memory cards are no exception.
These days I stick to two brands, Lexar Professional and SanDisk Extreme Pro. Both of these are highly rated brands and so far I haven’t had a card fail (but at some point, I expect them to). Just like batteries, I only buy my cards from reputable dealers as counterfeits are everywhere. It’s easy to stick a label on a cheap card sell it as a “quality” product.
Summary
This is a long lesson, but one that I hope you will take to heart and review from time to time. If you spent a lot of money on a camera, you should take care of it. Just like cars and other mechanical tools, if you take care of them, the gear will last longer.
Learn how to care for your camera and it will always be there for you.
Here’s a list of items that you should have on hand for regular cleaning, maintenance and protection:
- Rocket Blaster
- Dry Medical Cotton Wipe Pads
- Lint free, soft cloths or microfibre cloths
- Silica gel packets
- Lens filters
- Plastic bag large enough for camera and lens (keep in your camera bag)
- Spare batteries
- Spare Memory Cards
- Padded Camera Bag
- Lens cases
- Q-Tips
- Holder for spare memory cards
- Garbage bag to put over your camera bag if needed
If you have any questions about this lesson or camera care in general, leave a message below or email me: info@TheDigitalProcess.com