Learn to Prepare before Shooting
 Introduction
This post is about preparation. Like most things in life, if you are prepared before you start, things just go easier. Photography is no exception.
When I’m helping a new photographer, I’ll start with the basics, but before we even start taking photos, I’ll have them review their camera settings and prepare for the shot. With digital cameras today, there are more items than ever on ‘the checklist’. I’ve written out what I check and I’m also including an easy to print checklist that you can put on top of your camera case to remind you.
Do you have a memory card in the camera?
This sounds so easy, and yet it is the biggest item of them all. Without a way to record your images, your grand photo tour is just a nice walk. I have my camera set so that it won’t take a photo without a card, this way I won’t get fooled.
Is your battery fully charged?
Today’s new camera batteries last a long time. It’s easy to forget to check your battery’s status. A dead battery, or one that will die 5 shots into your grand photo tour will make even a nun swear.
Clean your lens
Just sitting in your camera bag, the front of your lens might attract some dust. Always use a lens cap, but still you want to check this before you head out. Check the front and the back of the lens. Also, plan about what lenses you want to bring. Going out to a field in the summer? Maybe a macro lens will be good for the flowers and bugs. If you’re driving, just throw an extra lens or two in just in case you might need them. If you keep your lenses clean, a quick blast from Rocket Blower will work just fine.
Clean your sensor
Most cameras give you a way to clean your sensor. If you are not sure how to do this, read your manual. Trust me, I’ve shot 100 photos and then had to remove a spot from all of them after I got back from shooting. 5 seconds to clean the sensor would have saved me an hour or two later.
If you got this far, you can start shooting all day! YAY! Go enjoy the sun… but:
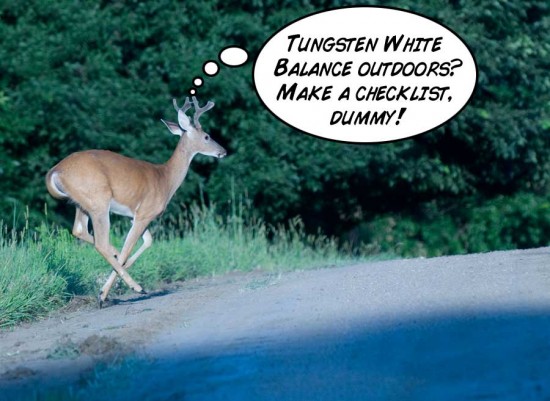
What is your White Balance set at?
I’ve gone from shooting indoors with a Fluorescent WB setting, then gone outside the next day with the same setting because I didn’t plan and prepare. Oops. Since I almost always shoot in RAW format, I can correct this later. If I shoot only in jpg, this turns into another long Photoshop session. Check this and save the headaches!
What shooting Mode is set?
Ever had your camera set on manual for indoor flower macro shots, then gone outside to shoot wildlife only to see a nice 8 point buck run beside your car a mile from home? I have – and I can tell you from experience that it sucks to have the wrong settings as you shoot 5 vastly underexposed frames before the deer runs into the corn.
Do you have a good setting for the current light?
Even if you have your camera set to Shutter priority – and everything else looks great as you head out for that wonderful wildlife adventure – make sure your camera isn’t set at 20 seconds from your lightning shots the night before. Yep – been there, done that!
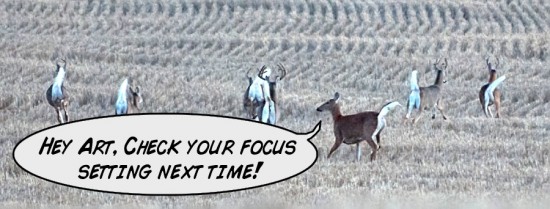
Check your Camera focus settings
Most DSLR cameras will allow you to set Manual, Single shot or Continuous focus. If you are shooting landscapes with a wide angle lens, you might not even notice if you left your camera set to manual focus. The photos might look good in the viewfinder, but be just a little off once you view them on your monitor. Also check that you don’t have the self timer active. Taking ten seconds to prepare can save hours of editing.
Check your Lens focus settings
This is a new one to the list. My 70-210 lens has two settings for focus range: Full & 2.5m to infinity. The Full setting allows me to get some great flower shots, but isn’t as fast for longer distance. The other setting is what I use most of the time. I was out shooting some nice flowers, then forgot to set my lens back. 15 minutes later, a herd of deer ran in front of me – I lined up a beautiful buck – I see that it will be outlined against the setting sun – I press the shutter release and the lens starts searching for focus. I miss the shot, but learned a very valuable lesson that I won’t forget. Check your Zoom setting while you’re at it.
Check your Flash Batteries
Using a flash? Check the batteries, or install new ones each time you go out. If I believe that I’m just going to shoot a few shots, I’ll just turn the flash on and see if the ready light appears in a second or two. If it takes more than 5 seconds, I’ll replace the batteries. I also keep spares in my camera bag. Speaking of batteries, I’ve been using Sanyo Eneloop Batteries for the past year and love them.
Take a test shot
If I am going to be shooting outdoors, I’ll take a test photo before I get in the truck. I’ll have a quick review make any necessary adjustments. Same goes for indoor shooting. Heading out to take Birthday party photos? Take a quick shot indoors with your flash and check the image in the viewfinder. This can save some problems later.
Download the “Photographer’s Checklist” so that you can print it, laminate it and put at the top of your camera bag. I hope you find this post helpful – if I can save you from just one bad photo, my work will be done.
If you have anything you would like add to the checklist, or just make a comment, please add it below, or feel free to e-mail me.


