Introduction to Photographing your Artwork
I have a friend that is a painter. She has wanted images of her paintings but was having trouble photographing them for her website and other uses. She asked me to take some photos of her artwork, and I thought, “Sure – how hard could it be?”. Turns out it has been one of the hardest subjects I’ve shot and it’s taken me a while to get it even close to right (especially to an artist with a critical eye for colour).
This post is about the methods that I have used and hopefully will guide you to shooting your own (or your friends’ artwork). Click any image below to see it larger.
The Challenges
It wasn’t until I started shooting Cindy’s artwork that I became aware of the challenges. Here’s a few:
- Color Accuracy
- The weave of the canvas
- Alignment
Color Accuracy: Some artists – including Cindy – use vibrant colors and these can be tough to capture. Once you have them, you need to get the colors accurate as well. Digital cameras might not capture all of the color that is in a painting. That’s a fact that we have to live with. Getting the colors that are captured to look accurate is a challenge all in it’s own.
The Weave / Texture: The weave of the canvas can create shadows on the paint and impact the image in a great way. Even lighting from all sides is needed to reduce this effect.
Alignment: If your painting is rectangular, your image should also be. You need to get the camera aligned to the painting so that it is parallel – correcting this in Photoshop can distort the image.
Here’s a few processes that have been used leading up to the final method I am using currently. You can try any of these for photographing your artwork to use on Etsy, Facebook other other online and print catalogs.
Basic Point and Shot Camera
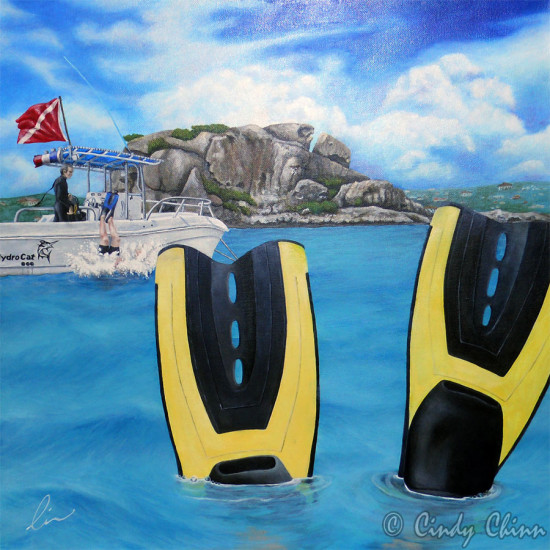
If you are limited in what you can use for a camera, you might a small, handy point and shoot camera. This is quick and easy and will get you results. The example below was shot with a Nikon S570 -with the flash turned on.
Not bad – you can use this to send friends and family what your last painting was and they’ll have a very good idea of what the painting looks like. But what’s the biggest problem? The glare at the top of the image. This is from the flash. I also had to open the image in Photoshop and correct some distortion as the camera wasn’t parallel to the painting. I also made some minor color and exposure adjustments.
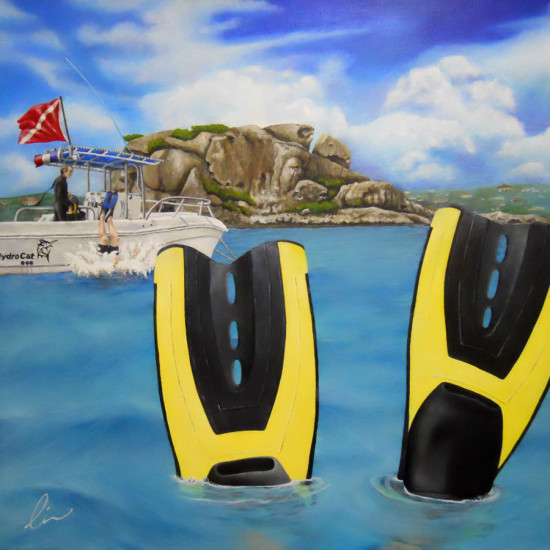
Since the big problem is the glare, I’ll fix that by not using a flash. Here it is again without a flash being used:
I still get some glare, but not nearly as much. This time the glare is coming from the lights overhead. Also note that the colors are a little different. They’re close – but which one is closer? You would need to see the painting to be sure. Another problem crept in here. Since I didn’t use the flash, the image looks a little softer due to camera shake – use a tripod – even a cheap one will work with such a light camera.
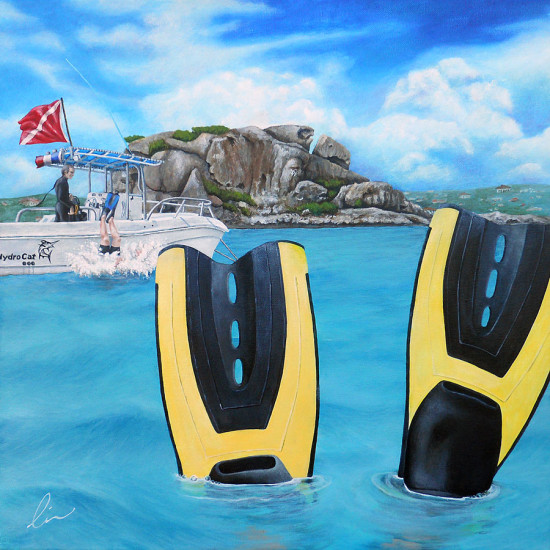
I’m going to try one more thing to try to remove the glare. I’m going to take the picture outside. I want to hang the painting up on the north side of the house. This will make sure that I don’t get direct light on the canvas. I will also give me a softer diffused light. I want to be careful that there are no large patches of color nearby that will reflect that color onto the canvas (lawn could cast a green cast). So I hang the canvas using push pins in the wall and take my shot. Hand held on automatic with no flash. I could have used a tripod (and should have!). Here’s what I get with this method:
Ok – no glare, nice colors and fairly sharp. Now I’m getting somewhere! If I only have a point-and-shoot camera, this is the best method I can use to get a good image. Now it’s time to move to a digital single lens reflex (DSLR) camera.
Shooting with a DSLR Outdoors
There are a couple of reasons why I should shoot with a DSLR. First off, I will have a larger and higher quality sensor. Secondly, I will be able to use color settings before I even take the photo – this will aid in getting more accurate colors. If you’re photographing your artwork, this might be the easiest way.
First, I will start with reproducing the outdoor technique.
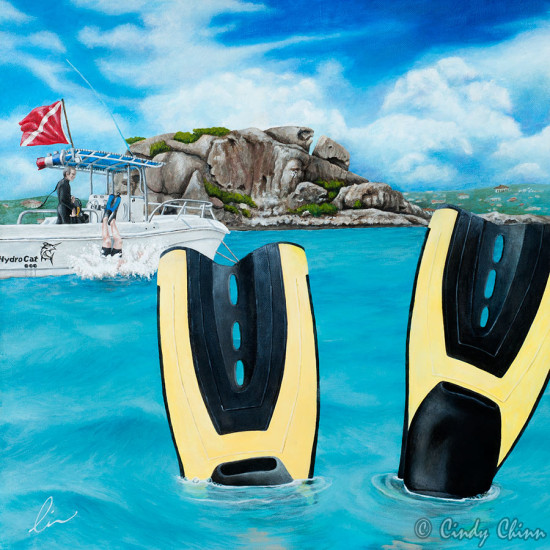
I have done some color correction on this and I’m getting much closer. Notice how the water is greener – this is more like the original. Also, the sky is less ‘purple’ than when I started. In reality, the blue at the top of the painting is a deep ultramarine blue.
Shooting with a DSLR indoors
If you don’t have a separate flash unit for your DLR – don’t use the built-in flash for photographing your paintings. You’ll get a lot of glare. You’ll be much better off just shooting outside using the method above. If you have absolutely no other options, just put a diffuser (tissue paper) in front of the built in flash to soften the light and glare.
The next step is to use a separate flash unit. Most of the new DSLR’s allow you to easily use the flash off-camera and yet still control the flash.
Using the flash still gives me one problem – GLARE! It’s so hard to escape this, as the paint is very reflective. For this image, I used 2 off-camera flashes so that I could remove any shadows from the texture of the canvas. Here’s an image taken with off camera flash:
I ended up with more glare than I wanted, so I didn’t do much corrections on this one. Luckily I had one more trick up my sleeve.
Shooting with Polarized Light
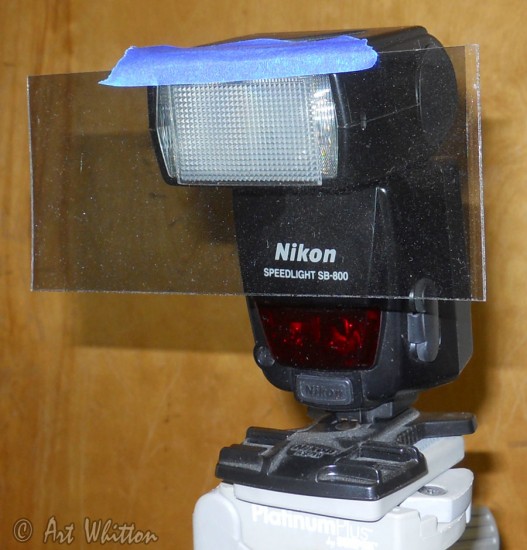
If you have been around photography a bit, you might have heard of a ‘Polarizing Filter’. This is a glass filter that screws into the end of your lens and blocks out reflected light. This is great for making skies bluer or shooting through windows. This technique will take the concept one step further by using polarizing filters on the flash units as well. Ok, I won’t be screwing a filter into my flash, but I’ll be taping a piece of polarizing film to the front of my flash like this:
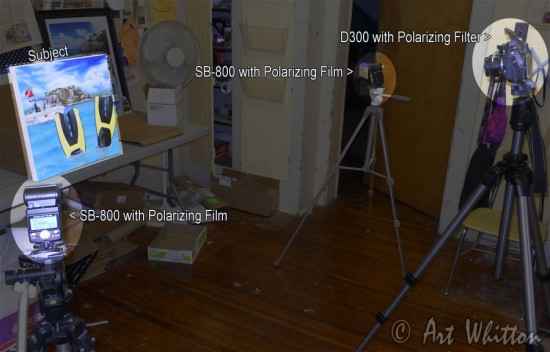
My flash is on a tripod and the film is attached. I’m going to use two flashes (both with film) so that I get rid of the shadows on the canvas. Here’s a shot of my set-up (excuse the mess!)
My camera is positioned directly in front of the painting. It is at the same (or very close to) angle as the painting. Use the guidelines if your camera has them. The flash is popped up only to fire the 2 remote flashes.
The flashes are positioned at the same angle and distance from the painting. The flashes are pointing at the center of the painting.
This is the setup I now use for every new painting that Cindy gives me to shoot. I find that it is consistent, quick to set up and easy to shoot. If I’m shooting outdoors, I can get different color casts from the sky and the clouds. Using flash and the camera’s Flash White Balance setting, I get accurate and consistent colors.
Once I have everything set up and the camera focused, I turn off the lights to prevent any color cast they might give off. I take the photo and turn the lights on. Usually one shot is all it takes now.
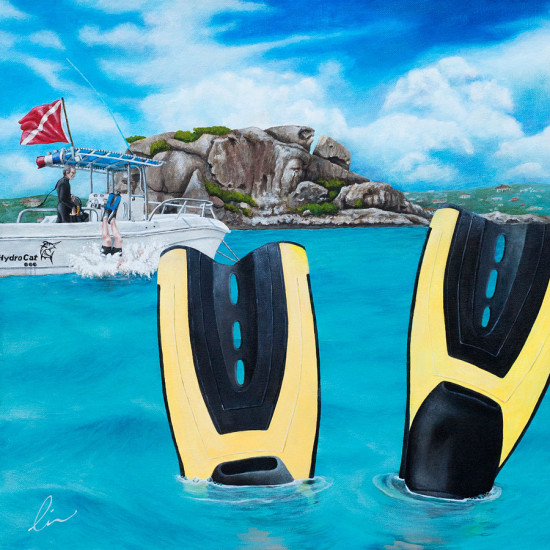
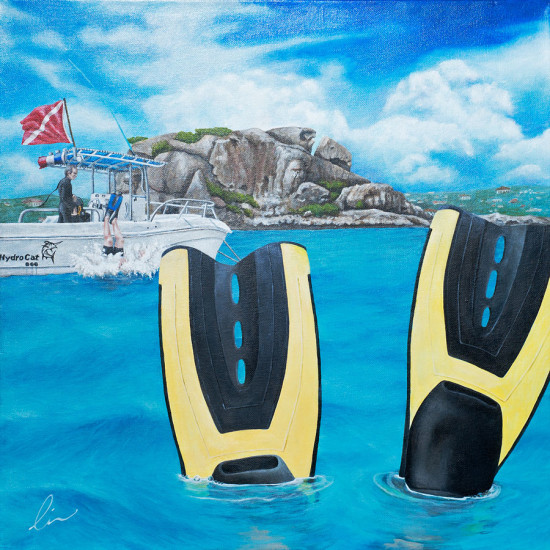
Here is the image that I get straight out of the camera:
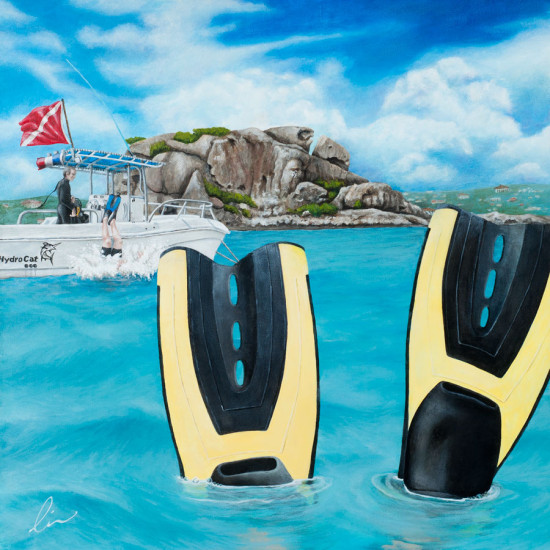
Here is the same image after I have tweaked it for color and exposure.
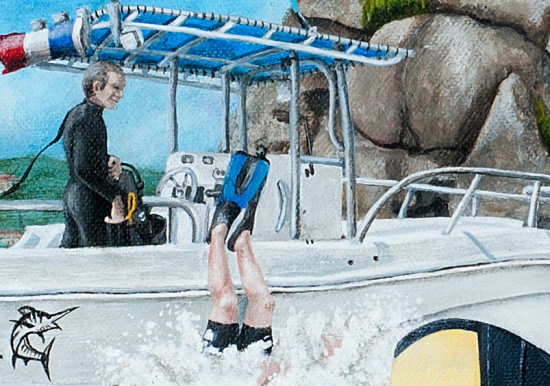
And here is a 100% closeup of the same image (click for full size):
Well, that’s all I have for now. If I find new and better techniques, I will post them here.
Summary
Photographing your artwork is tough. That’s why there are companies that will do this for you. If you need top results and want to pay them – go for it and save yourself some headaches. Here’s one that is great to deal with.
If you want to do it yourself, remember these tips:
- Use a tripod – sharper is always better
- Use the the highest resolution settings on your camera.
- Use the correct White Balance.
- Check your focus.
- Try to use only one type of light source.
- Try several exposures.
- Keep the camera parallel to the painting.
- Use a cable or remote release to avoid camera shake.
Amazon.com sells polarizing film – here’s the LINK.
Thank you to Cindy Chinn for allowing me to use her paintings in this tutorial. Check out her website: LINK
If you have any comments or questions about photographing your artwork, leave them below or email me. Thanks for reading.
Update: See how I used this process to shoot a large 4’x14′ canvas mural – LINK

