Introduction to Digital Camera Metering

In the previous lesson I explained how the camera “sees” the scene you are shooting via the sensor. You read about RGB, Color Space, Dynamic Range and Histograms. All of this is a big part of how you get an image from the camera. Another big part of the digital process is how the camera reads the scene, meters the light and determines the best exposure.
Modern DSLR cameras are very complex and have different ways of metering (reading) the light and then figuring out the best exposure. We are very spoiled to have such amazing technology at our fingertips, yet we need to remember that even the most advanced equipment can make mistakes (or not give us the results we’re after). If cameras knew the perfect exposure every time, we could just leave them on automatic and snap away – but where’s the fun in that?
If we go back a few years (decades!) to the early days of film cameras, a light meter was built into them, but it was a simple tool that showed you a needle that you would then use to guide your manual settings of shutter speed and aperture. Even with today’s advances, we’re still just looking at a ‘needle’ and using it for reference as make our settings. The technology behind the meters has become more advanced with each generation of cameras so that their accuracy is now incredible.
How does a camera meter a scene?
Today’s modern cameras will read the light as it enters the camera and use the same sensor that records the image to meter the light. Other cameras will have a separate meter away from the sensor, but the process of metering is pretty much the same. Some cameras see the whole frame and use that to measure (meter) the light, while other cameras will give you the option to select smaller parts of the scene. Here are the three main types of metering used in today’s cameras.
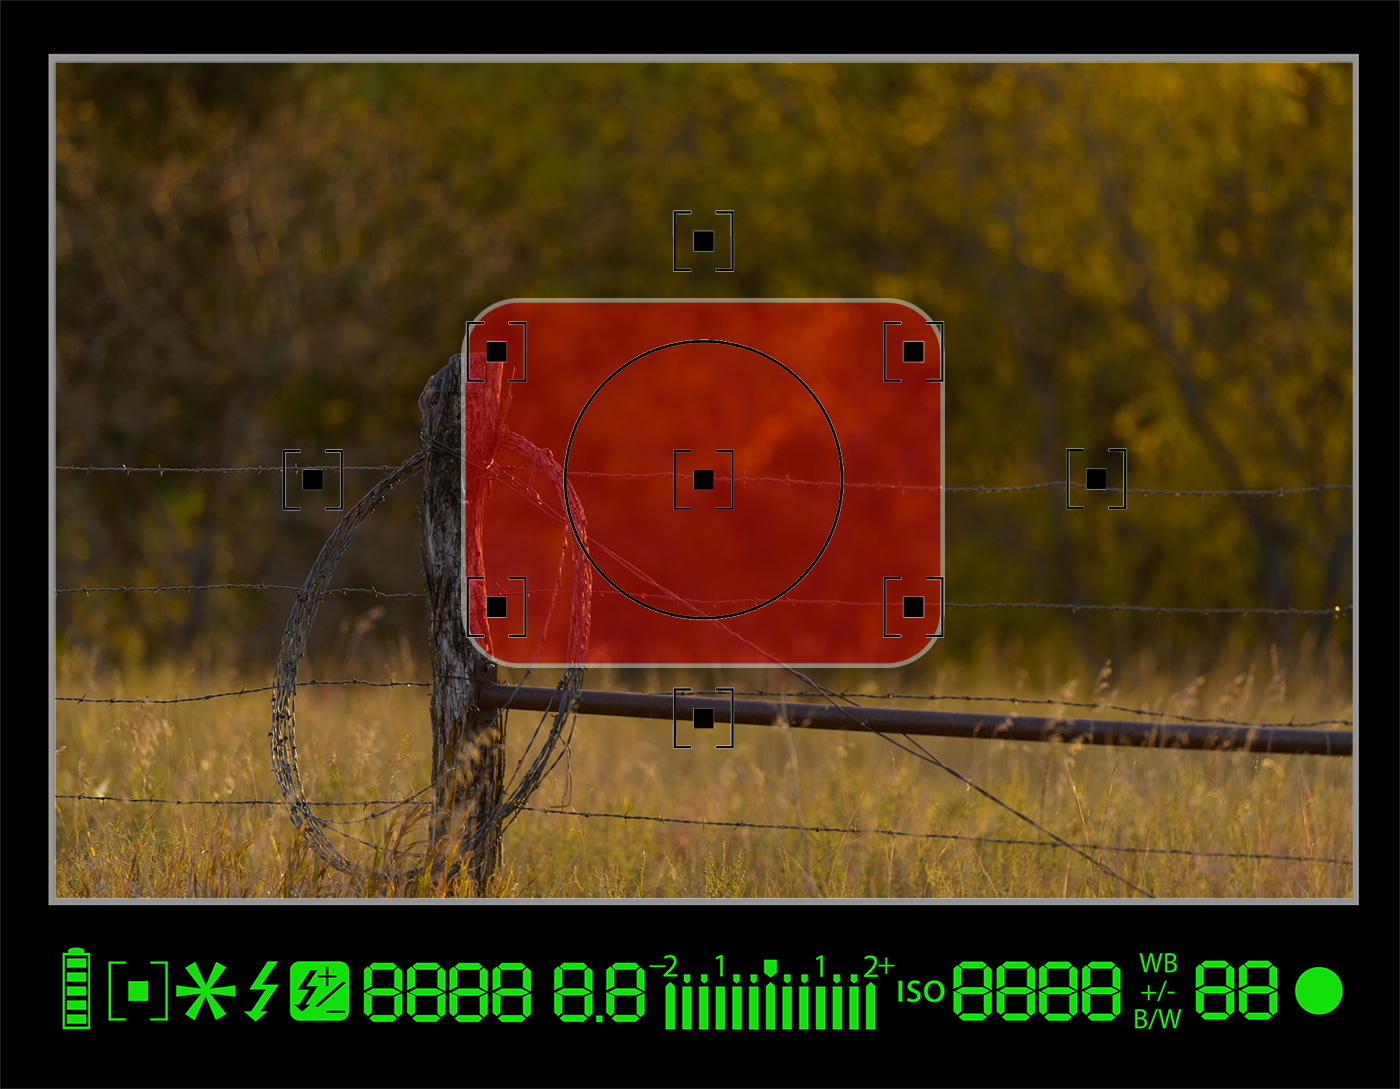
Matrix Metering: This is the full frame metering of a scene that many long time photographers are used to.
Centre Weighted Metering: This method allows the camera to use the centre of the frame and ignore (or give less weight to) what lies outside the central area.
Spot Metering: Here is a very specialized type of metering that looks at only the very centre 5-8% of the scene and determines exposure just on that small area.
Each of these methods of metering has their advantages and disadvantages. We’ll look at each one later, but let’s get back to how the camera meters the scene in front of you.

In simple terms, a camera tries its best to take a complex scene and think about how it would look if it was a flat 18% grey card. This is the goal of every camera meter. It will take the very dark scenes and lighten them up. It will take the very bright scenes and tone them down.
If I was a camera, I might look at the tulips at the top of the page and see them instead like this image on the left. I’ll see a dark background, with some less dark areas in the middle. I would want to make the scene brighter, because to me (the camera) it looks very dark.
Instead, as a photographer, I wanted to underexpose the scene and keep the dramatic lighting that I worked hard to get. This is the difference between what the camera ‘sees’ and what the photographer ‘envisions’. The more experienced you get, the bigger this gap will become.
That explains a camera meter at its most basic. Today’s top cameras are miracles of engineering and can actually recognize what a face looks like, determine you are taking a photo of your friend and do its best to meter the light and put your friend’s face at the top of the list of what it should expose properly. To do this, a camera will look at a scene, divide it into segments and (in some cases) compare the results to a built in database of scenes to determine you’re taking a photo of a person. This all happens so fast that you press the shutter, the light is metered, the aperture closes down, the shutter opens, the sensor is exposed to the (correct) amount of light – and the memory is captured! All hail the camera engineers!
In many (most?) cases, the camera will do a great job of metering a scene. Even today’s phone cameras will do a very good job. But if you want to take your photography to the next level you need to start recognizing which scenes a camera might not meter properly – and that’s when you have to step up.
When to adjust exposure
Now that you know a camera can have a very sophisticated meter and might get the exposure perfect all on its own, you also know that there are times that a scene will confuse a meter. They’re very good, but they aren’t perfect.

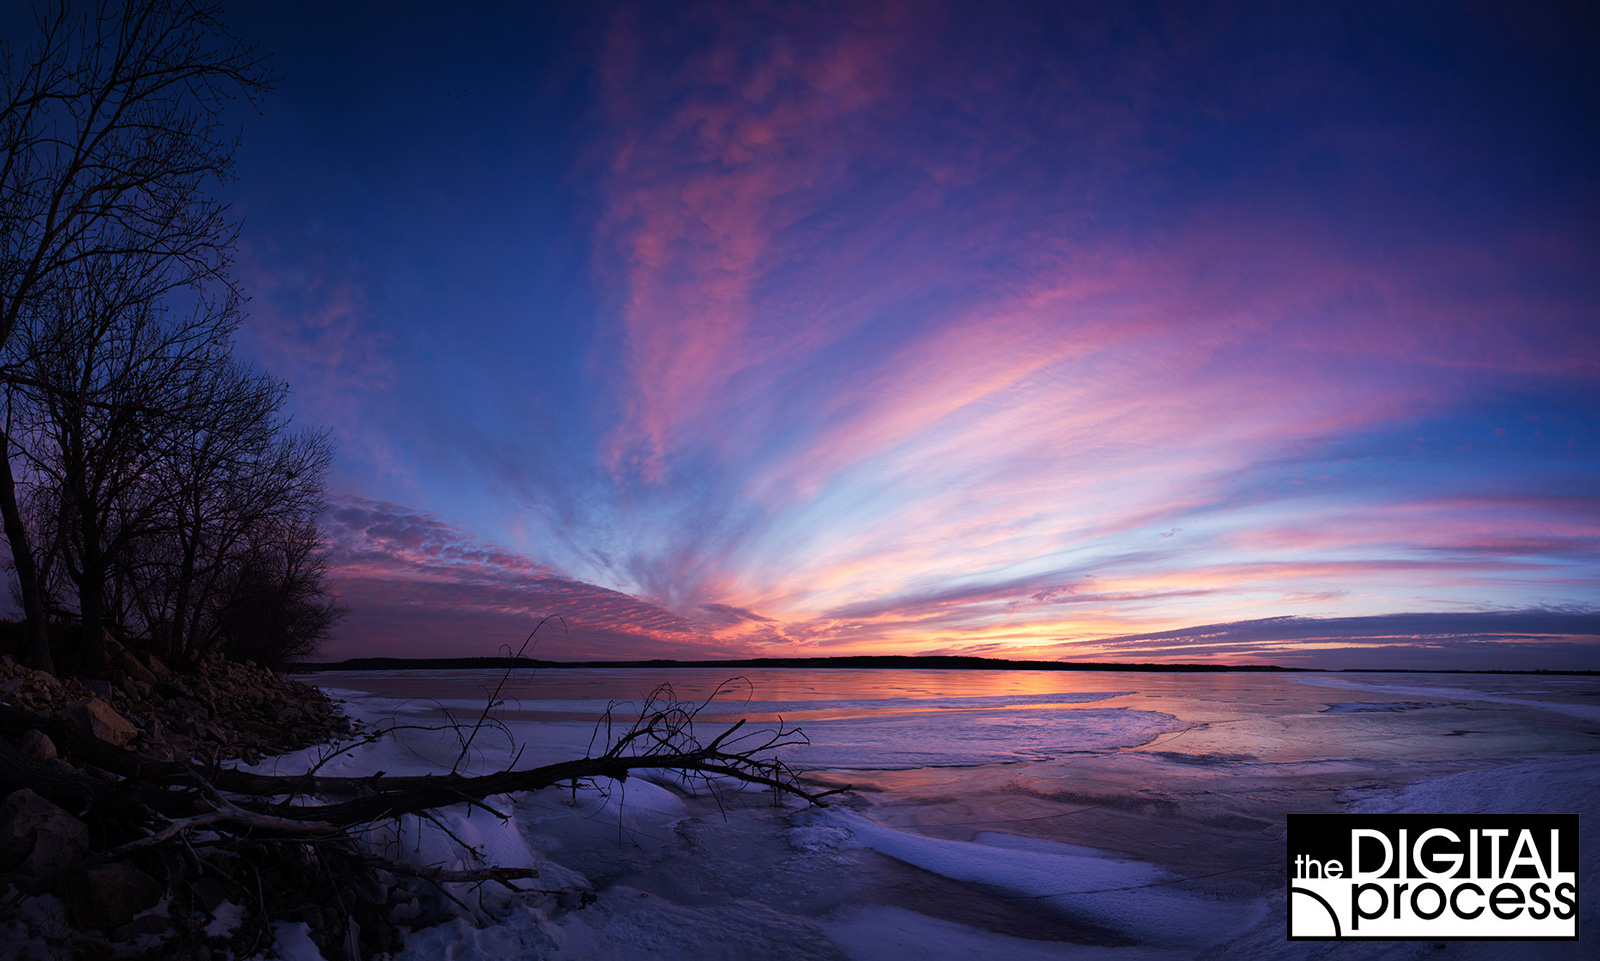
If you look at the four images above, each one is taken at a slightly different exposure. Which one is correct? If this is a hard choice, think about how the camera felt trying to calculate the best settings in a fraction of a second!
In a situation like this, where I have a dynamic scene in front of me and the light is changing by the second, I will take a LOT of photos at different exposures. Even if I review my histogram and had a special hand held light meter and had shot hundreds of sunsets before, I may still not get the best exposure for this one scene at this one moment in time. So in this case, I had time to shoot a lot of different exposures and then had the luxury to review the images later on my desktop.
My point is that getting the best exposure is not always easy, but as you get more experienced your odds of getting the best exposure will increase – it’s all part of learning the digital process and camera metering.
How Metering is Used in Digital Photography
If you are shooting in a fully automatic, shutter priority or aperture priority mode, your meter is setting your exposure for each image. The more accurate your meter, the better exposed your photo will be. Choosing the right type of metering (next section) will help you and your camera create better photos.
If you are shooting in a manual mode and setting your own shutter speed and aperture, then the meter readings can be used as a guide or a starting point. You might decide that the meter is correct and set your camera to what it recommends. You might take a photo at those settings, review the image and histogram and then adjust as needed.
Types of Metering

Matrix Metering
There are a lot of different names for what is essentially “Full Frame Metering”. Canon calls it “Evaluative Metering” and other brands will have their own terms. But the important thing to know is that the camera’s meter will examine the full scene and base an exposure on all of the different areas of this scene.
When should you use Matrix Metering? If you are shooting scenes that don’t have a lot of contrast and don’t have a small central subject, matrix metering will usually get the job done. I will use this when I have a more complicated background. Even something that is tough to meter like a sunset can still benefit from matrix metering.
Centre Weighted Metering
With this metering mode, the camera will use only a center section of the scene and base its exposure only on that area (or the surrounding area has minimal influence on the metering). This is great for scenes that have an overly dark or light background with a medium to large sized centre subject. Consider a group of people against a dark background and the group takes up about half of the frame – perfect for centre weighted metering as the background is much less important than the people (usually). Consider this option any time your subject is clearly in the centre and you are not concerned with the outlying areas.

Spot Metering
With spot metering you can now select a very small area and expose just for that part of the scene. If you are shooting wildlife or birds, this can be a great option. You can get the exposure from just animal and not worry about the bright water or dark forest that surrounds them.
Some cameras allow you to select the size (percentage) of the spot metering area. Check your manual to see if you have this option. Also spot metering will usually follow your focus point as you change it.
Comparing Camera Metering Modes
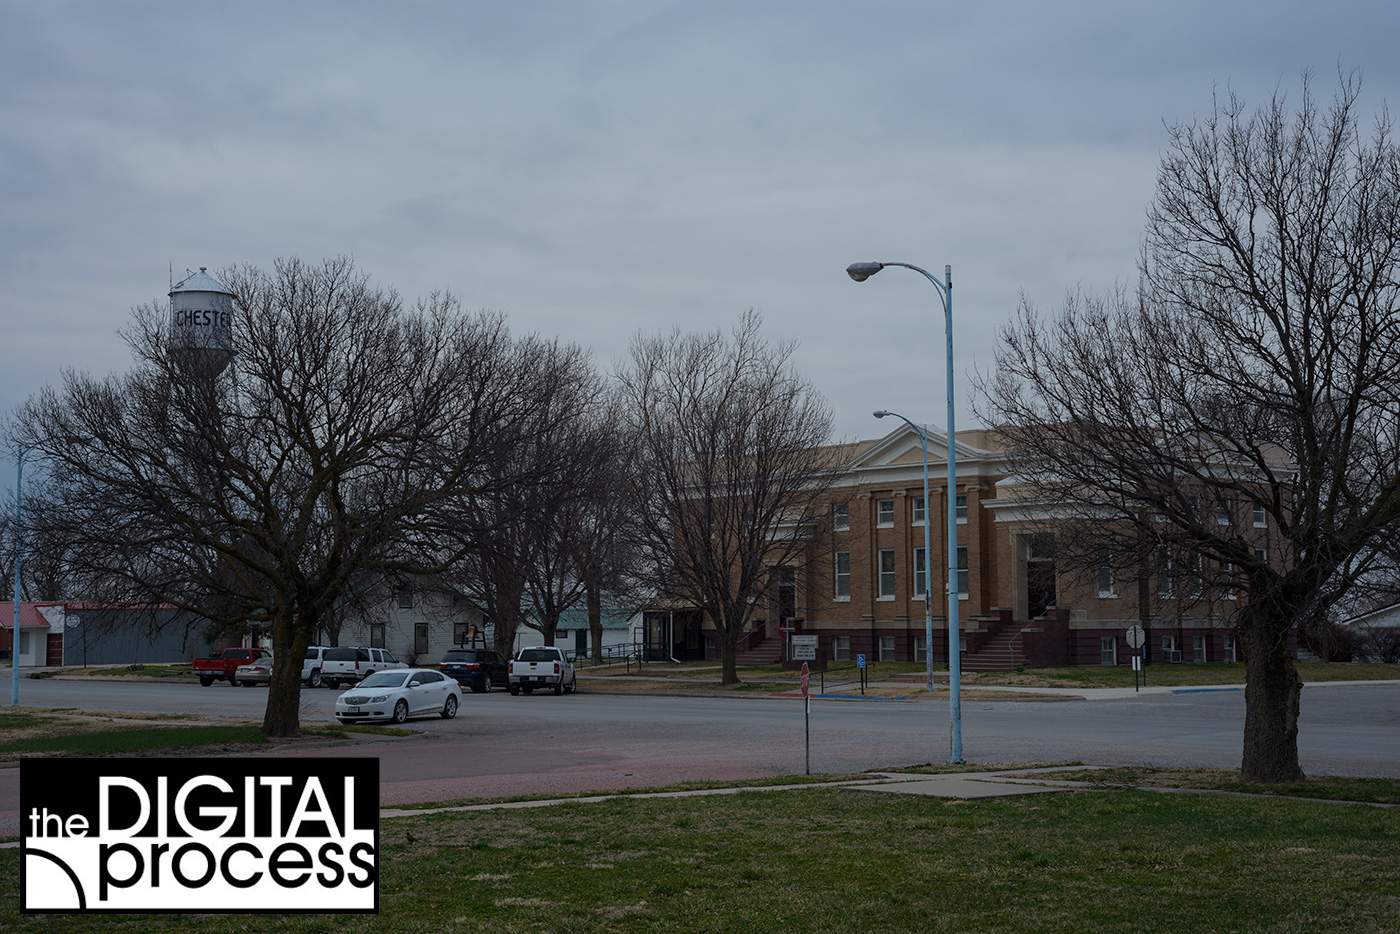
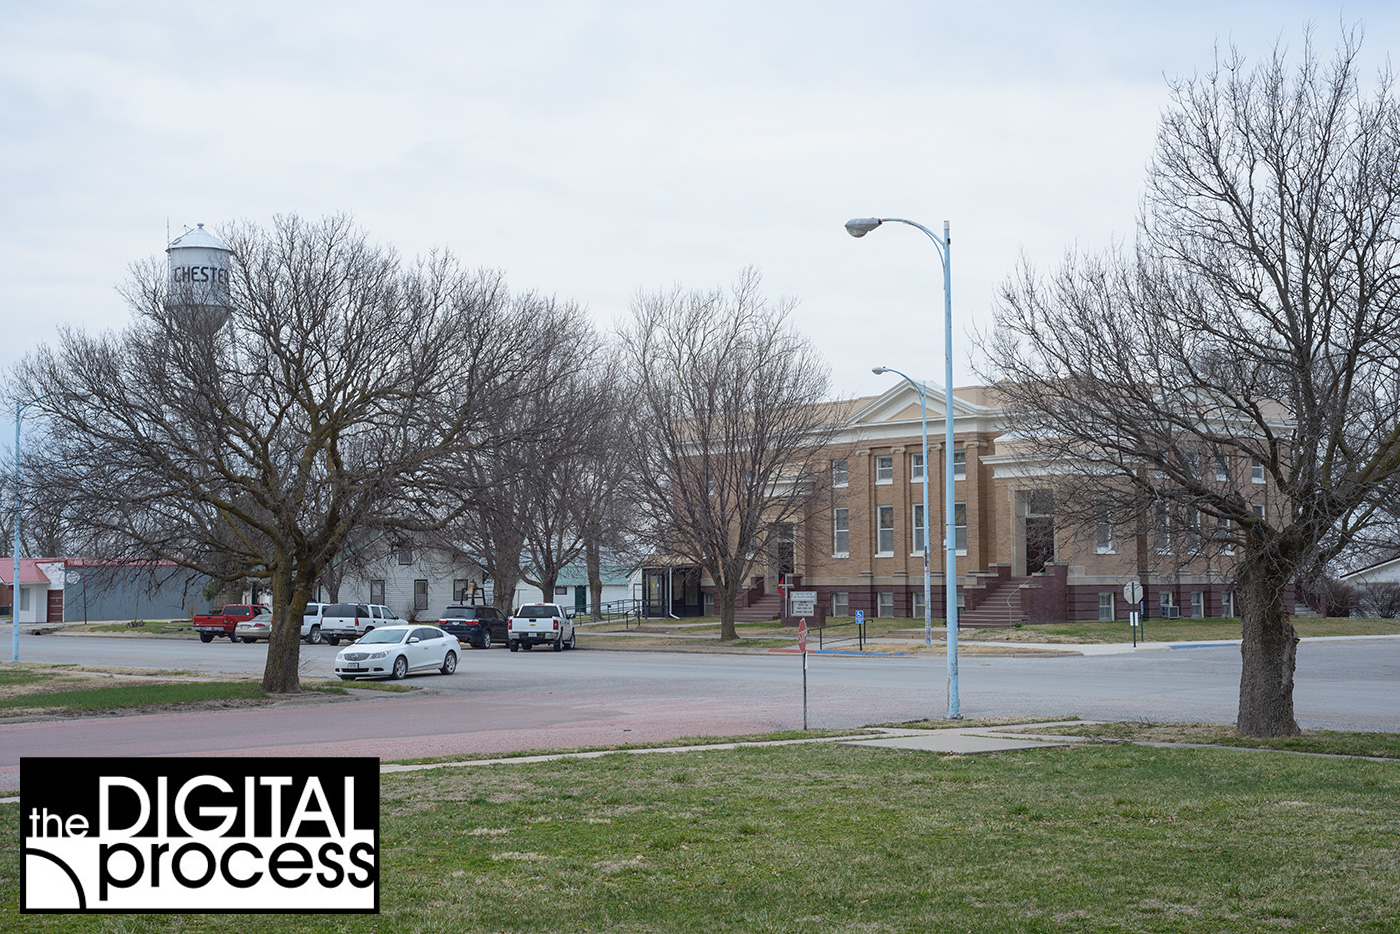
Below is a very simple scene that I shot outside my front door. It is somewhat typical and standard, but can offer some lessons in how the different metering modes work.
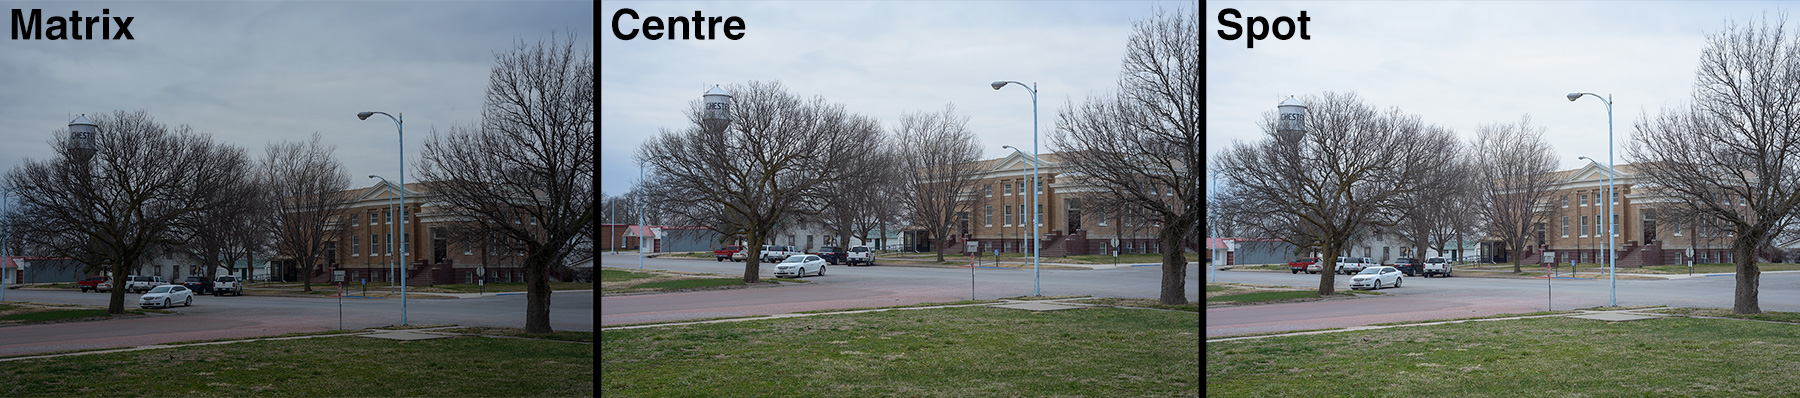
Like I said, it’s a typical scene, some grass, some sky, a building, some trees and there are no extremely bright or dark areas to be concerned with. All the photos are shown as they came straight out of the camera (SOOC) and haven’t been adjusted in any way. They were shot at aperture priority (f8) and the only thing that changes was the metering method.
Matrix: f/8 | 1/60s : This is the darkest one on the left. Why is it dark? It looked at the whole scene and saw that 1/3 of it was fairly bright sky with clouds. Although the image looks dark, the sky looks acceptable and if I was going to process this further in Photoshop I wouldn’t have to worry about blown highlights. Even though it’s the darkest of the three photos, I could still use this and brighten it up a little. This image would need some post processing before it could be used, and although I’ll edit most of my images before they are used somewhere, the less work there is – the better!

Centre Weighted: f/8 | 1/25s : Of the three photos, this one shows the best overall exposure. But why? By focusing on the central area for exposure, the camera has excluded the brighter sky and darker grass leaving the camera to better expose the building in the middle. The sky isn’t blown out and the grass is a little brighter than the first sample image. Overall, this metering method has worked well for this scene and I could send to someone just as it is without any editing. Centre weighted metering is a great choice for this type of scene when the sky or foreground are not part of the main subject.
Spot Meter: f/8 | 1/20s: This is the brightest of the three images and if you look at the centre of the photo, you should know why.
The middle contains a darker tree and part of the building. The metering has totally ignored the bright sky at this point and although it is very close the centre weighted image (1/3 of a stop) it is still noticeably brighter. If I was more interested in the building, this would be a great choice for metering. As a final image, though, it’s a little too bright for my taste, but still looks acceptable. Spot metering has its place and it’s a great tool, but you know need to analyze the scene and decide if the small area will get you the exposure you want.
Even with that example, you may never ‘know’ the best time to use which type of metering, but you can predict what ‘might’ work best. Taking a trip to the zoo and shooting lots of animals? How about spot metering? Shooting a sunset that shows mostly sky? How about Matrix? Shooting a group of people in the snow? How about centre weighted?
As a rule, I’ll have my camera set to centre weighted metering and then adjust it when I’m shooting something specific. It’s a good compromise and usually gives me acceptable results.
Exposure Compensation
Many digital cameras have a feature called Exposure Compensation. This allows you to stay in a fully automatic or semi automatic shooting mode, but ‘dial in’ an exposure adjustment to compensate for brighter or darker images. Imagine you are shooting some kids out playing in the snow. You set your camera to shutter priority because you want to control the movement, but due the to bright snow around you, the images are coming out a little dark (as the camera tries it best to turn bright white into 18% grey).
What the exposure compensation setting allows is for you to dial in a 1 stop of exposure and keep shooting with shutter priority. This allows you to focus on the action and not have to adjust exposure manually for each shot as the kids run around. Check your manual for this feature. You might see a dial or button on your camera with /- symbol for this. It’s a common setting and is usually easily accessible.
You can try a few settings, then leave it at the one you like the best.
Summary
Remember that your camera is an amazing piece of engineering excellence, but it’s not always 100% right. You need to start recognizing those times when the camera’s meter might get fooled by various lighting patterns.
Learning to predict and prepare is one of the greatest skills to have as a photographer. If you know your camera settings, but are not prepared for what you are about to shoot, you might miss a once in a lifetime opportunity. Learning to look at a scene and thinking “Oh – I should use spot metering” is a great skill to have! Learning when to dial in exposure compensation can save you a lot of time editing your photos later.
The most important thing you can do is practice. Practice shooting and then review your photos that same day. Have a look at the histogram while you’re shooting. Start creating good habits to build on. I know it’s tough and it takes discipline, but if you want to start making better photos instead of taking average snapshots, you need to practice new techniques.
I’ve stated before how lucky we are to have great cameras and we can use the camera metering to achieve amazing images. But we’re also lucky in that we can shoot a thousand photos a day and not pay for film! Each photo we take has all of the camera setting attached to it so we review the metering, the shutter speed, aperture – almost everything!
Photography is one big jigsaw puzzle. All the pieces are there for us. The shutter speed, the aperture, the white balance, the metering, the ISO, the composition – there are so many factors that go into making a photograph that the more we get familiar with the puzzle, the better artists we become.